Installation
9711-92 Ku-Band TXRX
3-16
Bad flange alignment
6.
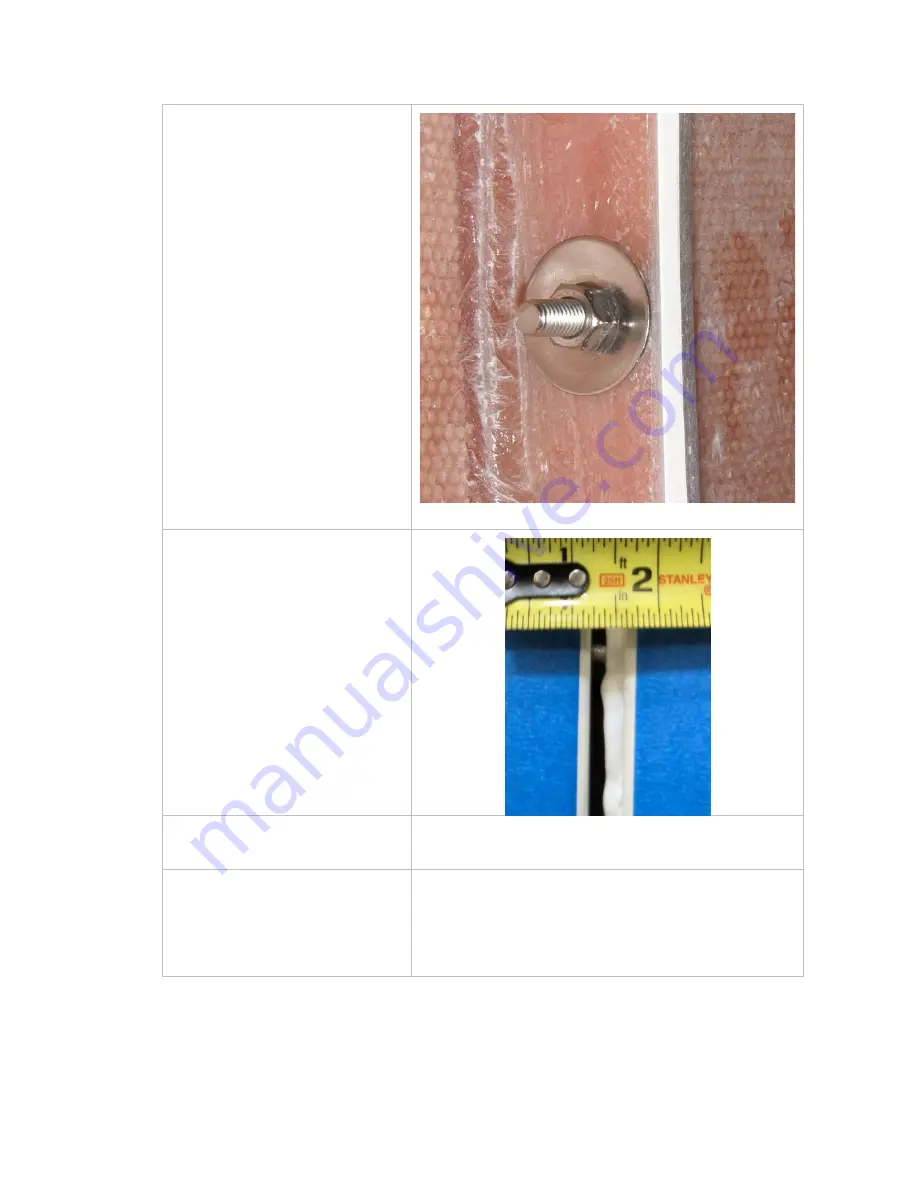
Open each seam wide enough
to install a good bead of
silicone caulk. Working from
top to bottom apply Loctite
to and then firmly tighten all
of the bolts in that seam
(smaller dual beads of
caulking can be applied from
outside and inside if you
prefer).
7.
Clean excess caulking off of
the flange areas inside and
outside the radome.
8.
Repeat caulking, closing and
cleaning the vertical flanges
until all of the upper panel
seams are closed.
9.
Remove tape from the vertical
seams.
Summary of Contents for 9711-92
Page 3: ......
Page 10: ...Table of Contents x 22 2 9711 GENERAL DRAWINGS 22 1 This Page Intentionally Left Blank ...
Page 22: ...Site Survey 9711 92 Ku Band TXRX 2 8 This Page Intentionally Left Blank ...
Page 62: ...Basic Setup of the ACU 9711 92 Ku Band TXRX 4 4 This Page Intentionally Left Blank ...
Page 64: ...Setup Ships Gyro Compass 9711 92 Ku Band TXRX 5 2 This Page Intentionally Left Blank ...
Page 66: ...Setup Band Select 9711 92 Ku Band TXRX 6 2 This Page Intentionally Left Blank ...
Page 72: ...Setup Home Flag Offset 9711 92 Ku Band TXRX 8 4 This Page Intentionally Left Blank ...
Page 80: ...Setup Searching 9711 92 Ku Band TXRX 10 6 This Page Intentionally Left Blank ...
Page 100: ...Antenna Specific Operation 9711 92 Ku Band TXRX 15 4 This Page Intentionally Left Blank ...
Page 104: ...Functional Testing 9711 92 Ku Band TXRX 16 4 This Page Intentionally Left Blank ...
Page 120: ...Installation Troubleshooting 9711 92 Ku Band TXRX 17 16 This Page Intentionally Left Blank ...
Page 142: ...Maintenance 9711 92 Ku Band TXRX 18 22 This Page Intentionally Left Blank ...
Page 160: ...Drawings 9711 92 Ku Band TXRX 22 2 This Page Intentionally Left Blank ...
Page 166: ......
Page 167: ......
Page 168: ......
Page 191: ......
Page 192: ......
Page 194: ......
Page 196: ......


