


LONG-TERM STOP AND MAINTENANCE
The disassembly and/or stop and /or maintenance of the VELA automation system must be carried out by skilled and expert
technicians.
GUARANTEE LIMITS
VELA system is guaranteed for 24 months, starting from the date stamped on the product. The product is covered by the
guarantee provided that the damaged was not caused by inappropriate use, changes or tampering.
The warranty shall be valid only for the original buyer.
NOTE: THE MANUFACTURER SHALL NOT SHOULDER ANY RESPONSIBILITIES IN CASE OF DAMAGE CAUSED BY
INAPPROPRIATE, WRONG OR CARELESS USE.
SEA reserves the right to make all the necessary changes and modifications of the products and / or manuals without giving prior
notice
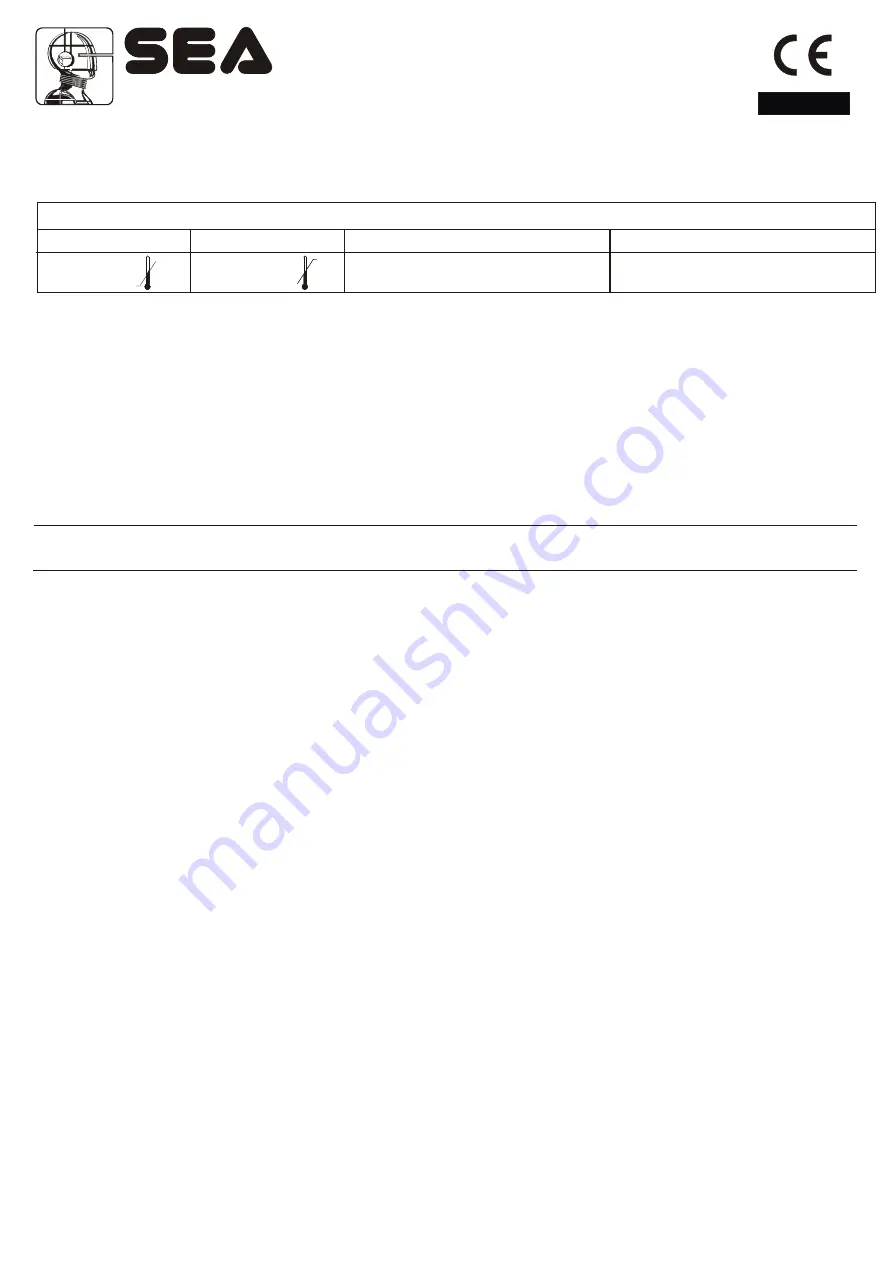
STORAGE
STORAGE TEMPERATURE
T
min
-30°C
T
max
+60°C
Humidity
min
5% without condensation
Humidity
max
90% without condensation
When being transported this product must be properly packaged and handled with care.
English
Sistemi Elettronici
di Apertura Porte e Cancelli
International registered trademark n. 804888
®
To the attention of users and technicians
ARRANGEMENTS
Read attentively the installation manual as it gives important indications concerning safety, installation, use and
maintenance.
Installation, maintenance, reparation, controls and eventual putting out of function of the product must be executed
by qualified staff only.
For the security of people it is important to follow with attention all the advises and instructions in this
manual. A wrong installation or a wrong use of the product can cause sever damages to people.
2
The max. length of the power supply cable between control unit and motors is 10m, use cables with 2,5 mm
section.
Use wirings with double insulated cables (cables with sheath) up to the immediate proximities of the terminals
especially for the power supply cable (230V ).
The control unit must not be used by people (including children) whose physical, sensory or mental ability is reduced,
or with lack of experience or knowledge, unless they are guarded or have been instructed on how to use the control
unit by a person respondsible for their safety. Children must be guarded to make sure that they don't play with the
control unit.
Foresee on the power supply net of the automation a device that assures the complete omnipolar disconnection from
the net, with a distance of opening of the contacts on each pole of at least 3mm. Those devices of disconnection have
to be foreseen on the power supply net accordingly to the rules of installation, and they have to be directly connected
to the power supply terminals.
It is necessary to keep in adequate distance (at least 2.5 mm in the air) the low tension conductors (230V ) from the
very low tension conductors (SELV) or to use a suitable sheath of at least 1 mm which supplies an additional
insulation.
Make sure that during installation the power supply and interconnection cables cannot come into contact with
pointed or sharp extremities.
~
~
Cod. 67410035 Rev 06 - 06/2010
26


