Reviewer’s Guide: Seagate BlackArmor NAS 440
9
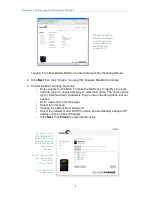
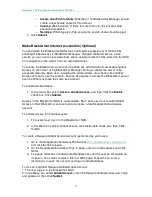
The browser-based
BlackArmor Manager
is used to perform
initial configuration
and all ongoing
management.
Logging into a BlackArmor NAS for the first time launches the
Setup Wizard
.
2. Click
Next
then click “I Agree” to accept the Seagate BlackArmor license
3. Customize basic settings (Optional):
•
Enter a name for the NAS. To make the NAS easy to identify on a local
network, give it a unique and easy-to-remember name. The name can be
up to 15 alphanumeric characters long and can include hyphens, but not
spaces.
•
Enter a description for the server.
•
Select the time zone.
•
Change the administrator password.
•
Select the network mode: DHCP to obtain an automatically assigned IP
address or set a static IP address.
•
Click
Next
, then
Finish
to complete the setup.
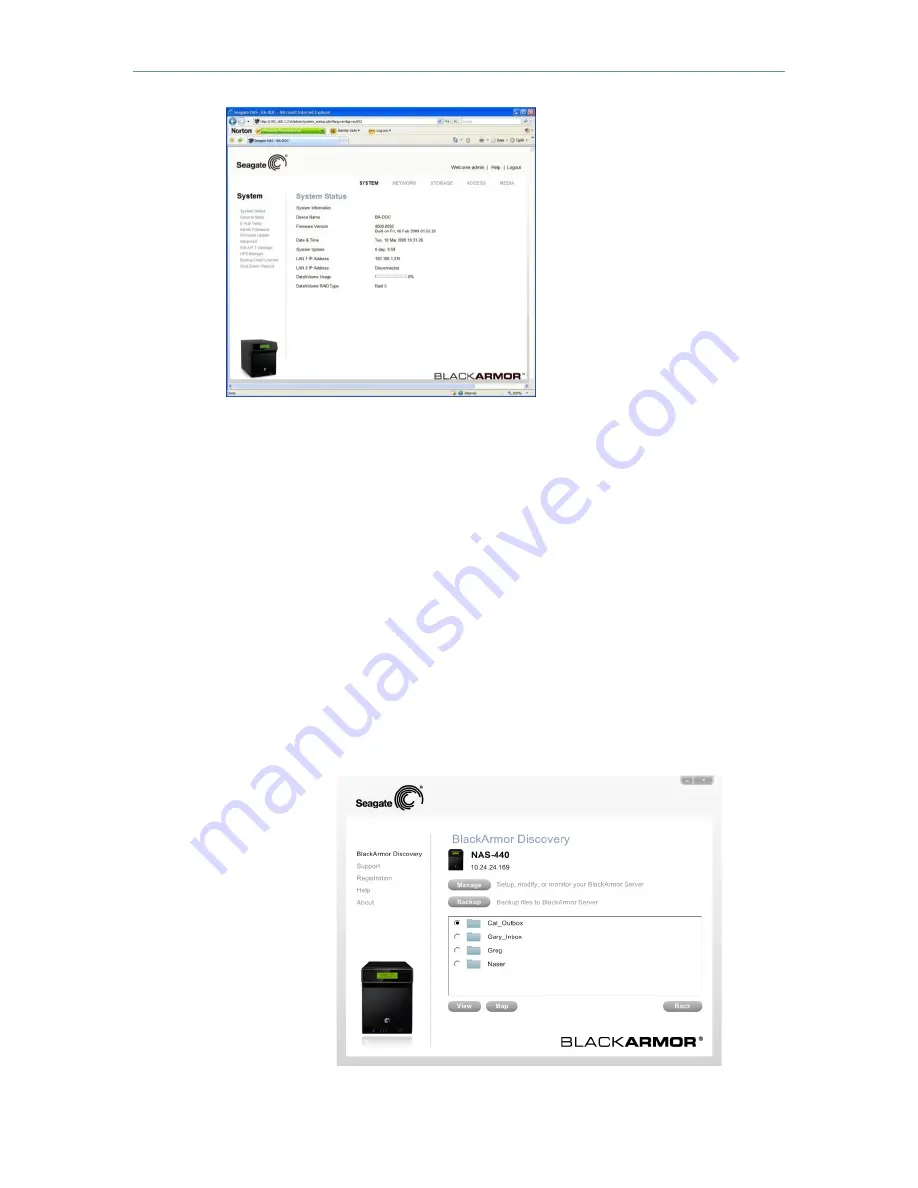
To perform initial
BlackArmor NAS
configuration, click
Manage to launch
the browser-based
BlackArmor
Manager.
On the sign-in screen
(not shown), enter
“admin” for
the user name.
Enter “admin” for
the password.


