L-4 Grasshopper 90 inches
Instruction Manual.
6
8
.
9
.
10
.
4
.
5
.
6
.
7
.
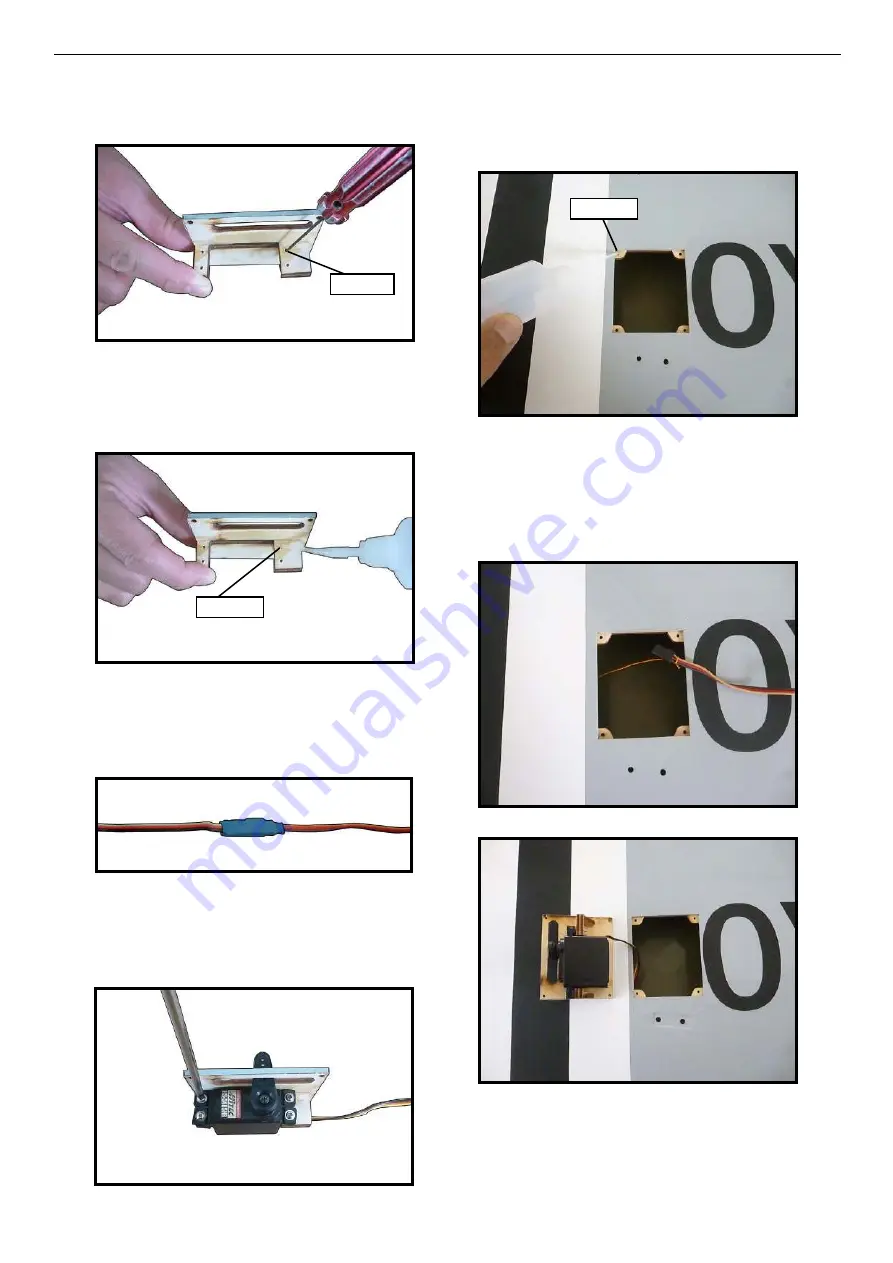
Use drill bit in a pin vise to drill the
mouting holes in the blocks.
Use dental loss or heatshrunk tube to
secure the connection so they cannot be-
come unplugged.
Secure the servo to the aileron hatch
using Phillips screwdriver and the screws
provided with the servo.
Apply 1-2 drops of thin C/A to each
of the mounting tabs. Allow the C/A to
cure without using accelerator.
Apply 2-3 drops of thin C/A to each
of the mounting holes. Allow the C/A to
cure without using accelerator.
1.5mm
C/A glue
Remove the string from the wing at the
servo location and use the tape to attach it
to the servo extension lead. Pull the lead
through the wing and remove the string.
C/A glue
Summary of Contents for L-4 Grasshopper 90 inches
Page 10: ...L 4 Grasshopper 90 inches Instruction Manual 10 12 13 14 15 8 9 10 11 Epoxy ...
Page 11: ...11 20 21 22 23 16 17 18 19 Epoxy Epoxy ...
Page 12: ...L 4 Grasshopper 90 inches Instruction Manual 12 28 29 30 31 25 26 27 24 3x15mm 3x15mm ...
Page 13: ...13 36 37 38 39 32 33 34 35 3x15mm 3x15mm 3x12mm ...
Page 18: ...L 4 Grasshopper 90 inches Instruction Manual 18 3 2 4 5 8 9 6 7 ...
Page 19: ...19 11 15 10 14 12 16 13 17 ...
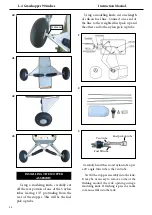
Page 32: ...L 4 Grasshopper 90 inches Instruction Manual 32 2mm C A glue 3x10mm M3x15mm 2 3 4 5 6 7 8 9 ...
Page 33: ...33 INSTALL BRACING WIRE AND METAL BRACKET AT THE TAIL TOP VIEW 3x15mm 10 14 1 2 3 11 12 13 ...
Page 34: ...L 4 Grasshopper 90 inches Instruction Manual 34 3x15mm 4 5 6 7 9 8 10 11 ...
Page 35: ...35 BOTTOM VIEW 15 16 17 12 13 14 19 18 ...
Page 37: ...37 INSTALL WINDSHIELD OF THE SIDE DOOR Please see below pictures 7 1 2 3 4 5 6 7 Epoxy ...
Page 38: ...L 4 Grasshopper 90 inches Instruction Manual 38 8 9 10 11 Epoxy Epoxy 12 13 14 15 ...
Page 44: ...L 4 Grasshopper 90 inches Instruction Manual 44 14 15 16 17 1 1 1 2 100mm 18 19 20 21 2 86mm ...


