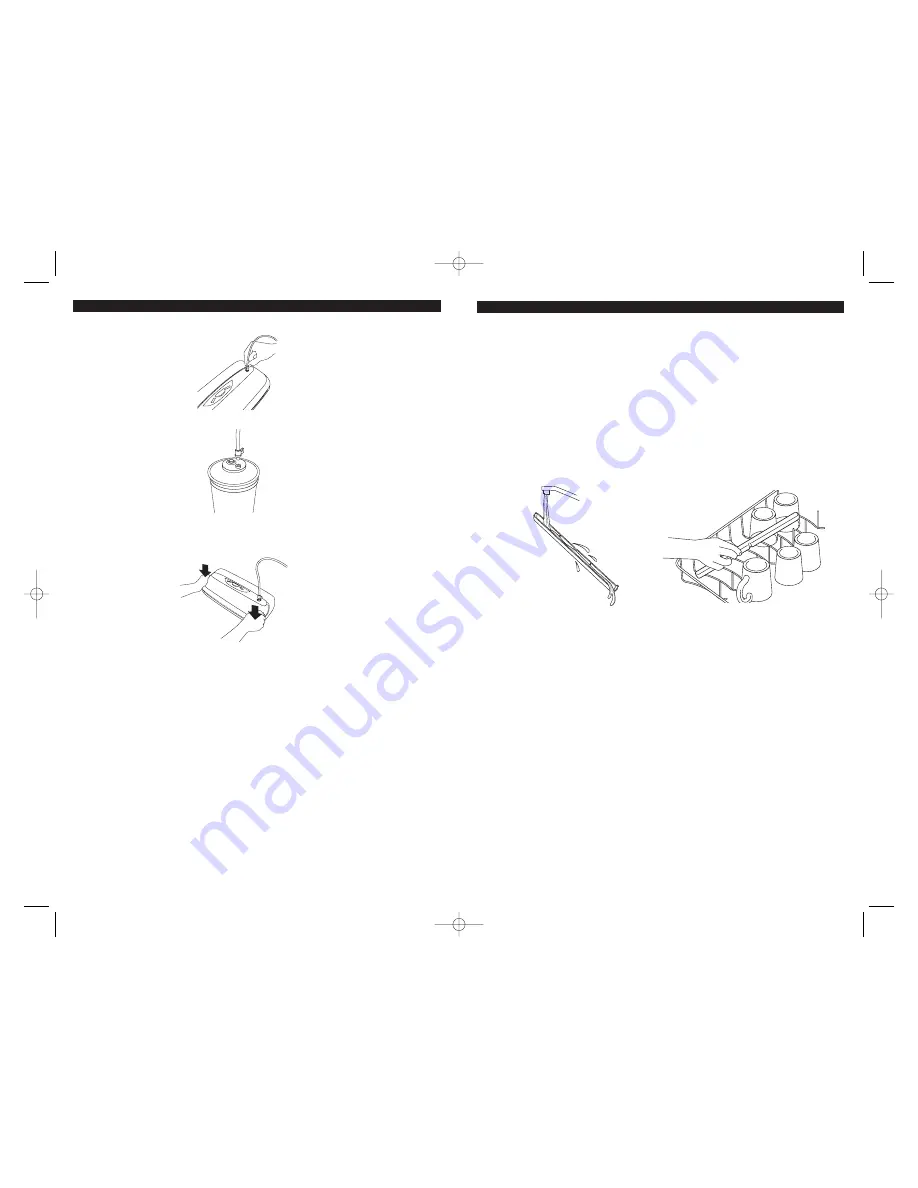
1. Always unplug the unit before cleaning.
2. Do not immerse in water.
3. Do not use abrasives to clean the unit.
4. Wipe the outer surfaces with a soft, damp cloth and soap.
5. To clean the inside of the unit, wipe away any food or liquid with a paper towel.
6. Dry all parts thoroughly before you plug in and operate the unit again.
Cleaning the Removable Drip Tray
The Seal-a-Meal
®
Vacuum Food Sealer is equipped with a Removable Drip Tray to trap any liquid
that may be drawn from the bag. The Drip Tray contains antimicrobial protection, which inhibits
the growth of stain and odor causing bacteria and keeps the unit cleaner between uses. Normal
cleaning practices should be maintained.
1. Lift the lid and carefully remove the Drip Tray as to not spill any contents.
2. Wash the Drip Tray in warm, soapy water or on the top rack of the dishwasher.
3. Allow to dry completely.
4. Replace Drip Tray.
Cleaning the Bags
1. Wash bags in warm, soapy water.
2. Bags can be washed in the dishwasher if desired. Turn bags inside out and spread them over the top rack
only.
3. Allow bags to dry completely before using.
NOTE:
DO NOT reuse bags if they have been used to store raw meats, fish, oily foods or have been
boiled or microwaved.
CARE AND CLEANING
-9-
-8-
HOW TO VACUUM SEAL WITH OTHER BRAND ACCESSORIES
1. Firmly insert one end of the Accessory Hose that came with your machine into the Accessory
Port.
2. Attach the other end of the Accessory Hose to the accessory.
3. To begin the vacuum process, press down firmly on Lid with both hands and hold until the
motor starts. Continue to hold the Lid. When the Hands-free Indicator Light illuminates, it is safe
to remove your hands from the Lid. The unit continues to vacuum. Once all the air is removed,
the motor and indicator lights will automatically turn off.
NOTE:
Sealer will not operate if Lid is not properly closed.
NOTE:
The Open/Cancel button can also be used to cancel the process mid-cycle and open the lid.
VS106_VS107_VS108_07EM1.qxd 10/11/07 19:42 Page 9


