
Avoid unintentional starting.
DO NOT
use the sander for a task it is not designed to perform.
DO NOT
operate sander if any parts are damaged or missing. This may cause failure and/or injury.
WARNING!
DO NOT
sand any materials containing asbestos.
DO NOT
carry the sander by the electrical cable.
DO NOT
use sander with water, get the sander wet or use in damp or wet locations, the sander is for dry use only.
DO NOT
operate sander if you are tired or under the influence of alcohol, drugs or intoxicating medication.
DO NOT
use where there are flammable liquids, solids or gases such as paint solvents or waste wiping or cleaning rags.
DO NOT
leave the sander running unattended.
DO NOT
carry the sander with your finger on the power switch.
When not in use disconnect from power supply and store in a safe, dry, childproof area.
2. INTRODUCTION
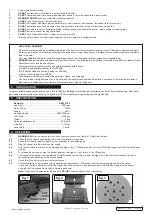
Features variable speed control ranging from 4000 to 7000rpm. Rotating self-contained dust extraction port with dust collection bag. Alloy bevel
gear head with composite motor housing. Supplied with Ø150mm hook-and-loop backing pad and side handle.
3. SPECIFICATION
Model No:
..............................................................
DAS151.V2
Pad Size: ....................................................................Ø150mm
Motor Power: ...................................................................
750W
Supply: ............................................................................. 230V
No Load Speed: ................................................ 4000-7000rpm
Orbit Size: ....................................................................Ø3.5mm
W
eight: .............................................................................2.5kg
Noise (power/pressure): ............................................
92/81dBA
Vibration: .....................................................................7.19m/s²
Uncertainty: ...................................................................1.5m/s²
4. OPERATION
WARNING!
Before use, ensure that you have read and understood Section 1 Safety Instructions.
4.1.
Attach the side handle by screwing into which side location is required.
4.2.
Attach the correctly rated sanding disc (not supplied) to the sanding pad.
4.3.
Plug the sander into the electric power supply.
4.4.
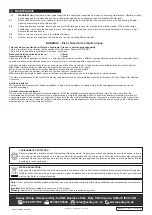
Grip the side handle and turn on by pressing the trigger (fig.1). Pressing the lock button will hold the trigger and allow for continuous
running.
4.5.
To release the switch and stop the sander, depress the trigger - it will return to the Off position.
4.6.
The speed of the sander can be adjusted using the speed control (fig.1) within the trigger, turn the control clockwise to increase
the speed or anti-clockwise to reduce the speed.
4.7.
Check that the unit is working correctly before use
.
4.8.
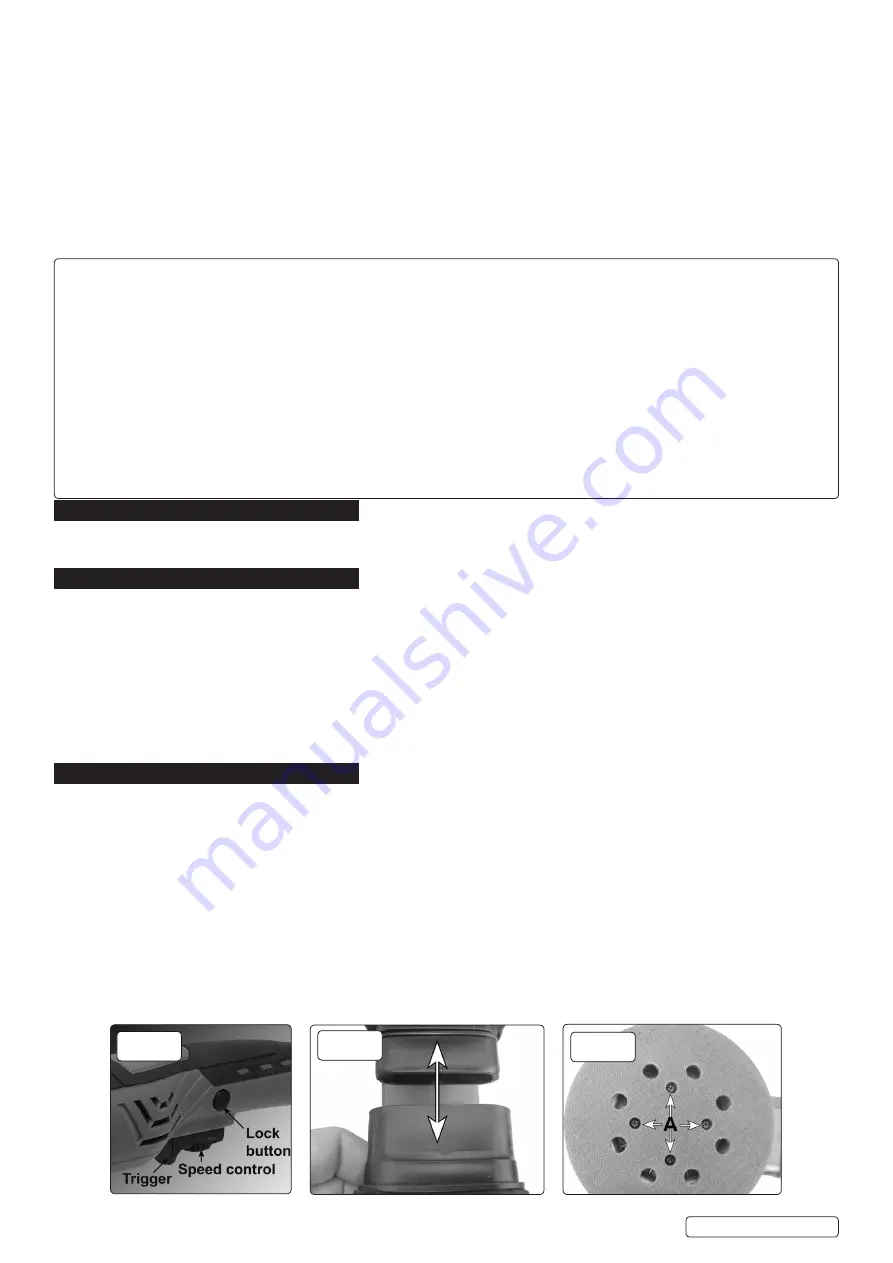
The dust collection bag will need to be emptied on a regular basis. Disconnect from the power supply and hold the sander
in a vertical position, gently pull off the dust bag (fig.2) and empty in to a suitable container. Refit the dust bag onto the sander,
ensuring that it is pushed home fully to create a good seal
.
Note:
The sander is designed for dry use only.
DO NOT
use with water or any other liquids.
LEAD PAINT WARNING!
Paint once contained lead as a traditional ingredient. The dust from the removal of such paint is toxic if inhaled or ingested and must,
therefore, be avoided. The following action must be taken before using the sander on a surface that you suspect may have contained
lead in the paint.
1.
User must determine potential hazard relating to age of paint to be removed. (Modern paints do not contain lead).
2.
DANGER!
Keep all persons and pets away from the work area. The following are particularly vulnerable to the effects of lead paint dust:
Expectant women, babies and children.
3.
We recommend personal protection by using the following safety items:
a
) Paint Spray Respirator (Sealey ref: SSP1699)
b
) PE Coated Hooded Coverall (Sealey ref: SSP266)
c
) Latex Gloves (Sealey ref: SSP24)
4.
Take adequate measures to contain the paint dust, flakes, and scrapings.
5.
Continue to wear safety equipment as in 3 above, and thoroughly clean all areas when task is complete. Ensure that paint waste is
disposed of, in sealed bags or containers, according to local authority regulations.
fig.1
fig.2
fig.3
DAS151.V2 Issue: 1 - 14/02/18
Original Language Version
© Jack Sealey Limited


