5. INSTALLATION
Note:
If too small a small gas cylinder is used, the heater may not operate at maximum efficiency. It is recommended to use two or more
cylinders
linked in parallel, to achieve maximum continuous efficiency. In this circumstance the advice of your gas supplier should be
sought.
5.1. Connections
5.1.1. Check heater and g
as cylinder to ensure that they are both in good condition. If not, stop and contact your supplier immediately.
5.1.2. Site the heater and gas cylinder in the location to be heated, taking the safety warnings in section 1 into consideration.
WARNING!
Before attempting to connect the heater to the gas bottle, ensure that there are no sources of ignition in the vicinity and that
the
area
is
well
ventilated
5.1.3. Connect the gas supply hose to the pressure regulator, and connect the regulator to the gas cylinder.
NOTE:
Propane cylinders are fitted with left hand threads.
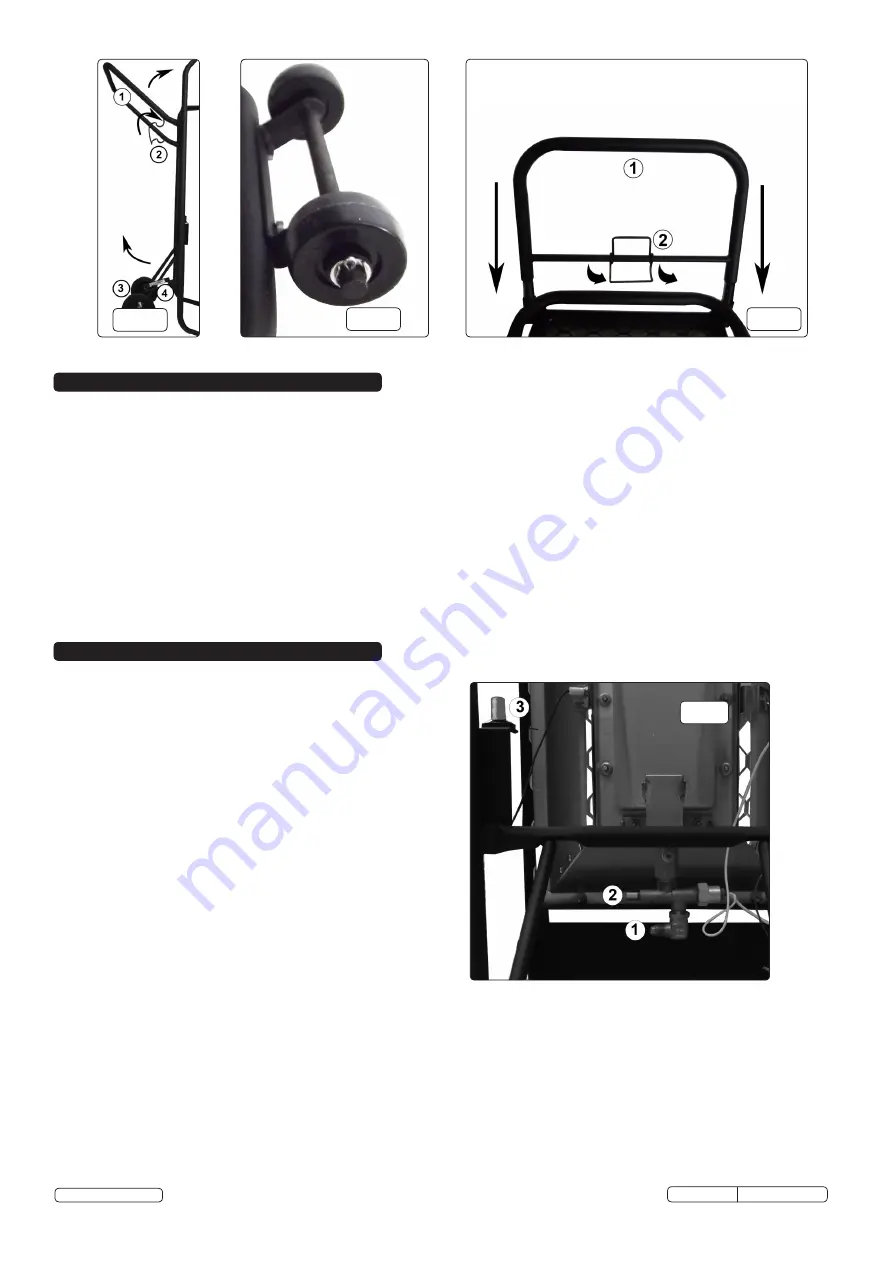
5.1.4. Connect the other end of the supply hose to the heater (fig 4.1. or 6.1.). Ensure all connections are tight.
DO NOT
use PTFE tape.
5.1.5. Open the tap of the gas cylinder gradually. Check hose and all fittings for gas leaks.
`
WARNING: DO NOT USE A NAKED FLAME TO CHECK FOR LEAKS!
Use a proprietary leak detector spray.
6. OPERATION - LPH35
6.1.
Ensure that the installation is gas-tight, ensuring all the
provisions of section 5 have been met.
WARNING! STAY WELL BEHIND THE BURNER ASSEMBLY
WHEN IGNITING
6.2.
Press the thermocouple override button (fig 4.2.) in. This will
release gas to enable ignition.
6.3.
Press the igniter button (4.3) repeatedly.
6.4.
Once lit, keep the override button depressed for about
1 minute. Slowly release the button and the burner will stay
alight.
NOTE:
On first use and after connecting a fresh gas cylinder,
hold the override button in for an extra amount of time allowing
air to be purged from the delivery pipe. Keep clicking the igniter
button until the gas ignites.
6.5.
To extinguish the heater: screw down the cylinder tap.
6.6.
The pressure regulator is factory set and no adjustment is
possible.
DO NOT
replace with anything but the correct valve for
this heater.
6.7.
The LPH35 is fitted with a tilt switch that will shut off the gas
supply in the event of the heater being knocked over or
subjected to extreme vibration. This switch will reset
automatically when the heater is returned to the correct position.
fig.4
fig.1
fig.2
fig.3
NOTE: Some paint discolouration will occur during
use:
this
is
to
expected.
WARNING!
Remember that the heater will stay hot for a considerable time after being extinguished.
DO NOT
attempt to move until cooled
thoroughly.
Original Language Version
LPH35,LPH125 Issue: 1 - 23/07/14
© Jack Sealey Limited


