Original Language Version
re300 Issue: 1 - 30/11/09
NOTE: It is our policy to continually improve products and as such we reserve the right to alter data, specifications and component parts without prior notice.
IMPORTANT:
no liability is accepted for incorrect use of this product.
WARRANTY:
Guarantee is 12 months from purchase date, proof of which will be required for any claim.
INFORMATION:
for a copy of our latest catalogue and promotions call us on 01284 757525 and leave your full name and address, including postcode.
Sole UK Distributor, Sealey Group,
Kempson Way, suffolk Business
Park
,
Bury st. edmunds, suffolk,
IP32 7Ar
01284 757500
01284 703534
sales@sealey.co.uk
www.sealey.co.uk
Web
6.1.
Before each use, check the spring compressor to ensure it is not damaged or worn. If in any doubt do not use the
spring compressor. remove it from service immediately and contact your local sealey dealer for advice and/or repairs.
6.2.
Periodically clean the sliding columns and wipe over using a little transmission oil.
6.3.
Any other maintenance required should be carried out by an authorised service agent.
6.4
.
If the spring compressor is not being used for a considerable length of time, disconnect the air supply and discharge
any air in the cylinder by depressing the foot control lever. drop a little sealey air tool oil into the air inlet and cover to
prevent the ingress of any foreign matter.
6. MAINTENANCE
WARNING! Keep hands away from spring.
DANGER! Stop compressing the spring before the coil windings touch
5.2.5. When the spring is compressed sufficiently, fit the top locking plate to the strut, and using a new nut, secure it in
position.
5.2.6. decompress the spring carefully and slowly, using the pedal on the foot control unit, ensuring the spring locates properly.
5.2.7. remove complete strut carefully from the spring compressor.
5.2.8. When re-fitting the strut to the vehicle, the locking plate nut will need to be fully tightened using a torque wrench, to a
setting in accordance with the vehicle manufacturer's specification.
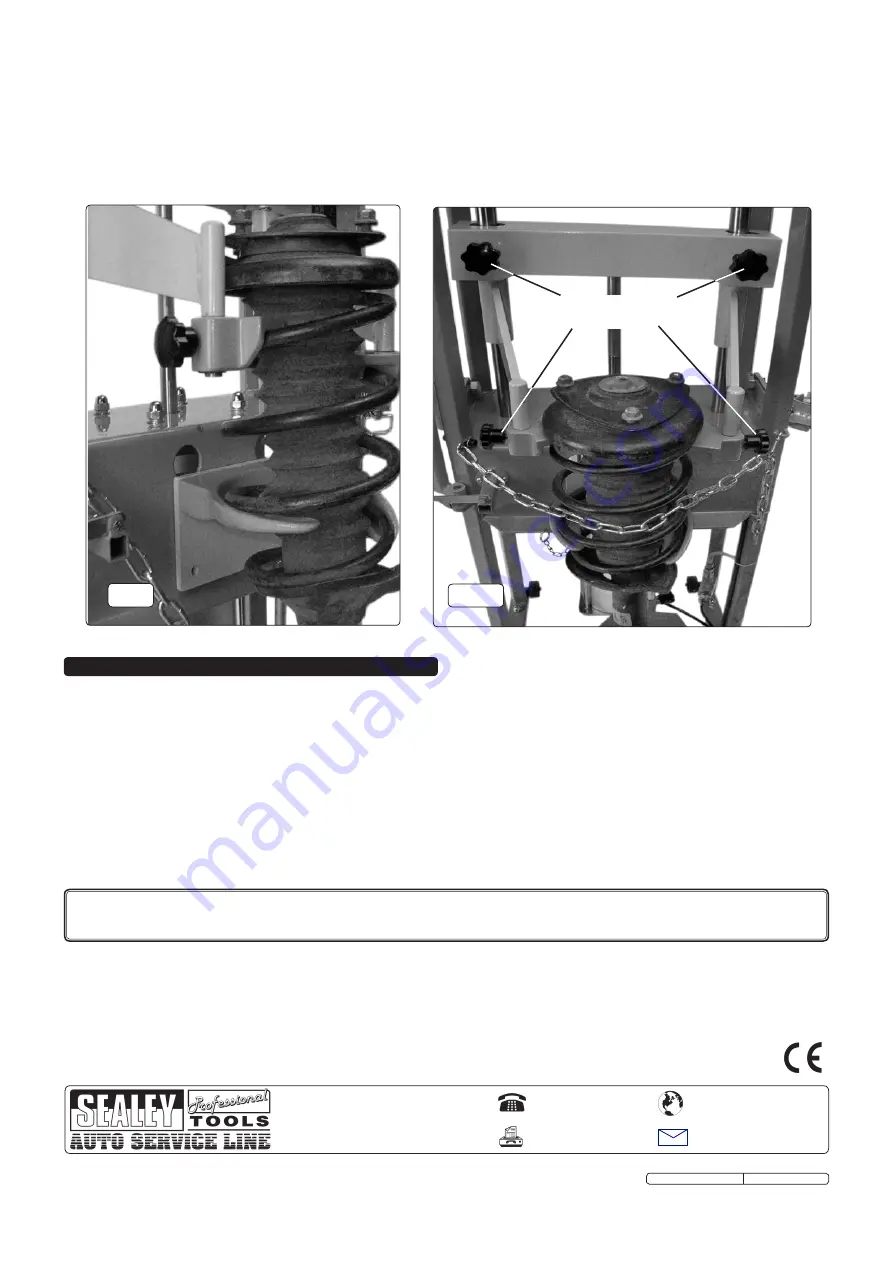
fig.9
fig.10
tighten all knobs
when in place
Parts support is available for this product.
to obtain a parts listing and/or diagram, please log on to www.sealey.co.uk, email sales@sealey.co.uk or phone 01284 757500.


