7
1. Heavy-duty battery clamps
2. Display button
3. Digital display
4. USB button
5. USB Port
6. Booster ON/OFF switch – 0 or 12V position for Model 12V / 0 or 12V or 24V position for
Model 12/24V
7. 12V DC socket
8. 12V DC charge port
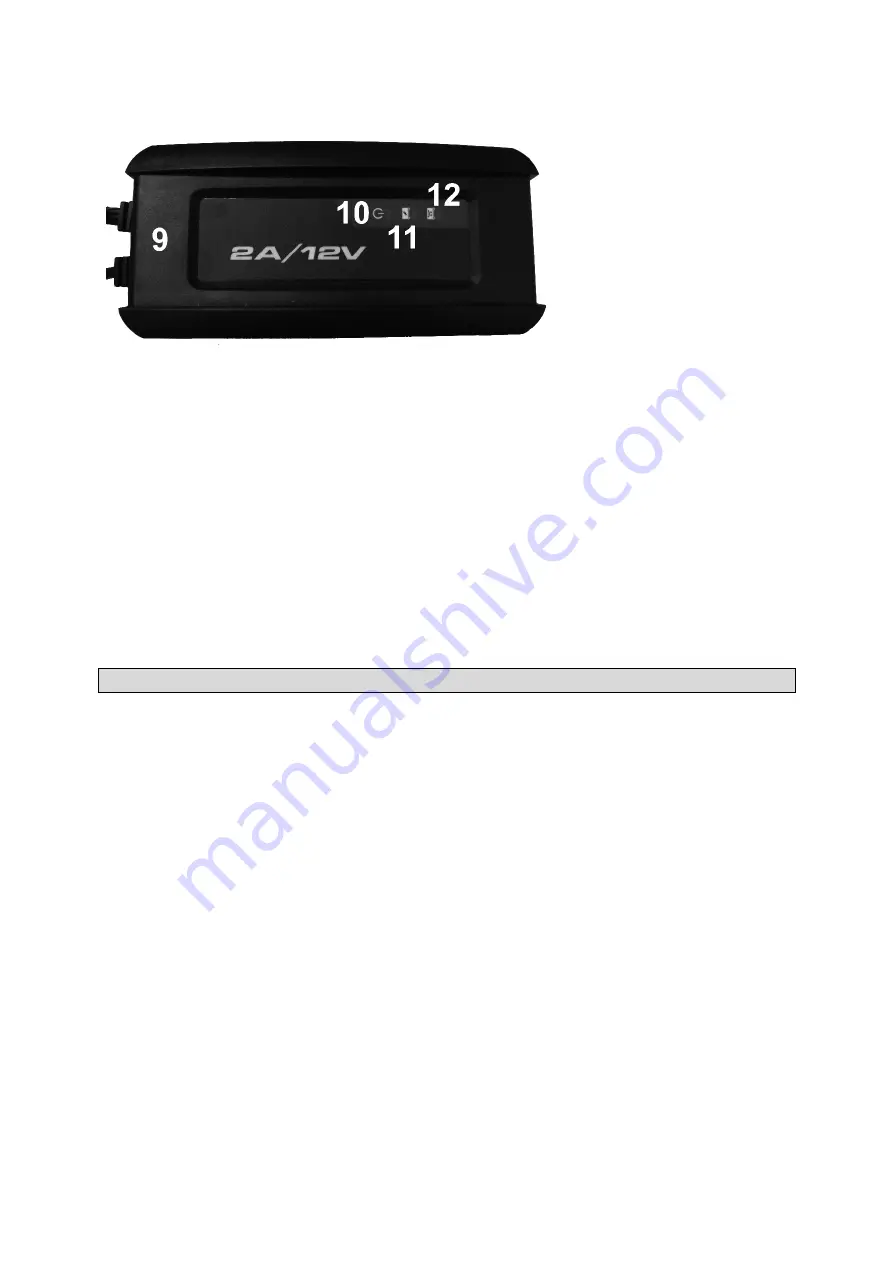
9. 12V-2A charger
10. Power LED
11. Charging status LED
12. Bad Battery LED
6. CHARGING THE INTERNAL BATTERY OF THE ROADSTART®
IMPORTANT: CHARGE IMMEDIATELY AFTER PURCHASE, AFTER EACH USE AND AS OFTEN AS POSSIBLE.
THE ROADSTART® CAN BE LEFT PERMANENTLY CONNECTED TO THE AUTOMATIC CHARGER. NEVER
WAIT UNTIL THE ROADSTART® IS COMPLETELY DISCHARGED BEFORE RECHARGING.
6.1.1 Digital Display on the Roadstart®
When not connected to a vehicle battery and when the Roadstart® clamps are stored on their plastic
storage holders:
To check thr internal battery’s charge status, press the display button on the front of the Roadstart®.
The digital display will show the battery’s percentage (%) of charge. A fully charged battery will read
100%. Charge the internal battery if the display shows under 100%.
With the rotary switch in the ON position (not connected to a vehicle): Select the voltage 12V (or 24V
PBI4424GS only), the digital display can be used to check the voltage level of the Roadstart®’s internal
battery.
NOTE: The internal battery’s percent of charge or Voltage level is most accurate when the Roadstart®
has been disconnected from all devices and charging sources for a few hours.
When connected to a vehicle battery AND the Roadstart® switch is in the OFF postion: The digital
display can be used to indicate the vehicle’s battery voltage.


