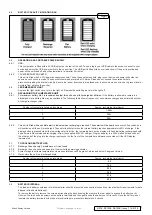
4.3.
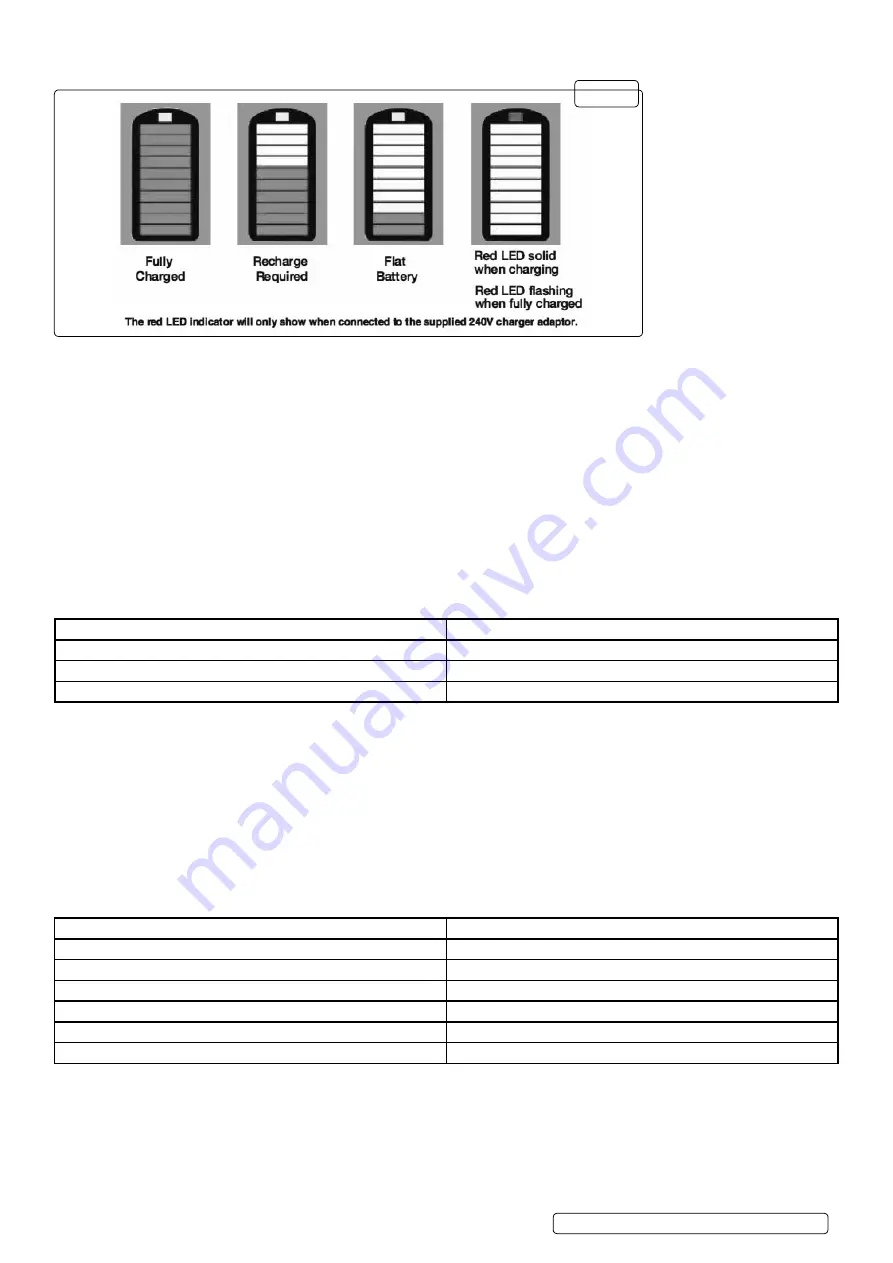
BatteRy capacity indicating BaR
4.4.
opeRation as a poRtaBle poWeR supply
4.4.1.
usB:
This Jumpstarter is fitted with a 5V USB output on the rear of the unit. To use, plug in your USB cable to the socket, connect to your
device and switch the USB power switch to the on position. The USB port is fitted with an overload circuit; if the port is overloaded
power will be switched off and will automatically re-set after 2 minutes.
4.4.2.
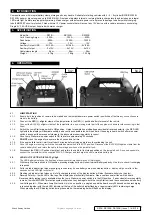
12V AccessorY socKets:
This unit is fitted with 2 x 12V power accessory sockets. To use these output sockets, plug in your device and power will output as
soon as a connection is made. These sockets combined are rated at 15 Amps. Please do not exceed these rated limits to
prevent overloading the internal circuitry. ensure the rubber dust covers are placed over the sockets when not in use to prevent dust or
moisture from entering the socket.
4.5.
led emeRgency light
depress the light switch once to turn the light on. depress the switch again to turn the light off.
4.6.
RechaRging the jumpstaRteR unit
4.6.1.
for maximum battery life it is recommended that this unit be kept fully charged at all times.
if the battery is allowed to remain in a
discharged state, battery life may be shortened. the following table shows frequency of use between charges and estimated number
of charge/recharge cycles:
number of Jumpstarts between recharging
Approx. recharging time(Hours)
1
1000+
5
700+
10
500+
4.6.2.
This unit is fitted with an audible alert to indicate when recharging is required. These alerts will be heard
once every 25 seconds, and
will continue until the unit is recharged. these alerts will start when the internal battery reaches approximately 60% of charge. if the
display button is pressed whilst the low voltage alert is active, the remaining bars on the display will flash indicating recharging should
be performed. Recommended recharging is from the supplied 230V AC charger. Plug the adaptor to a 230V wall outlet and connect
the other end of the plug into the charge input socket on the front of the Jumpstarter and leave connected until the led display
indicates full.
4.7.
to pRolong BatteRy life:
4.7.1.
recharge the unit every 3 months even if it isn’t used.
4.7.2.
recharge the unit as soon as possible if the low voltage warning activates.
4.7.3.
Avoid storage in extreme temperatures where possible (above 50 degrees celsius and below 0 degrees celsius)
4.7.4.
never store the unit in a discharged state.
number of Jumpstarts between recharging
Approx. recharging time(Hours)
1
8.5
2
16.5
3
25.0
4
33.5
5
41.5
6
50.0
4.8.
BatteRy disposal:
the lead acid battery contained in this Jumpstarter should be recycled once expired (consult your local authority requirements for safe
disposal of lead acid batteries).
to remove the battery, remove the screws surrounding the back housing then remove the rear panel to expose the battery cavity.
unscrew the two hex head screws on the battery terminals and then gently slide the battery out of its cavity. once the battery is out,
insulate the battery terminals with strips of electrical tape to prevent accidental short circuits.
fig.3
rs1B, rs102B, rs103B | issue 1 16/01/18
Original Language Version
© Jack sealey limited

