WARNING! Ensure you have read, understood and applied the safety instructions. This Tool
is designed for riveting metal, primarily in workshops and garages. We do not recommend any
other use.
4.1.
Filling with hydraulic oil: (Check each time before use).
4.1.1. Disconnect the tool from the air line.
4.1.2. Hold the tool upside-down and remove the air cylinder cap with a spanner.
4.1.3. remove piston set.
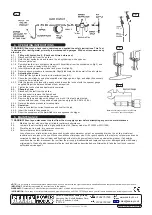
4.1.4. Pump hydraulic oil into hydraulic cylinder until it overflows from the cylinder neck, (fig 3) and
wipe any excess oil away with a dry cloth.
4.1.5. Insert hydraulic plunger into cylinder and press it in slightly.
4.1.6. reverse above procedure to reassemble. Slightly lubricate the inside wall of the air cylinder.
4.2.
Adjusting the stroke:
4.2.1. check that the hydraulic level is at its maximum (see
4.1
).
4.2.2. check the jaw stroke by using the supplied wrench/gauge as in fig.4, and adjust if necessary
(there is a 5mm tolerance).
4.2.3. Hold the jaw case in place with a spanner and loosen the lock nut with the spanner gauge
supplied. Adjust the distance between them as required.
4.2.4. Tighten the lock nut when adjustment is complete.
4.3. Changing Jaws:
4.3.1. Disconnect the tool from the air line.
4.3.2. use a spanner to remove the frame head.
4.3.3. use both spanners to unscrew the jaw case.
4.3.4. remove the jaws and clean with solvent or a brush. If the teeth are blunted,
replace with new jaws. use genuine Sealey parts only (part no. SA314.V2-04).
4.3.5. reverse the above procedure to reassemble.
4.4.
Operation:
4.4.1. Be sure to select the correct nosepiece and rivet for the job.
4.4.2. Insert the rivet into the nosepiece.
4.4.3. Direct the nosepiece at the pre-drilled hole and squeeze the trigger.
4. OPERATING INSTRUCTIONS
5. MAINTENANCE
WARNING! Ensure you disconnect the tool from the air supply system before attempting any service or maintenance.
5.1. Maintain the tool with care. Keep it oiled for optimum performance.
5.2. Lubricate the air tool daily with a high quality air tool oil, (Sealey model no. ATo/500 or ATo/1000).
5.3. Store the tool in a safe, dry, secure environment.
5.4. Factors that may inhibit performance.
Loss of power or erratic action may be caused by reduced compressor output, an excessive drain on the air line, moisture or
restrictions in air pipes or the use of hose connections of improper size. Grit or gum deposits in the tool may cut power and can be
corrected by cleaning the air strainer and flushing out the tool with gum solvent oil or an equivalent de-greaser. If all outside
conditions are in order, disconnect the tool from the air supply, disassemble and replace any worn or damaged parts with Sealey
original parts. clean all parts, reassemble the tool and lubricate as described above. Alternatively, take the tool to your nearest
authorised service agent.
Note:
Wrench/gauge design may differ from
above. See spare parts diagram.
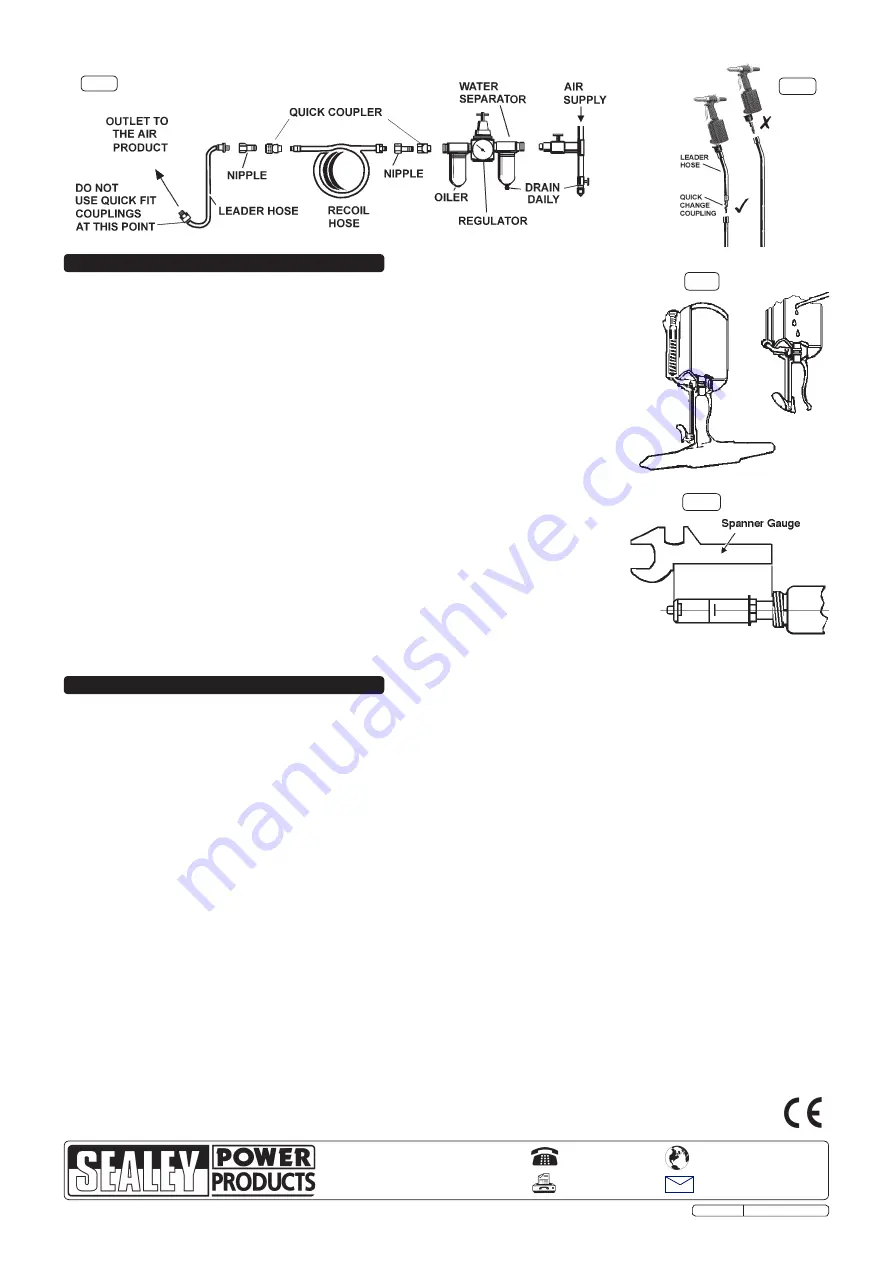
Fig.1.
Fig.2.
Fig.3.
Fig.4.
NOTE:
It is our policy to continually improve products and as such we reserve the right to alter data, specifications and component parts without prior notice.
IMPORTANT:
no liability is accepted for incorrect use of this product.
WARRANTY:
Guarantee is 12 months from purchase date, proof of which will be required for any claim.
INFORMATION:
For a copy of our latest catalogue and promotions call us on 01284 757525 and leave your full name and address, including postcode.
01284 757500
01284 703534
sales@sealey.co.uk
Sole UK Distributor, Sealey Group,
Kempson Way, Suffolk Business Park
,
Bury St. Edmunds, Suffolk,
IP32 7Ar
www.sealey.co.uk
Web
Original Language Version
SA314.V2 Issue: 2 - 08/12/09


