In order to keep the compressor in good working condition, periodic maintenance is essential.
WARNING!
Before performing any maintenance operation, switch off the compressor, disconnect from electricity supply and
release all air from the tank.
IMPORTANT! Failure to carry out maintenance tasks may invalidate the warranty on your compressor.
6.1.
OPERATIONS TO BE CARRIED OUT AFTER THE FIRST 5 WORKING HOURS:
a) Check that all bolts/nuts are tight, particularly those retaining the crank case and cylinder head.
6.2.
OPERATIONS TO BE CARRIED OUT AFTER THE FIRST 50 WORKING HOURS:
b) Replace the lubricating oil - see para 6.5.
6.3.
OPERATIONS TO BE CARRIED OUT DAILY:
a) Drain condensation by opening the valve located under the tank (fig.9). Place a container under the valve and slowly open the valve
by turning counterclockwise.
6.4.
OPERATIONS TO BE CARRIED OUT EVERY 100 HOURS (or more frequently, if the compressor operates in a very dusty
atmosphere)
a) Check oil level and, if necessary, top up.
b) Remove the filter elements (See fig.3) and clean with compressed air (wear eye protection).
DO NOT
operate the compressor
without the filters as foreign bodies or dust could seriously damage the pump.
c) Check for oil leaks.
6.5.
OPERATIONS TO BE CARRIED OUT EVERY 200 HOURS:
a) Replace the lubricating oil. For oil specifications see 6.7.
Remove the oil filler plug (see fig 5.B) then unscrew oil drain plug (see fig.5) and drain the oil into a container. Drain when the
compressor is hot so that oil drains rapidly and completely. Incline compressor to ensure complete drainage.
Replace oil drain plug and refill through the oil filler aperture. Do not overfill. Replace oil filler plug.
b) Check the automatic cut-out at max. pressure and the automatic cut-in at 2bar below.
WARNING! Never mix different oils and DO NOT use non-detergent/low quality oils as the compressor may be damaged.
WARNING!
Dispose of waste oil only in accordance with local authority requirements.
6.6.
OPERATIONS TO BE CARRIED OUT EVERY 500 HOURS:
a) Replace air filter. (See fig.3)
b) Check all tube fittings and electrical connections.
6.7.
Recommended oils;
Recommended oil for compressors, suitable for room temperatures ranging from +5°C to +25°C.
SEALEY CPO or equivalent SAE 40 compressor oil. Room temperature below +5°C: SAE 20 compressor oil.
6.8
IMPORTANT WARNING
- Air contaminants taken into the compressor will affect optimum performance.
Example: Body filler dust or paint overspray will clog the pump intake filter and may cause internal damage to pump/motor
components. Please note that any parts damaged by any type of contamination will not be covered by warranty.
6.9
Inspection of pressure tank both inside and out.
Under the PRESSURE SYSTEMS SAFETY REGULATIONS 2000 it is the responsibility of the owner of the compressor to initiate a
system of inspection that both defines the frequency of the inspection and appoints a person who has specific responsibility for
carrying out the inspection.
fig.9
Drain valve underside
of receiver, ensure it is
closed on start up (4.8)
and drained daily (6.3.).
Original Language Version
SAC3203B3PH Issue No: 1 - 27/10/14
© Jack Sealey Limited
6. MAINTENANCE
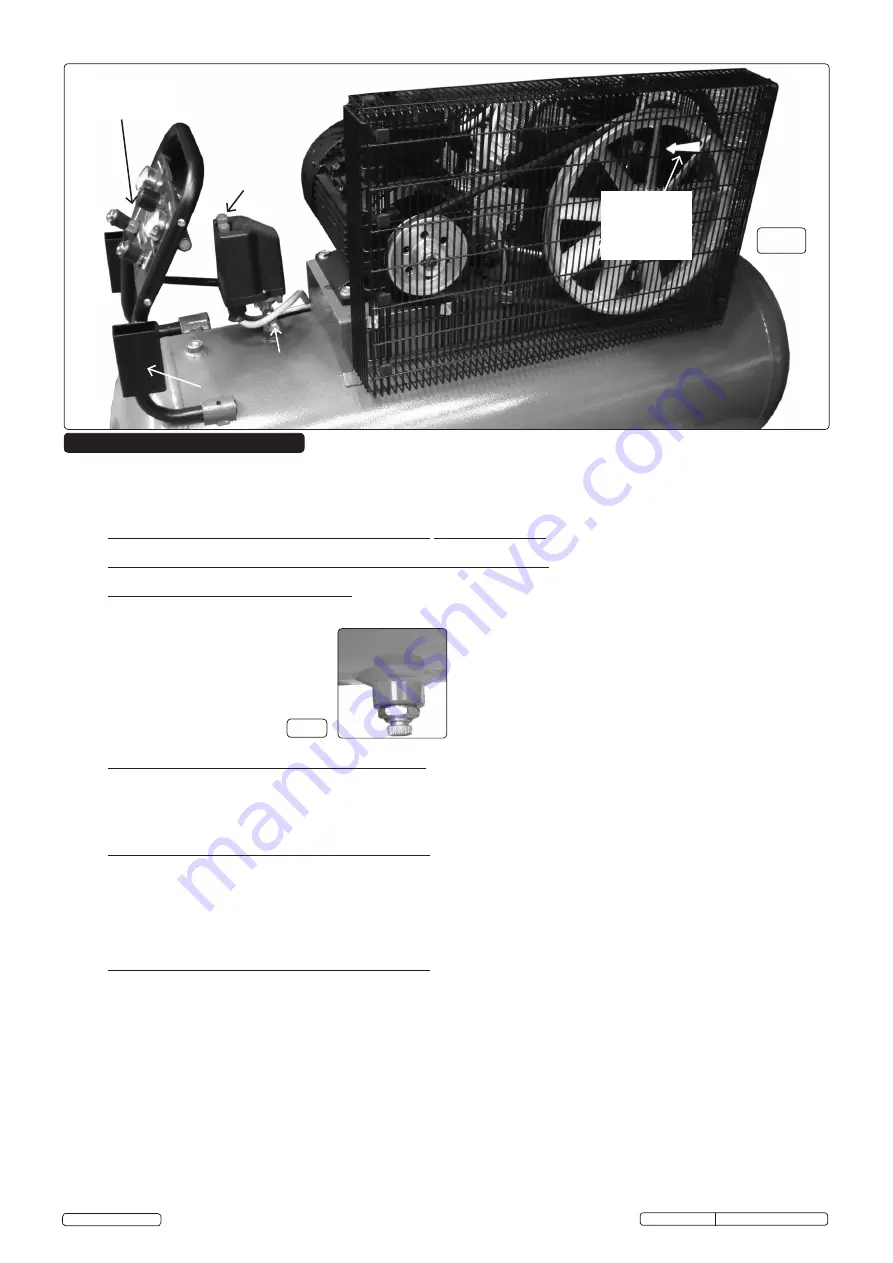
Pressure switch
and "On" (green)
"OFF" (red)
Push buttons
Control Panel
and ancilliaries
(fig.7)
Utility brackets
fig.8
Safety pressure
relief valve
IMPORTANT!
Anti-clockwise
rotation
(label on guard)
see 1.2.1
Receiver


