8
DO NOT
allow untrained persons to operate the cleaning tank.
8
DO NOT
operate the cleaning tank if any parts are missing or damaged as this may cause failure or possible personal injury.
8
DO NOT
leave the cleaning tank operating unattended.
8
DO NOT
operate the cleaning tank when you are tired, under the influence of alcohol, drugs or intoxicating medication.
9
The tank is not suitable for paint thinners, gun wash or air drying.
9
When not in use switch the cleaning tank off, remove plug from the power supply.
9
dispose of waste liquids in accordance with local authority regulations.
WaRNING! DO NOT
allow uncontrolled discharge of fluids thus polluting the environment.
2. INTRODuCTION
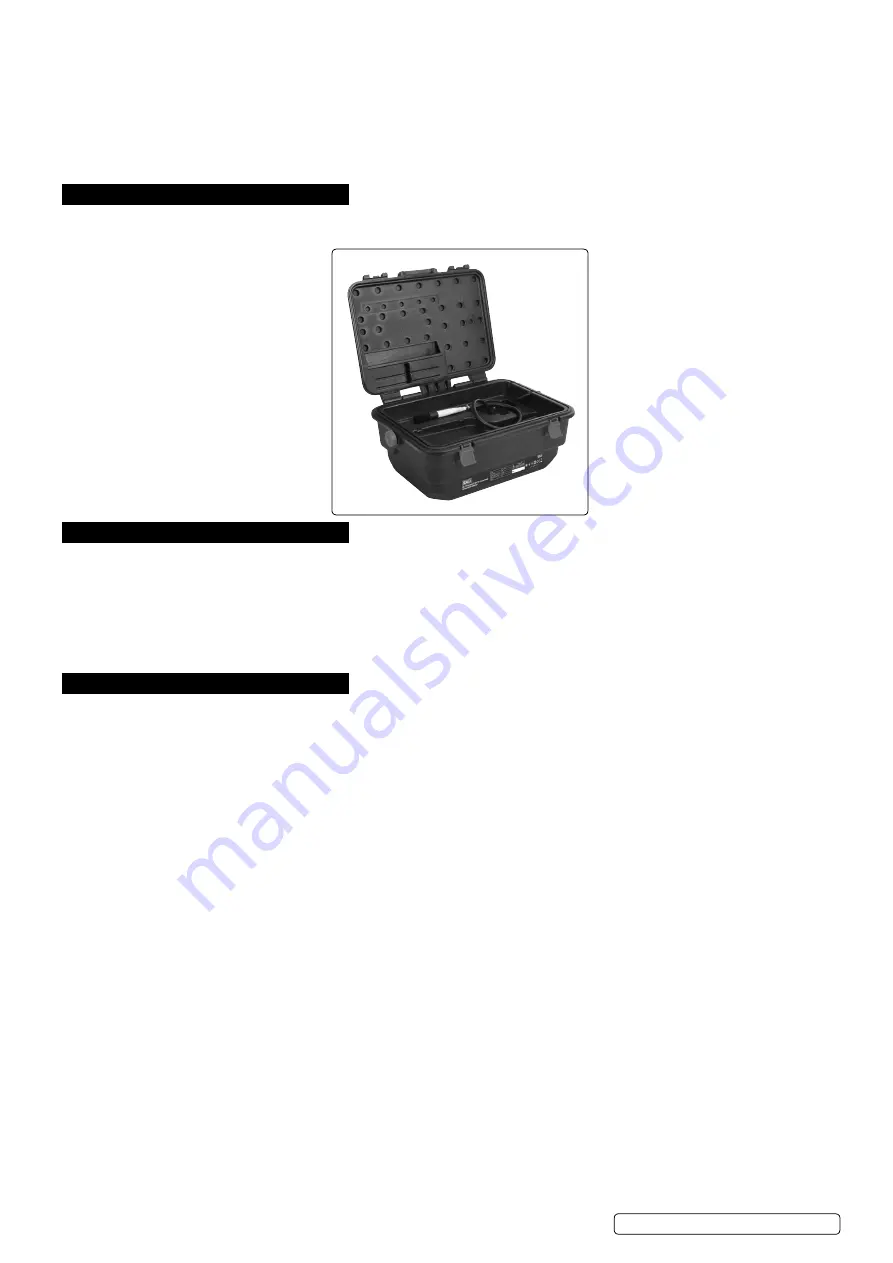
Blow-moulded parts cleaning tank with brush. Lightweight and mobile unit suitable for bench-top mounting. Fluid recirculated through filter
and directed onto work-piece through long reach hose and brush. For use with soluble cleaning agents only.
3. SPeCIfICaTION
Model no: ....................................................................................................SM222
dimensions: ........................................................
250mmH x 660mmW x 460mm
Ø
Weight:
..............................................................................................................5kg
Power Supply: ................................................................................................
230V
Motor Power ....................................................................................................
16W
Pump output: .......................................................................................
1000ltr/hour
Minimum Working Capacity:
.......................................................................... 7.5ltr
Maximum Working Capacity:
..........................................................................
16ltr
4. OPeRaTION
WaRNING!
ensure that you have read, understood and apply the section 1 safety instructions before using the cleaner.
4.1.
Check that the cleaning tank power switch is in the off position, and that the unit is unplugged from the mains power supply.
4.2.
Fill the tank to appropriate capacity (between a minimum of 7.5ltrs and a maximum of 16ltrs) with Sealey soluble solvent (Part nos:
AK20,AK2001,AK25 and AK2501) or a general purpose water-soluble degreaser (contact your local Sealey Stockist for supply).
DO
NOT
use any other type of aggressive solvent (petroleum, toluene or thinners etc.)
CauTION!
ensure that you follow any instructions
provided with the product.
4.3.
Remove plug from bottom of the cleaning tray to uncover mesh filter.
DO NOT
operate without mesh filter in place.
4.4.
Plug the unit into the mains power supply and switch the unit on. Check that the solvent flows freely through the outlet hose.
4.5.
Place parts to be cleaned onto the cleaning tray. Use brush to remove dirt gently from parts to be cleaned. Ensure any splash back
stays inside the tank.
4.6.
The brush can be placed temporarily in the pocket moulded into the lid. ensure that the pump is switched off beforehand.
4.7.
Should any component require to be soaked, the drain plug can be inserted to allow a quantity of fluid to remain in the tray. ensure
that the fluid drains back into lower tank afterwards.
4.8.
Turn off the pump and leave the parts to drain on the shelf.
4.9.
When complete, turn the cleaning tank off and unplug from the mains power supply.
4.10.
Keep the cleaning tank clean. Remove and clean the mesh filter regularly for the best and safest performance.
4.11.
The cleaning fluid can be re-used until it gets too dirty to be effective, at which point it needs changing.
4.12.
To drain spent fluid, remove drain cap on the left hand side of the unit and drain into a suitable container.
WaRNING! DO NOT
allow uncontrolled discharge of fluids, thus polluting the environment. dispose of waste liquids according to local
authority regulations.
S
M222 Issue 2 (HF) 29/06/18
Original Language Version
© Jack Sealey limited


