fig.2
fig.3
4. OPERATING INSTRUCTIONS
"
WARNING! Ensure you read, understand and apply safety instructions before use.
4.1.
Preparation.
4.1.1. Set vehicle heater control to ‘On’ and/or ‘Hot’.
4.1.2. Drain and flush coolant system.
4.1.3. Inspect all coolant system components and repair/replace any unserviceable items.
4.1.4. Prepare a suitable coolant mix (see vehicle handbook). Mix 10% more than the
system volume to ensure that the filler hose will always be submerged.
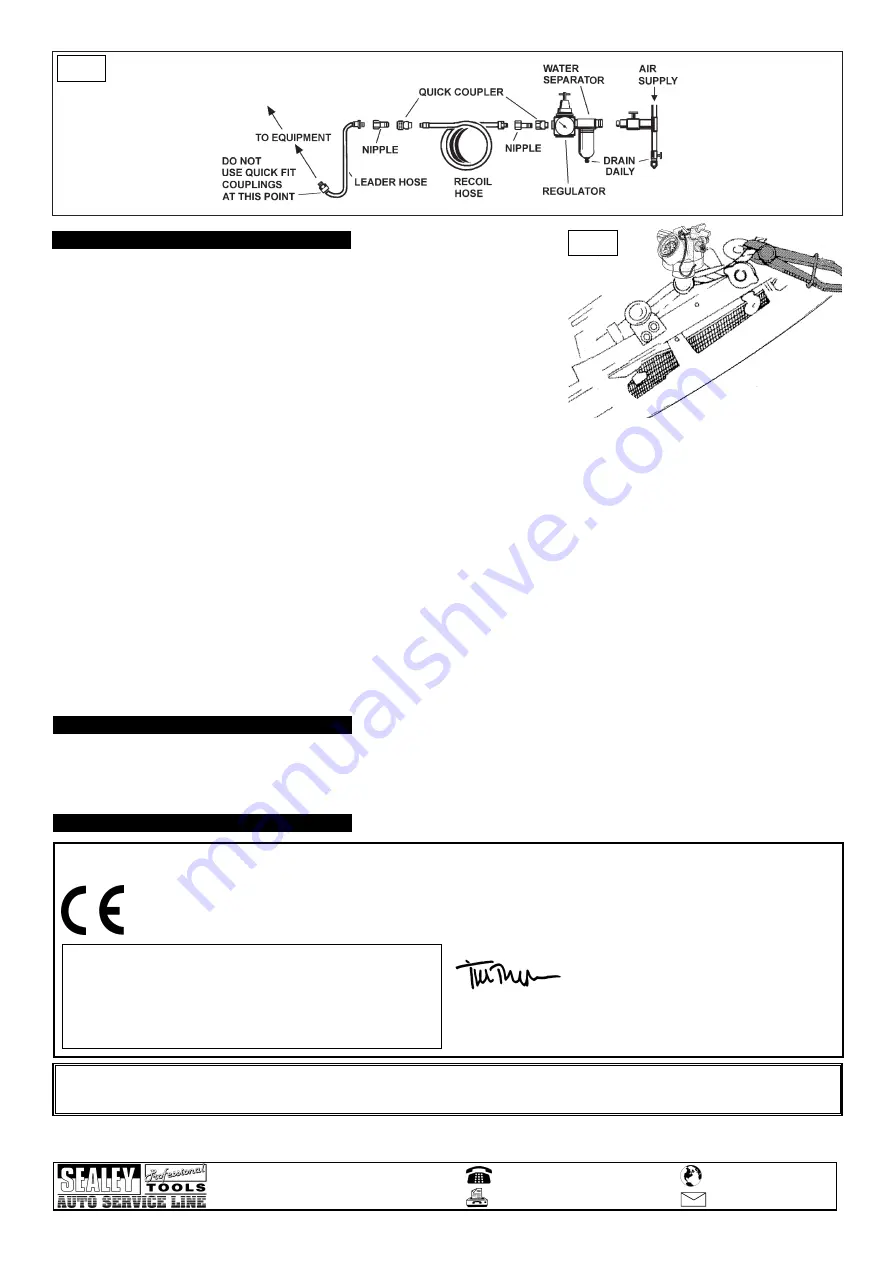
4.1.5. Connect the VS0041 to the air system, as described in Section 3.
4.2.
Suction Filling.
4.2.1. Raise the container of coolant level with the fill point. Insert the multi-fit rubber cone into the filler neck of the radiator (or header tank, if
fitted). Support the air line so that VS0041 is not pulled off centre.
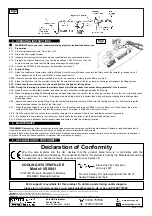
NOTE: On some vehicles fitted with an overflow tank, it may be necessary to clamp the overflow hose (fig.3).
4.2.2. Place the filler hose into the container of coolant. Ensure that the end of the hose remains submerged throughout the filling process.
4.2.3. Check that the coolant tap is in the closed (fully to the right or left) position
.
NOTE: During the following procedure the radiator hoses will collapse under the vacuum being generated - this is normal.
4.2.4 Open the vacuum tap (middle position) and allow the air to evacuate until the gauge reads 50-60cmHg.
4.2.5. When the gauge is reading 50-60cmHg and has stopped rising close the vacuum tap by pushing the lever fully to the left or right and check
the gauge over the next 3 minutes. If the gauge reading drops there is a system leak which will require locating and rectifying before
proceeding further.
4.2.6. Apply a downward force during filling. Open the coolant tap fully and coolant will flow into the cooling system. For best results raise the
coolant container above the level of the filler neck.
4.2.7. When the gauge reads ‘0’ turn the coolant tap to the off position and remove VS0041 from the filler neck. If necessary top-up the
coolant to the specified level and refit the pressure cap. The system is filled and free from air locks.
4.2.8. Start the engine and run until normal operating temperature is reached. Allow to cool and top-up coolant if necessary.
4.2.9. It is advisable to now pressure test the system and to check the operation of the thermostat and cooling fan(s).
4.2.10. When not in use, disconnect from air supply, clean and store in a safe, dry, childproof location.
VS0041 - 1 - 020707
"
WARNING!
Disconnect gun from air supply before changing accessories, servicing or performing maintenance. Replace or repair damaged parts.
Use genuine parts only. Unapproved parts may be dangerous and will invalidate the warranty.
Air supply faults may cause loss of power or erratic action. Reduced compressor output, excessive drain on the air line, moisture or restrictions in
air pipes or the use of hose connections of improper size may reduce air supply.
5. MAINTENANCE
6. DECLARATION OF CONFORMITY
We, the sole importer into the UK, declare that the product listed here is in conformity with the
following standards and directives. The construction file for this product is held by the Manufacturer and may
be inspected, by a national authority, upon request to Jack Sealey Ltd.
For Jack Sealey Ltd. Sole importer into the UK of
Sealey Professional Tools.
COOLING SYSTEM FILLER
Model: VS0041
97/23/EC Pressure Equipment Directive
93/68/EEC Marking Directive
2nd July 2007
Declaration of Conformity
Signed by Tim Thompson
01284 757500
01284 703534
sales@sealey.co.uk
Sole UK Distributor
Sealey Group,
Bury St. Edmunds, Suffolk.
www.sealey.co.uk
Web
NOTE:
It is our policy to continually improve products and as such we reserve the right to alter data, specifications and component parts without prior notice.
IMPORTANT:
No liability is accepted for incorrect use of this equipment.
WARRANTY:
Guarantee is 12 months from purchase date, proof of which will be required for any claim.
INFORMATION:
For a copy of our latest catalogue and promotions call us on 01284 757525 and leave your full name and address, including postcode.
Parts support is available for this product. To obtain a parts listing and/or diagram,
please log on to www.sealey.co.uk, email sales@sealey.co.uk or phone 01284 757500.


