4.8.6 Install the primary chain on the right-hand bank (right-hand bank
primary chain is the rear chain on the crankshaft gear.
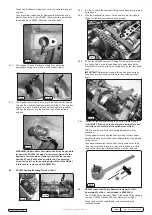
4.8.7 Fit the chain over the
INLET
camshaft gear and the crankshaft
gear (fig.39).
IMPORTANT:
Ensure that there is
NO SLACK
on the drive
side of the chain and that the VVT Unit (if fitted), is
NOT
rotated
on the camshaft.
4.8.8 Check that slack is on the tensioner side of the chain.
Re-fit the chain guide rails and tighten the rail bolts.
Repeat this procedure on the left-hand bank camshaft gears.
4.9
EARLY ENGINES
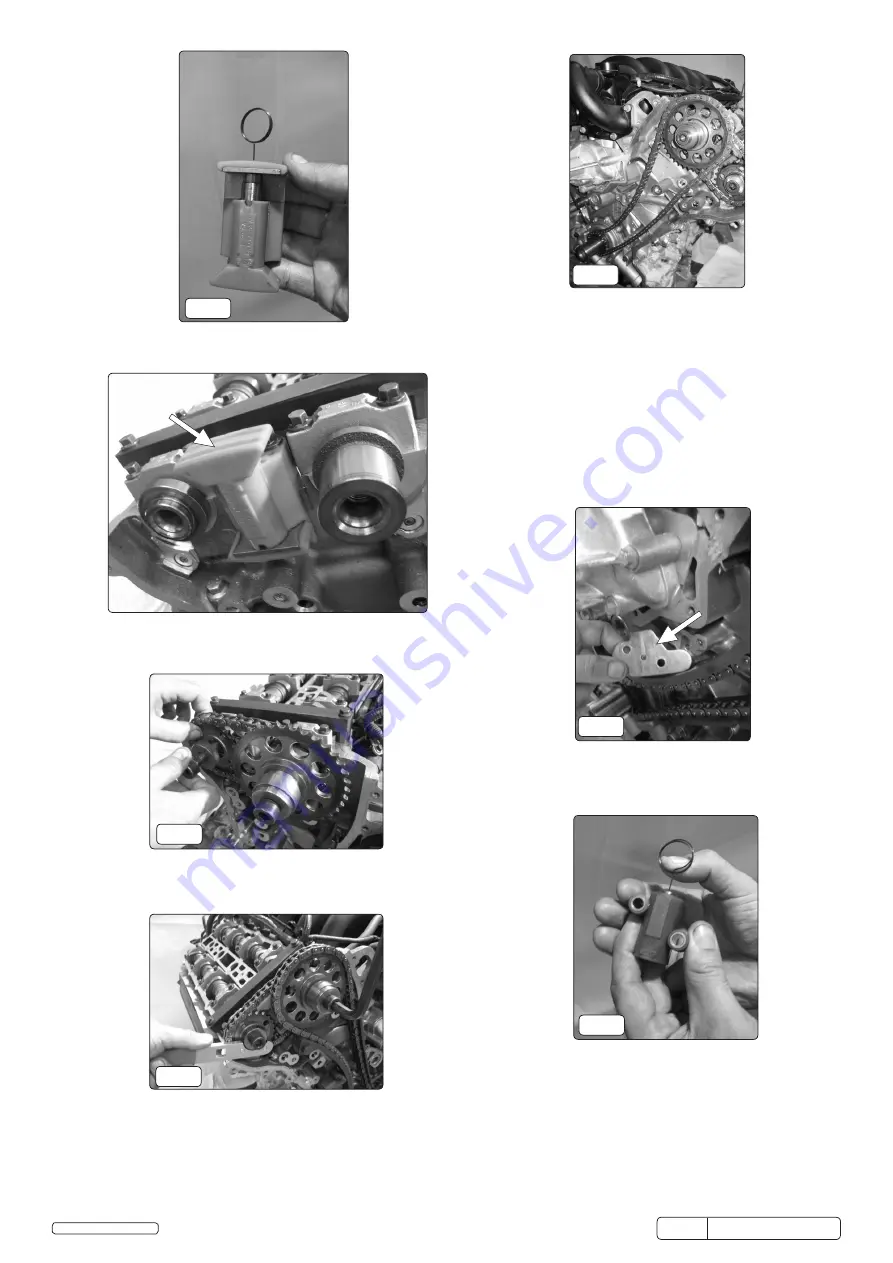
Primary chain tensioners
NOTE:
When installing the primary chain tensioners, ensure
that both the back plate and tensioner unit are re-fitted (fig.40),
(the back plate creates the seal for the tensioner unit).
4.9.1 Insert VS4593-1A Depress Pin in to the centre of the tensioner
plunger and press the Pin to de-press the plunger in to its
retracted position (fig.41).
fig.39
fig.40
fig.41
fig.36
4.8.1 Insert VS4593-1A Depress Pin, from Kit VS4980, in to the hole
in the tensioner to allow the plunger to be depressed (fig.35).
4.8.2 Working on the left-hand bank, re-fit the secondary chain
tensioner to the engine and tighten bolts (fig.36).
4.8.3 Re-fit the camshaft gears together with the secondary chain.
Screw in new gear bolts, finger-tight only, allowing the gears to
turn, but not tilt (fig.37).
4.8.4 Fit VS4984 Holding Tool and rotate and position the gears to
the most advantageous position in readiness for using the
Holding Tool when tightening the gear bolts (
NOTE:
once the
primary chain is fitted, the camshaft gears cannot be positioned
to assist Tool positioning (fig.38).
4.8.5 Repeat this procedure on the right-hand bank camshaft gears.
fig.35
fig.37
fig.38
Original Language Version
© Jack Sealey Limited
VS4980
Issue No: 3 (SP) 08/07/15


