ATLANTIC 3000
3000mm Diameter Ocean Buoy
Latest products and information available at
www.sealite.com
19
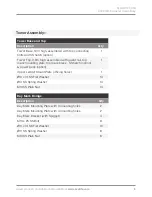
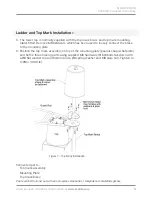
Ladder and Top Mark Installation:-
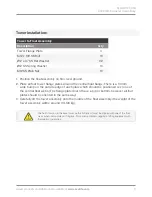
Ladder & Top Mark
Description
Qty
Ladder, 1.8m
1
Lower Ladder Mount Plate (2 fixing holes)
1
M10 x 25 SS Bolt
6
Ø10 x 31 SS Flat Washer
12
Ø10 SS Spring Washer
6
M10 SS Plain Nut
6
Top Mark Assembly (shape & colour as optioned)
1
M8 x 20 SS Cap Screw
4
Ø8 x 31 Flat Washer
8
Ø8 SS Spring Washer
4
M8 SS Plain Nut
4
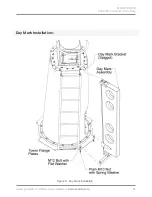
1. Fit a Ø10 flat washer to each M10 x 25 SS bolt and use to attach the upper ladder lugs to
the upper ladder mount plate.
Coat each bolt tail with an anti-seize compound or molybdenum disulphide grease.
2. Loosely fit a Ø10 flat washer, Ø10 spring washer and plain M10 nut to each of the bolts.
3. Likewise, use two M10 bolts to attach the straight edge of the lower ladder mount plate
to the angled lugs on the back of the bottom ladder rung and use another two M10 bolts
to attach the curved edge of the lower ladder mount plate to the adjacent tower flange
plate. Loosely fit washers & nuts.
If the ladder mountings do not align properly ensure that the tower flange plates have been
positioned correctly. Refer previous assembly instructions for Tower Installation.
4. Tighten all 6 ladder attachment bolts to 35 Nm (26 ft.lb).
Summary of Contents for ATLANTIC-3000
Page 2: ...2 Version No Description Date Author Approved 1 0 Manual Launch October 2018 G Percy G Percy ...
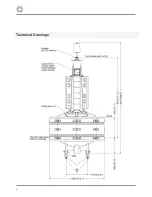
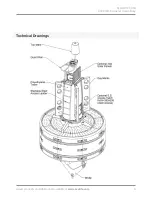
Page 8: ...8 Technical Drawings ...
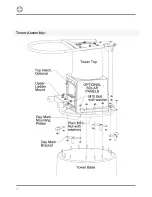
Page 14: ...14 Tower Assembly ...
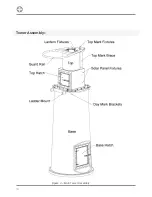
Page 16: ...16 Tower Assembly Figure 4 Main Tower Assembly ...
Page 20: ...20 Ladder and Top Mark Installation Figure 6 Ladder Installation ...
Page 32: ...32 Electronic Equipment Installation ...
Page 34: ...34 Notes ...

