CT2X INSTRUCTIONS
Seametrics • 253.872.0284
Page 11 inwusa.com
SETTINGS AND CALIBRATION
Conductivity Calibration
One-Point Calibration
— Compute Calibration Value —
•
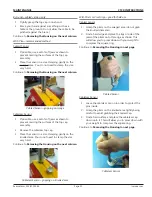
Rinse sensor first with distilled water and then with a
small amount of the solution.
•
Dry with clean paper towel and cotton swab.
•
Place sensor in solution.
•
Make sure there are no bubbles in the conductivity slot.
•
Allow time for sensor to stabilize.
•
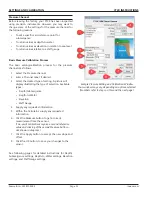
Enter the reference value the Ref box (#8) for the first
point. (See NOTE in preparation section!)
•
Click first Measure button (#9).
•
When readings have stabilized to your satisfaction, click
the OK button in the pop-up box.
— Applying Calibration Value —
•
Click the Apply button (#12) to apply calibration value.
•
The computed b value will be transferred to the
calibration field.
•
Click OK (#13) to save the value to the sensor.
— Verifying Settings —
•
Using the Real Time Monitor, take a few readings to verify
it is reading as expected.
Two-Point Calibration
— Compute First Calibration Point —
•
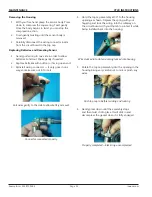
Rinse sensor first with distilled water and then with a small
amount of the lower solution.
•
Dry with clean paper towel and cotton swab.
•
Place sensor in lower solution.
•
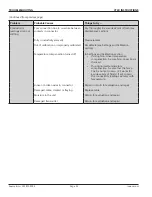
Make sure there are no bubbles in the conductivity slot.
•
Allow time for sensor to stabilize.
•
Enter the first reference value the Ref box (#8) for the first
point. (See NOTE in preparation section!)
•
Click first Measure button (#9).
•
When readings have stabilized to your satisfaction, click
the OK button in the pop-up box.
— Compute Second Calibration Point —
•
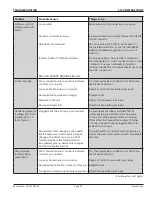
Rinse sensor first with distilled water and then with a small
amount of the higher solution.
•
Dry with clean paper towel and cotton swab.
•
Place sensor in higher solution.
•
Make sure there are no bubbles in the conductivity slot.
•
Allow time for sensor to stabilize.
•
Enter the second reference value the Ref box (#10) for the
second point. (See NOTE in preparation section!)
•
Click second Measure button (#11).
•
When readings have stabilized to your satisfaction, click
the OK button in the pop-up box.
— Applying Calibration Values —
•
Click the Apply button (#12) to apply calibration values.
•
The computed m and b values will be transferred to the
calibration fields.
•
Click OK (#13) to save the values to the sensor.
— Verifying Settings —
•
Using the Real Time Monitor, take a few readings to verify
it is reading as expected.

