background image

INSTALLATION

4

INSTALLATION

Piping in the Well

The Shallow Well Water System can be installed on a dug
well, drilled well or with a driven point. In a dug or cased
well, a foot valve and strainer should be installed for easy
priming. It should be installed five to ten feet below the low-
est level to which the water will drop while the pump is op-
erating (pumping water level). To keep sediment from
clogging the strainer, be sure it is five to ten feet above the
bottom of the well. Before installing the foot valve, make
sure that it works freely.
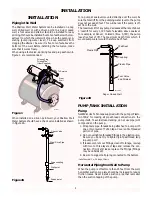
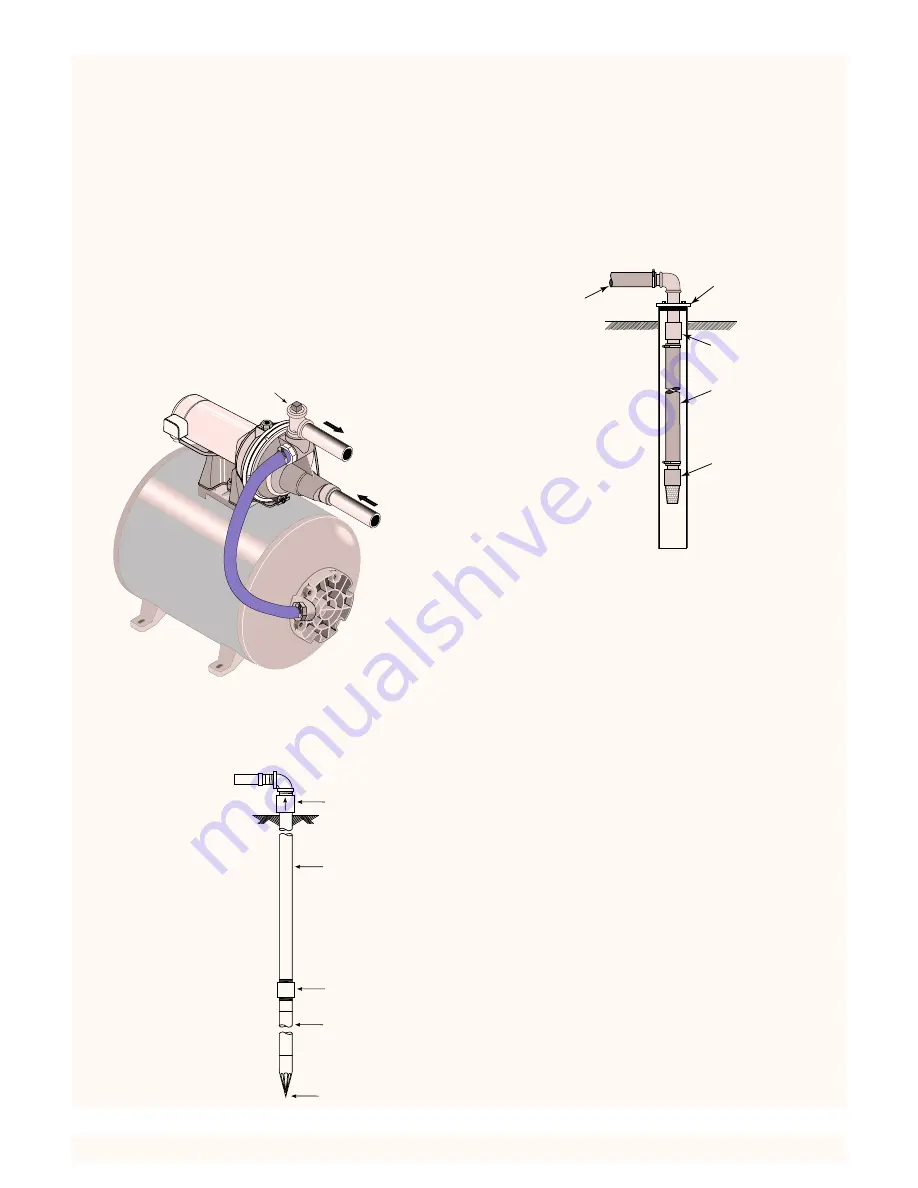
When using a foot valve, a priming tee and plug as shown in
Figure 1, are recommended.

When installed on a driven point well, your Shallow Well
Water System should have a check valve installed as shown
in Figure 2A.

For a pump at sea level mounted directly over the well, be
sure the total lift from the pumping water level to the pump
does not exceed 20 feet. This will be less if the pump is off-
set from the well.
The maximum lift of any pump decreases at the rate of about
1’ less lift for every 1,000 feet of elevation above sea level.
For example, at Denver, Colorado (Elev. 5,000’) the pump
loses five feet of lift. The maximum depth from which it
would pump water would therefore be 15 feet.

PUMP/TANK INSTALLATION

Pump

NOTICE:

Use Teflon tape supplied with the pump or Plasto-

Joint Stik

1

for making all pipe-thread connections to the

pump itself. To avoid stress-cracking, do not use pipe joint
compounds on the pump.

1. Wrap male pipe threads being attached to pump with

one or two layers of Teflon tape. Cover entire threaded
portion of pipe.

2. Do not overtighten threaded fittings in the plastic pump.

Be sure you do not try to tighten joint past thread stop
in pump port!

3. If leaks occur, remove fittings, clean off old tape, rewrap

with two to three layers of tape and remake the con-
nection. If joint still leaks, replace the fittings (fittings
may be undersized).

4. Be sure to support all piping connected to the System.

1

Lake Chemical Co., Chicago, Illinois

Horizontal Piping from Well to Pump

When the pump is offset more than 25 feet from the well,
horizontal suction pipe size should be increased to reduce
friction losses. Never install a suction pipe that is smaller
than the suction tapping of the pump.

Check valve

Steel drive pipe

Drive coupling

Well point

Driven point

2894 0697

Priming Plug,
Priming Tee
(User Supplied)

To Service

From
Well

Plastic Pipe

Plastic Pipe

Foot Valve
and Strainer

Coupling

Well Seal 

Dug or Cased Well

611 1293

Figure 1

Figure 2A

Figure 2B

Check Valve

Steel Drive Pipe

Drive coupling

Driven point

Well point

Summary of Contents for CRAFTSMAN 390.252157

Page 1: ...tructions Before First Use of This Product Save This Manual For Future Reference Sears Roebuck and Co Hoffman Estates IL 60179 U S A Safety Instructions Installation Electrical Maintenance Repair Part...

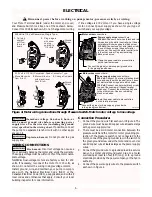
Page 2: ...covered while installing pump to prevent leaves and other debris from falling into well con taminating well and possibly damaging pump 4 Protect pump and piping system from freezing Allowing pump or w...

Page 3: ...into the pump Pre Charged Tank The tank serves two functions It provides a reservoir of water under pressure and maintains a cushion of air pres sure to prevent pipe hammering and possible damage to p...

Page 4: ...ould pump water would therefore be 15 feet PUMP TANK INSTALLATION Pump NOTICE Use Teflon tape supplied with the pump or Plasto Joint Stik1 for making all pipe thread connections to the pump itself To...

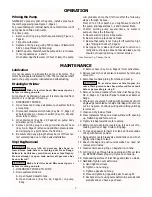
Page 5: ...stream does not become steady air may be leaking into the system check for leaks in the piping on the suction side of the pump NOTICE To prevent waterlogging check tank air charge annually To Check Ta...

Page 6: ...re 4 Motor wiring connections through Pressure Switch Match motor voltage to line voltage Your Motor Terminal Board under the motor end cover and Pressure Switch look like one of those shown below Con...

Page 7: ...ping to a point below the frost line 6 Be sure to drain any piping that may be cut off from nor mal system drain due to check valve installation Vinyl Bag Removal Be sure ALL air pressure has been re...

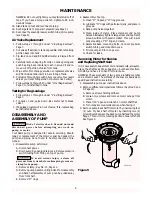
Page 8: ...connect power B Drain pump by opening drain cock Remove pressure switch tubing from fitting on top of pump To avoid serious injury release all pressure from system before attempting to remove clamp fr...

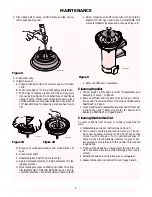
Page 9: ...s will automatically locate seal in place See Figure 8 J Remount diffuser on seal plate Cleaning Impeller 1 Follow steps 1A through 1E under Disassembly and Assembly of Pump on Page 8 2 Remove diffuse...

Page 10: ...water is to suspend a pipe closed at the bottom and open at the top surrounding the suction pipe Since the gases rise in the well casing the water sucked down through the pipe and into the suction pip...

Page 11: ...causing excess friction new steel pipe above 3 Offset piping is too small in size 3 Use larger offset piping Pump pumps water 1 Pressure switch is out of adjustment 1 Adjust or replace pressure switc...

Page 12: ...21 22 23 25 26 26A 27 28 29 30 587 1193 24 Pump Only Model 390 252157 To Order Parts in the U S A Call Sears Product Service 1 800 366 7278 To Order Parts outside the U S A Call Your local Sears Servi...

Page 13: ...Venturi 13 N34P 19 Nozzle 14 N76 29P Insert 15 J20 18 Gasket 16 N176 28PB Tank Body Assembly Front Half Includes Key No s 11 12 13 14 15 16 19 20 21 23 and 24 16 N76 28P Tank Body Only Front Half 17...

Page 14: ...57 Key 1 2 HP Qty No Part Number Used Description 1 29135 1 Tank Assembly Includes Diaphragm Elbow Valve Nuts Washers Inlet Flange U20 13 1 Bag Vinyl U212 160 1 Air Valve w Cap 2 U31 350P 1 Inlet Flan...

Page 15: ...15...

Page 16: ...bout an existing Agreement call 9 am 5 pm Monday Saturday 1 800 827 6655 M A I N T E N A N C E A G R E E M E N T America s Repair Specialists REPAIRSERVICES America s Repair Specialists REPAIRSERVICES...

Reviews: