3
Dear valued customer,
We congratulate you on the purchase of your new SEATEC watercraft!
With the purchase of this vessel, you have acquired a quality product from our
company, which has been produced under very strict regulations. Each boat was
produced under optimal conditions, with quality control being conducted after
each phase of construction. Each vessel also has its own serial number, which
can be found as a hull identification number on the data plate of the vessel.
The number consists of letters and digits. Please enter this number into the
designated box below. This number is used as a reference every time you contact
us or an appropriate service station. Using this number, we can identify each
specific boat and help you with any questions or issues.
Table of contents:
1. Dinghies & Accessories
3
2. Assembly/Disassembly
3
2.1 Assembly of dinghies with slatted floors (NEMO & YACHTING)
4
2.2
Assembly of dinghies with high-pressure inflatable floors (AEROTEND) 5
2.3 Assembly of dinghies with aluminium floors (DOLPHIN)
6-7
2.4 Assembly of dinghies with GRP hulls (RIBs - PRO TENDER/
8
PRO SPORT/GT SPORT)
2.5 Paddles
9
2.6 Cleaning
9
2.7 Disassembly
9
2.8 Storage
10
2.9 Air pressure details
10
3. Safety information
11-12
3.1 Maximum load and carrying capacity
12
3.2 Operation with outboard motor
12
3.3 Towing, anchoring, tying up
12
3.4 Sudden loss of air pressure
13
3.5 Natural hazards
13
3.6 Disembarking on the beach
13
4. Repairs
14
5. Technical Data
15
EN
Model name:
Hull identification number (HIN)
1. Dinghies and Accessories
The delivery contents contain: the dinghy, transport bag (except with RIBs),
inflation pump, 2 paddles and a repair kit.
2. Assembly/Disassembly
Attention!
In order to inflate the dinghy, don’t use a compressor, as the high air pressure
can possibly damage the seams and seals of the vessel!
• Find a clean, flat surface on which to assemble and inflate the dinghy.
• Unfold the dinghy and spread it out on the flat surface.
• Check the valves for any faults and assemble the pump.
• Before using the dinghy for the first time, inflate the individual chambers
through each of the valves. When the boat is fully inflated, untighten the valves
and allow about half of the air to escape. Then tighten the valves again and
continue on with the assembly of the dinghy.
• If the dinghy has already been used, only pump the inflatable chambers half
full.
NOTE: The flooring must be installed before the keel (DOLPHIN models) is
inflatedinflated.
SVB Spezialversand für Yacht- & Bootszubehör 2016
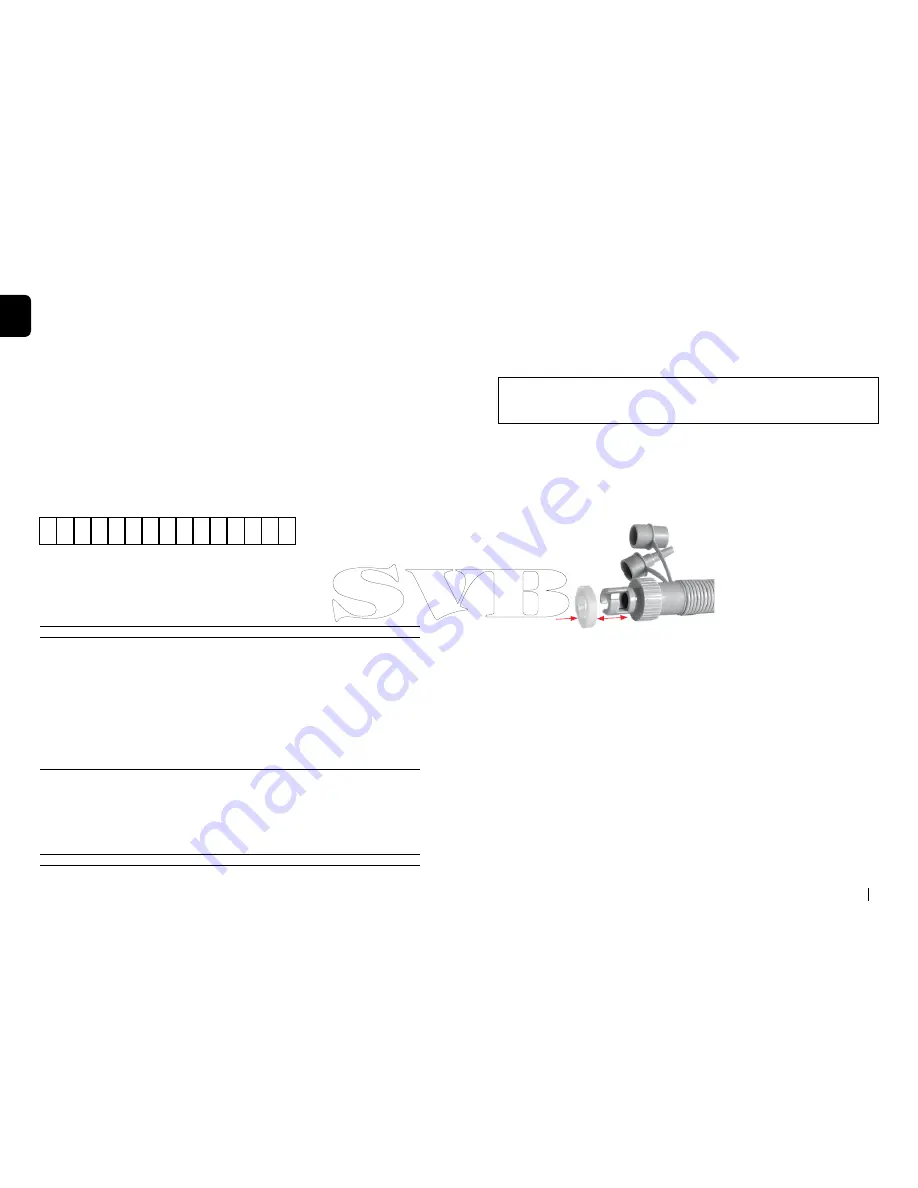
Place the gasket with the nut on to
the front of the pump hose.
Nut


