Managing certificates on Soft-PK
Installing and Working with Soft-PK
4-9
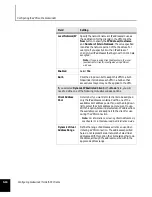
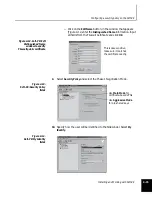
TIP:
You should select the new certificate and click Verify to validate it.
Exporting a personal
certificate
14.
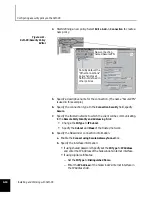
In the My Certificates tab, select a personal certificate.
15.
Click
Export
. The Export Certificate and Private Key dialog box appears.
16.
In the
Filename
box, enter the drive, directory, and filename for the
personal certificate file. The default setting is C:\Temp\Cert.p12.
17.
In the Password box, type any password you choose.
18.
In the Confirm Password box, retype the password.
Note:
The end user will need to know this password when import this file into their copy
of Soft-PK.
Importing certificate in Soft-PK
Use the following procedures to import certificates into the Soft-PK
system.
Note:
These procedures are summarized on the
UserWorksheet.doc
file, customize as
needed for your end users.
Importing a CA root or self-
signed firewall certificate
into Soft-PK
Use the following procedure to import a self-signed firewall or CA
root certificate into the Soft-PK system. This procedure is done at the
client system and assumes Soft-PK is already installed and you already
have a diskette containing an exported self-signed firewall or CA root
certificate.
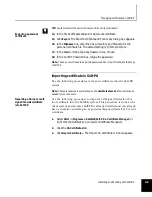
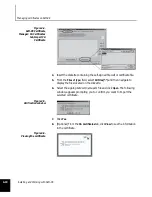
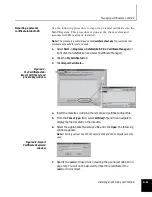
1.
Select
Start -> Programs -> SafeNet/Soft-PK -> Certificate Manager
(or
right click the SafeNet icon and select Certificate Manager).
2.
Click the
CA Certificates
tab.
3.
Click
Import Certificate...
. The Import CA Certificate window appears.


