Nnn-0000nn
© Copyright 2017 SecureALL Corporation
Page
4
of
18
Introduction
These instructions are intended to show you how to install a SecureALL Panic Hardware
Reader (SA-PHR) door assembly. This document assumes you have door hardware with a UL
Certified Von Duprin Series 98/99 fire-exit device. If you have any other door lock, contact
SecureALL for additional assistance. This installation guide applies to all door types requiring
3 hour fire rating.
Required Tools
1.
Phillips screwdriver
6. Pliers
2.
Power drill
7. Sensor tester
3.
Dremel tool
8. Flashlight (optional)
4.
Utility knife
5.
M5 screw tap
Check the Materials
Verify you have the following materials needed for installation and that there is no damage to
anything from the packing, shipping, etc. If you find any damaged or missing items, contact
SecureALL immediately for assistance.
The following components are included with each door reader kit:
1.
Back escutcheon unit
2.
Front lock/antenna assembly
3.
Microswitch sensor assembly and cabling
4.
Metal pushbutton lockdown switch
5.
Battery holder
6.
Back mounting plate
7.
Assorted screws and connectors
Installation Steps
1.
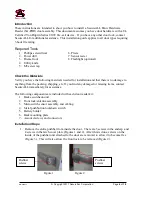
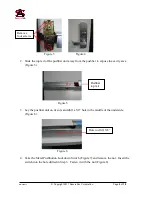
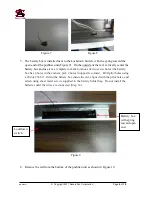
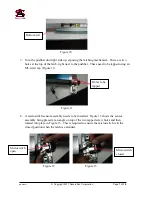
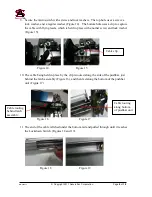
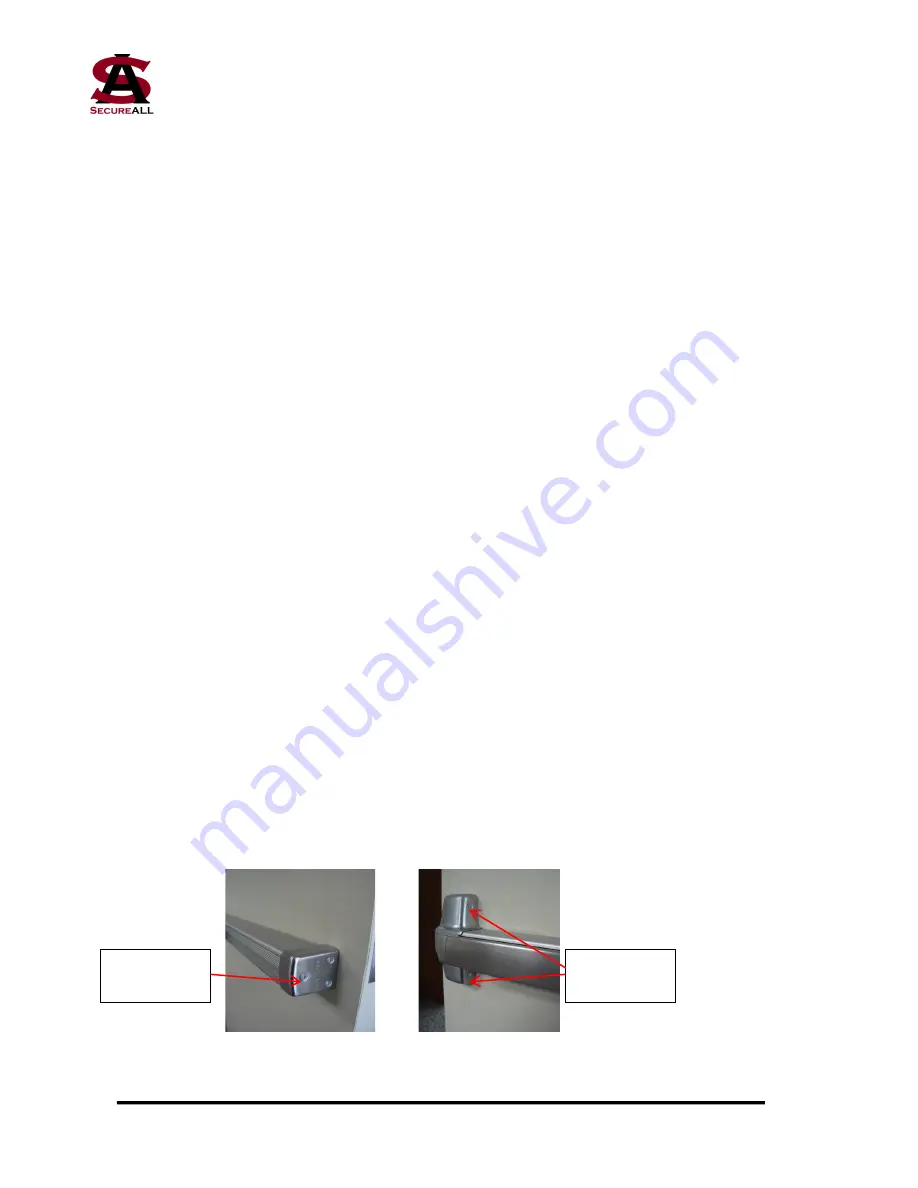
Remove the entire pushbar from inside the door. There are 3 screws in the endcap and
4 screws in the latch cover plate (Figures 1 and 2). After this is done, screws on the
inside of the pushbar unit attached to the door are removed to allow it to become free
(Figure 3). This will also allow the front lock to be removed (Figure 4).
Figure 1 Figure 2
Pushbar
screws
Pushbar
screws


