Dear Customer,
Congratulations on the purchase of your
SecureLine security product.
We would like to thank you for expressing your
confidence in our product through your choice.
Your SecureLine safe will help protect your
valuables against the rising tide of crime and
help prevent the loss of possessions with a high
sentimental value.
This manual contains the information required to
achieve maximum benefit from your safe. We
recommend that you read the entire manual
carefully. After all, you cannot be too careful when
it comes to protecting your property.
We wish you many years of security!
What have you received?
Please check carefully that you have received the
following items. If not, please contact your supplier.
•
2 keys, only if your safe is equipped with a key
lock.
•
1 battery (the battery could already be fitted by
the factory), only if your safe is equipped with
an electronic lock.
•
User manual.
•
Fixing set consisting of: screws, plugs and
washers, plastic covers / caps.
•
A shelf and shelf supports, if your safe is
equipped with a removable shelf.
What can you store in this safe?
A few suggestions:
•
Jewellery
•
Heirlooms
•
Cash
•
Credit cards, cheques
•
Photographic and video equipment
•
Passport, driving licence, birth certificates
•
Insurance documents
* Please note that this product is not designed to
protect computer or Hi-Fi media. Depending on
where you locate your safe, it may be subject to
humidity. Stamps and other delicate items should
therefore be stored in an airtight container before
being put in the safe.
* A Tip:
Some insurers appreciate it if you store your
valuable property in a good safe. Therefore ask
your insurance company what effect this will have
on your premium. The high quality security offered
by your safe can make a significant difference.
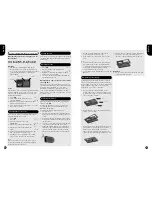
For safes equipped with a key lock:
Opening and closing the safe
Please check that the safe works correctly
before installing it or securing items inside.
Opening
•
Insert one of the keys supplied in the keyhole.
Note: the key only fits the keyhole in one position:
do not force it!
•
Turn the key clockwise until it stops. Do this
gently. The door can now be opened by pulling
the key towards you.
Closing
•
Insert one of the keys supplied in the keyhole.
Note: the key only fits the keyhole in one position:
do not force it!
•
Ensure that the bolts are not protruding (the
bolts are the metal pins which protrude from
the side of the door and thus secure the safe).
If necessary, turn the key clockwise turn to
retract the bolts.
•
Gently push the door shut. Now turn the key
anti-clockwise until it stops.
•
Now remove the key from the keyhole and
store it safely away from the safe.
Note: We recommend that the spare key is not
kept in the safe.
02
03
English
English
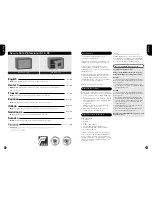
Secure Safe Professional S1 & S2
•
Note:
Keep this document in a secure place away from the safe.
English
•
page
03
•
Hinweis:
Bewahren Sie diese Anleitung an einem sicheren Ort und nicht in direkter
Nähe des Tresors.
Deutsch
•
Seite
09
•
Note:
Conservez ce document en lieu sûr, à distance du coffre-fort.
Français
•
page
15
•
Nota:
Guardar este documento en lugar seguro fuera de la caja fuerte.
Español
•
página
21
•
Nota:
conservare questo documento in un luogo sicuro lontano dalla cassaforte.
Italiano
•
pagina
27
•
Noot:
Houdt dit document op een veilige plaats buiten de kluis.
Nederlands
•
pagina
33
•
Notera:
Förvara detta dokument på ett säkert ställe långt från skåpet.
Svenska
•
sida
39
45
•
•
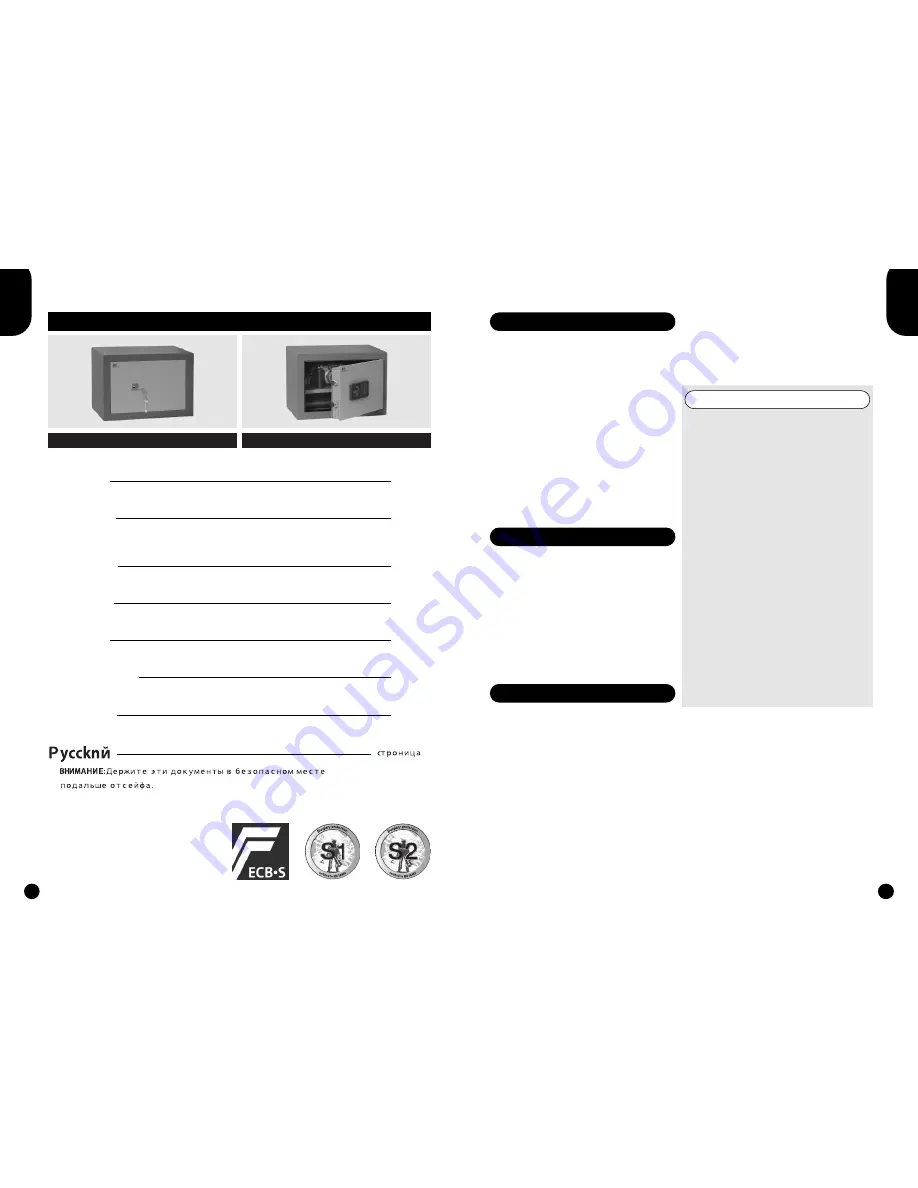
PS1 / PS2 - 32K
PS1 / PS2 - 32E
Summary of Contents for PS1-32E
Page 24: ...46 47 ...
Page 25: ...48 49 ...


