background image

04

05

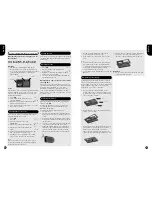
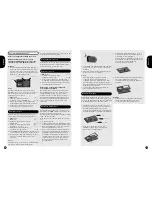
For safes equipped with an electronic lock:

What should you do before using the safe for
the first time? 

Please check that the safe works correctly
before installing it or securing items inside.

Attention

The battery could already be fitted by the 
factory and the lock can be operated directly 
go to “Code”. If not please follow the procedure
on “Replacing the battery” or “Emergency 
power supply”.

Code

The electronic lock is supplied by the manufacturer
with the standard access code 1 2 3 4 5 6. This
code must be changed before you use the safe. 
Now do the following: 
1. Press 

ON

.

1 x    

2. Open lock with the standard access

code 

1 2 3 4 5 6.

1 x         

3. Within 4 seconds turn bar handle clockwise 

until stop position reached.

4. Open the door. Now change the access code; 

this is done as follows:

Changing the access code

Note: this can only been done when the safe is
unlocked and the door is open.
1. Press 

ON

.

1 x  

2. Press 

P

.

1 x  

3. Enter the standard access code 

1 2 3 4 5 6.

1 x  

4. Enter now your personal 6-digit code.

2 x  

5. Enter now your personal 6-digit code 

again.

1 x  

6. DO NOT CLOSE THE DOOR YET!; test the 

new code before closing the safe. 

7. If testing has been carried out successfully, 

you can close the door and lock the safe.

Note:
If the new personal access code as per 5) was
incorrectly confirmed, the signal 3 x     appears.
Repeat the sequence from 1).

Closing the safe

Close the door and keep it gently pressed shut with
one hand. Now turn the bar handle anti-clockwise
until it stops. 

Opening the safe

1. Press 

ON

.

1  x

2. Open lock with your 6-digit personal 

access code.

1 x   

3. Within 4 seconds turn bar handle clockwise 

until stop position reached.

4. The door can be opened further by pulling the 

bar handle towards you.

Opening after 3 or more incorrect code entries
> penalty time

After 3 incorrect code entries the lock goes into a
one minute blocked status. The period in which the
lock is blocked is extended to 2, 4, 8 and a 
maximum of 16 minutes every time an incorrect
code is entered. During this period the red LED
flashes every second and it is not possible to enter
any further codes.

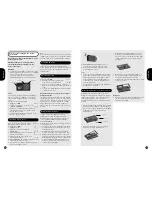
Replacing the battery

When the batteries are weak 10 x     will appear
after pressing 

ON

Replace the batteries as soon as possible. We
recommend that you use only alkaline model
MN1604 - 9V batteries.
To replace the battery, follow these steps:
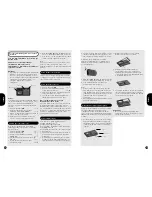
1. Open the door.
2. Open the lid of the battery compartment at the 

back of the door (if necessary remove the door 
cover).

3. Replace the battery; ensuring that the positive 

and negative terminals are aligned correctly; do 
this as follows:

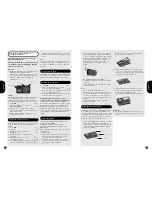
4. Press the catch on the top edge of the battery 

cover with a screwdriver and lever off the 
battery lid. Pull the battery out carefully until 
the battery clip is visible. Release the battery 
from the clip and replace. Re-engage the lid. 
Please ensure that the cable is not damaged.

English

English

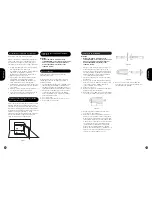
Bar handle

Green LED

Red LED

5. DO NOT CLOSE THE DOOR YET!; test the 

new code before closing the safe. 

6. If the lock works correctly, you can close the 

safe.

Notes:

You have 20 seconds for each entry keyed in. 
If you have not pressed a key within this 20 
second period, the electronic system will close 
down automatically. Operations not fully 
completed have to be re-started.

Code entries can be interrupted by pressing the

P

button.

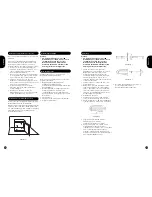
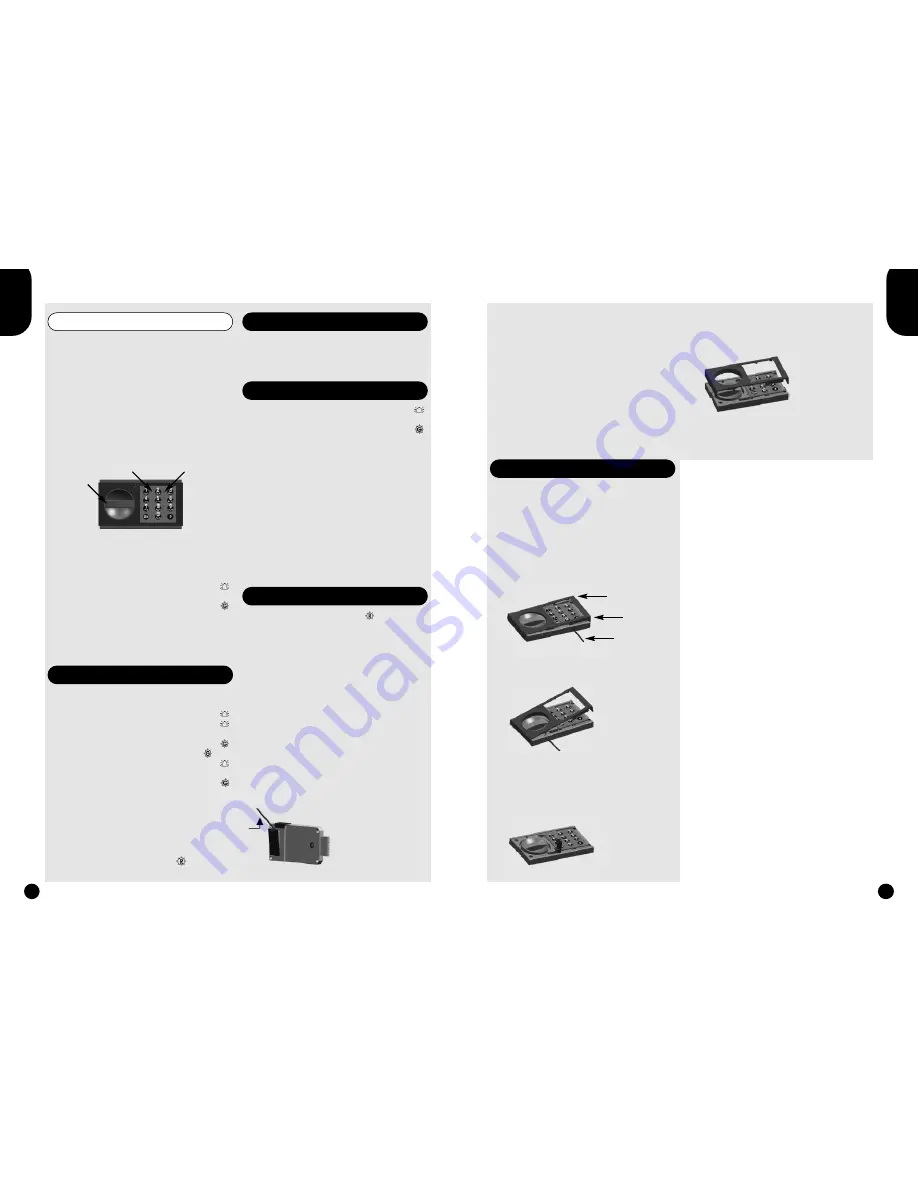
Emergency power supply

If the battery is discharged with the door locked,
the lock can be powered up using the emergency
power supply connection. To do this, a 9-volt block
battery must be connected to the supply clip 
beneath the cover of the control unit.

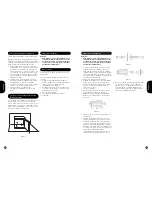
1. Press tool into the right hand hole on the 

bottom edge of the control unit until the catch 
is released. Keep the tool pressed down whilst 
the cover raising carefully.

2. Repeat this process on the left hand hole. Lift 

off the cover carefully.

3. Pull out the battery clip for the emergency sup

ply by about 1 cm and clip in a 9 volt block 
battery. Open the lock with a valid code, 
remove the block battery from the clip and 
replace the discharged battery in the lock case.

4. Replace the cover and press down until all four 

catches are engaged. Check that the lock 
functions correctly whilst the safe is still open.

Attention

Do not store your user manual in the safe, but 
safely away from the safe.

Cover

Tool

Raise here

Summary of Contents for PS1-32E

Page 1: ...Manual de usario para las cajas Professional S1 y S2 de SecureLine Manuale d uso per casseforti SecureLine Professional S1 e S2 Gebruikershandleiding voor SecureLine Professional S1 en S2 kluizen Gratis användarmanual för SecureLine Professional S1 och S2 skåpen Руководство пользователя для сейфов категории SecureLine Professional S1 и S2 Secure Safe Professional S1 S2 www chubb safe co uk 0800 61...

Page 2: ...e Therefore ask your insurance company what effect this will have on your premium The high quality security offered by your safe can make a significant difference For safes equipped with a key lock Opening and closing the safe Please check that the safe works correctly before installing it or securing items inside Opening Insert one of the keys supplied in the keyhole Note the key only fits the ke...

Page 3: ...y second and it is not possible to enter any further codes Replacing the battery When the batteries are weak 10 x will appear after pressing ON Replace the batteries as soon as possible We recommend that you use only alkaline model MN1604 9V batteries To replace the battery follow these steps 1 Open the door 2 Open the lid of the battery compartment at the back of the door if necessary remove the ...

Page 4: ...g and fixing of the safe Where should I place my free standing safe No safe is completely thief proof With time and the right tools any safe can be broken into so it makes sense to observe the following 1 It is important that the safe is as inconspicuous as possible We recommend that you never place the safe anywhere where it is visible from outside For example place your safe in a cup board or in...

Page 5: ... ihn an einem sicheren Ort entfernt vom Tresor Hinweis Bewahren Sie den Ersatzschlüssel nicht im Tresor auf 09 Deutsch 08 English Maintenance Never throw your keys Distortion of the key can damage the lock When closing the door there should never be anything between the door and the safe e g a paper clip The bolts must be fully retracted Do not fill the safe to such an extent that it is hard to cl...

Page 6: ...Sie nun wie folgt vor 1 ON drücken 1 x 2 Öffnen des Schlosses mit dem werkseitigen Code 1 2 3 4 5 6 1 x 3 Drehen Sie innerhalb von 4 Sekunden den Handgriff im Uhrzeigersinn bis zum Anschlag 4 Öffnen Sie die Tür Ändern Sie nun den Werkscode Dies geschieht wie folgt Ändern des Codes Beachte Dies kann nur geschehen wenn der Tresor aufgeschlossen und die Tür geöffnet ist 1 ON drücken 1 x 2 P drücken 1...

Page 7: ...brecher genug Zeit und das richtige Werkzeug hat kann er jeden Tresor knacken Deshalb sollten Sie unbedingt Folgendes beachten 1 Der Tresor sollte möglichst unauffällig sein Stellen Sie ihn deshalb nie so auf dass er von außen sichtbar ist Ein Schrank oder ein fensterloser Raum sind ideal 2 Wenn Sie eine elektronische Sicherheitsanlage d h eine Alarmanlage haben stellen Sie den Tresor am besten im...

Page 8: ...des Käufers Klären Sie bitte im Einzelfall vorab mit Ihrem Händler ob die verlangten Leistungen durch die Garantie gedeckt sind oder nicht Im unwahrscheinlichen Fall dass der Tresor einen Defekt aufweist wenden Sie sich bitte an Ihren Händler Cher Client Permettez nous de vous féliciter d avoir acheté un produit de sécurité SecureLine Nous vous remercions de la confiance que vous avez accordée à n...

Page 9: ...boitier de contôle jusqu à ce que le cache se libère Maintenez l outil appuyé pendant que vous relevez le couvercle délicate ment 2 Répéttez l opération sur le trou de gauche Enlevez le couvercle délicatement 3 Retirez la barette d alimentation de secours d environ 1 cm et branchez la pile de 9 volts Ouvrez le coffre en composant un code valide retirez la pile de la barette et changez la pile déch...

Page 10: ...main 1 Le kit de fixation fourni Ce kit comprend vis de fixation rondelles métalliques obturateurs en plastique et capuchons en plastique caches et capuchons peuvent être déja installés en usine 2 Une perceuse électrique à percussion Il faut commencer par percer les trous de fixation dans le matériau de base Vous devrez utiliser un foret béton de 13 mm 3 Une clé à douille 4 Un aspirateur pour nett...

Page 11: ...ondensation d attaque par des produits chimiques ou d une autre manière 8 Le coût de l expédition de l emballage et de l assurance de transport est toujours supporté par le client 9 Seul le fabricant est habilité à modifier les condi tions de la présente garantie 10 Les réparations ou visites sur site non couvertes par cette garantie seront facturables Consultez votre fournisseur pour savoir si vo...

Page 12: ...iende a 2 4 8 y un máximo de 16 minutos cada vez que introduzca un código erróneo Durante este tiempo el LED rojo parpadea cada segundo y es imposible introducir más códigos Cambio de batería Si las baterías están bajas aparecerá 10 x después de apretar ON Cambie las baterías lo antes posible Es aconsejable utilizar baterías alcalinas modelo MN1604 9V Para cambiarlas siga los pasos que a continuac...

Page 13: ...o eléctrico Primero tiene que hacer los agujeros de anclaje Necesitará una broca para hormigón de 13 mm 3 Llave de tuerca tubular 4 Un aspirador para limpiar los agujeros 5 Un martillo Instrucciones de instalación Atención Para cumplir con los requerimientos de la certificación EN su caja fuerte debe estar anclada en un suelo o pared de hormigón con los tacos de anclaje 2 tacos mínimo y arandelas ...

Page 14: ...r esta garantía será cobrada Por favor le rogamos se pongan en contacto con su proveedor para averiguar si su reaclamación está o no está cubierta por la garantía En el caso improbable de una avería póngase en contacto con su proveedor Gentile Cliente Congratulazioni per aver deciso di acquistare il nostro prodotto di sicurezza SecureLine Desideriamo ringraziarla per la sua scelta e per aver accor...

Page 15: ... al paragrafo Alimentazione elettrica di emergenza Codice La serratura elettronica viene fornita dalla fabbrica con il codice standard 1 2 3 4 5 6 Questo codice deve essere sostituito prima di utilizzare la cassaforte seguendo le istruzioni qui di seguito riportate 1 Premere il pulsante ON 1 x 2 Aprire la serratura inserendo il codice di fabbrica standard 1 2 3 4 5 6 1 x 3 Entro 4 secondi ruotare ...

Page 16: ...rica 2 Un trapano a percussione elettrico Praticare innanzitutto i fori di fissaggio a pavimento Sarà necessaria una punta da trapano di 13 mm 3 Una chiave a tubo 4 Un aspirapolvere per pulire i fori 5 Possibilmente un martello Instruzioni Attenzione Per soddisfare i requisiti della certificazione EN la cassaforte deve essere ancorata a un pavimento o a una parete in calcestruzzo con i catenacci d...

Page 17: ...osti di spedizione e di imballaggio oltre all as sicurazione per la spedizione sono sempre a carico del cliente 9 Le condizioni della presente garanzia potranno essere modificate soltanto dal Costruttore 10 Le riparazioni o le visite in loco non coperte da questa garanzia sono a carico dell acquirente Si prega di verificare con il rivenditore se l interven to richiesto è coperto da garanzia Nell i...

Page 18: ...Tijdens de blokkeertijd knippert de rode LED iedere seconde en het is niet mogelijk opnieuw een code in te voeren Vervangen van de batterij Indien de batterij zwak is zal 10 x het signaal zichtbaar zijn na het drukken op ON toets De batterij moet zo spoedig mogelijk worden vervangen Wij raden u aan alleen alkaline batterijen model MN1604 9V te gebruiken Volg de volgende stappen om de batterij te v...

Page 19: ...erankeringsgaten in de kluis Wat heeft u hiervoor nodig Om uw kluis te verankeren heeft u bevestigingen en gereedschap nodig Ga alvorens te beginnen na dat u de volgende zaken bij de hand heeft 1 De bijgeleverde bevestigingsset Deze set bestaat uit bevestigingsschroeven metalen sluitringen grote en kleine kunststof afdek kapjes 2 Een elektrische klop boormachine De bevestigingsgaten in de vloer of...

Page 20: ... klant gedragen worden 9 Alleen de fabrikant is gerechtigd deze garantie bepalingen te wijzigen 10 Niet onder deze garantie vallende reparaties of service bezoeken worden doorberekend Stem eerst met uw leverancier af of uw claim binnen de garantie valt In het onwaarschijnlijke geval dat er een probleem ontstaat raadpleeg uw leverancier Kära Kund Vi gratulerar Er till Ert inköp av SecureLine säkerh...

Page 21: ...t mata in någon annan kod Batteribyte Låg batterinivå indikeras genom att den röda lysdioden blinkar 10 x när man har tryckt på ON Byt omedelbart batterier när låg batterinivå indikeras Vi rekommenderar att ni endast använder alkaliska batterier MN 1604 9V För att byta ut batteri följ följande steg 1 Öppna dörren 2 Öppna locket på batterihållaren på baksidan av dörren om nödvändigt ta bort skyddet...

Page 22: ...fyra metallbrickor fyra plastplugga plastpluggarna kan redan vara installerade utav fabriken 2 En elektrisk slag borr Hålen i underlaget måste borras först Ni behöver ett 13 mm betongjärn 3 Ett vägguttag 4 En dammsugare för att göra rent borrhålen 5 Eventuellt en hammare Instruktioner Observera För att uppfylla kraven från EN certifikation måste skåpet vara fastmonterat med de två medföljande skru...

Page 23: ...es 3 Garantin gäller endast för den ursprungliga köparen och går därför inte att överlåta 4 Garantin gäller inte vid skadehändelser eller fel som är resultat av a Olycka felaktigt användande slitage försummelse uppsåtlig skadegörelse eld och eller uppsåtligt angrepp b Felaktig installation och eller användning som strider mot relevant laglig teknisk och eller säkerhetsstandard c Ej auktoriserade ä...

Page 24: ...46 47 ...

Page 25: ...48 49 ...

Page 26: ...50 www Chubb Safe co uk 0800 6129456 ...

Reviews: