40
quality of any camera to gain more available hours on your hard drive.
【
Formatting
】
Click this button during record mode to show the current bit rate and recording
time for one cycle (loop) of the hard drive. If you would like to format the hard drive (erase all
data) stop all recording and highlight the drive in the list by clicking on its name. A blue
highlight will be displayed over the drive’s name to show it has been selected, then click on
“Formatting”. You will be asked to confirm your selection.
THIS FUNCTION WILL ERASE
ALL
DATA FROM YOUR HARD DRIVE
. Formatting the hard drive can be useful to improve
performance of the unit if the DVR’s clock is changed, an excessive amount of events have
been recorded and stored, or if a power surge has affected your equipment.
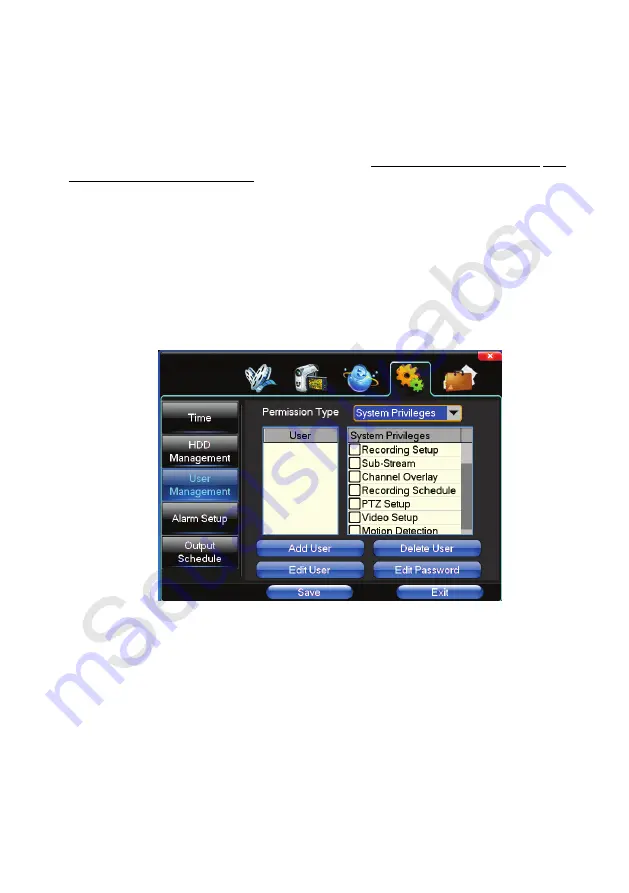
4.4.3 User Management
Use this menu to set up user names, passwords, and privileges allowed for each person.
【
User
】
Up to eight users can be assigned to operate the DVR. Each user name can have up
to eight characters.
【
System Privileges
】
Choose from five drop lists of options.
【
Add / Delete / Edit
】
All user names and passwords (up to 8 characters) can be edited by the
Administrator by clicking on the buttons at the bottom of the screen.
4.4.4 Alarm Setup
Use this menu to set up the parameters for the alarm inputs and output.
TIP:
Be sure to set the Recording Control in the shortcut menu to “Automatically” to activate the
alarm trigger feature.
Summary of Contents for 960H Series
Page 6: ...6 1 3 IR Remote control ...
Page 51: ...51 ...


