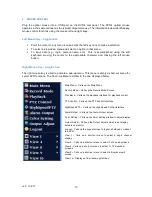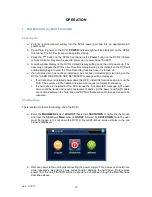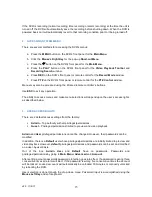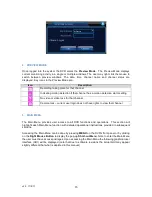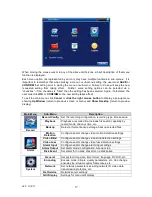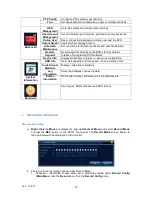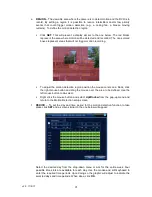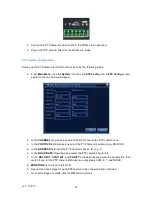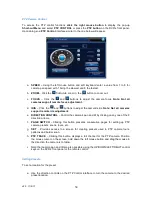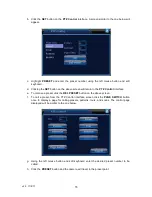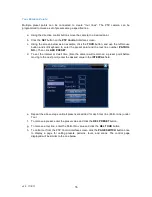
v2.0 11/8/11
27
d.
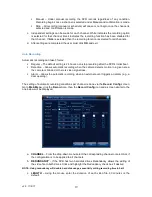
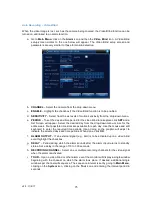
ALARM IN
– Select the alarm input from the drop-down menu.
e.
ENABLE
– Highlight the checkbox if the Alarm Input is to be enabled.
f.
TYPE
– From the drop-down menu select whether the alarm is Normal Open or Normal
Close.
g.
PERIOD
– To set the day and time period for the alarm to take place click
SET
and a Set
screen will appear. Select the desired day from the drop-down menu or ALL for the entire
week. Four possible time slots are available for each day. Use the mouse and soft
keyboard to enter the required time periods. Upon doing so the graphic will adjust to
indicate the selected days and time periods. When done, click
OK
.
h.
INTERVAL
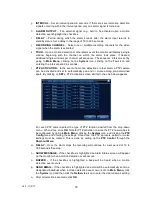
– Set an interval period in seconds. If there are several alarm events signals
occurring within the interval period only one alarm signal is turned on.
i.
ALARM OUTPUT
– If an external signal (e.g., bell) is to be activated upon an alarm event
highlight the checkbox.
j.
DELAY
– Period during which the alarm sounds after the alarm input returns to standby
status. Set a delay in the range of 10 to 300 seconds.
k.
RECORDING CHANNEL
– Select one or multiple recording channels for the video signal
when the alarm is activated.
l.
TOUR
– Upon an alarm event the monitor will display a single window beginning with the
channel on which the alarm took place. If desired, additional single windows per channel
will sequence. The sequence interval is set by going to
Main Menu
, clicking on the
System
icon, clicking on the
Tour
icon and entering the interval period in seconds.
m.
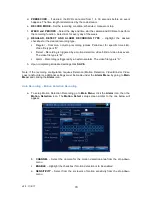
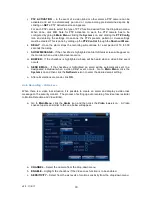
PTZ ACTIVATION
– In the event of an alarm a PTZ camera can be activated and set to
automatically pan and or cruise among pre-determined spots. By clicking on
SET
a PTZ
Activation screen appears.
For each PTZ camera select the type of PTZ function desired from the drop-down menu.
When done, click
OK
. Note for PTZ activation to work, the PTZ camera has to be
configured by going to
Main Menu
, clicking the
System
icon, and clicking the
PTZ Config
icon and entering the settings. Once done, the PTZ’s presets, pattern or cruise settings
must be created. This is done by calling up the
PTZ Control
through the
Short-cut Menu
.
n.
DELAY
– Once the alarm stops the recording will continue for a set period of 10 to 300
seconds then stop.
o.
SHOW MESSAGE
– If the checkbox is highlighted an Alarm Status screen will appear on
the monitor when an alarm event occurs.
p.
BUZZER
– If the checkbox is highlighted a beep will be heard when an alarm event
occurs.
q.
SEND EMAIL
– If the checkbox is highlighted an email will be automatically sent to a
designated individual when an alarm event occurs. Go to
Main Menu
, click the
System
icon and then click the
NetService
icon to enter the desired email setting.
r. After all selections are made click
OK
.
Summary of Contents for ST-DVR8716BG
Page 1: ...v2 0 11 8 11 1 USER MANUAL ST DVR8716BG 16 Channel Digital Video Recorder ...
Page 73: ...v2 0 11 8 11 73 ...
Page 82: ...v2 0 11 8 11 82 f Double clicking on cameras on the list will display the camera channel ...
Page 90: ...v2 0 11 8 11 90 The About screen displays SNS version information ...
Page 92: ...v2 0 11 8 11 92 ...

