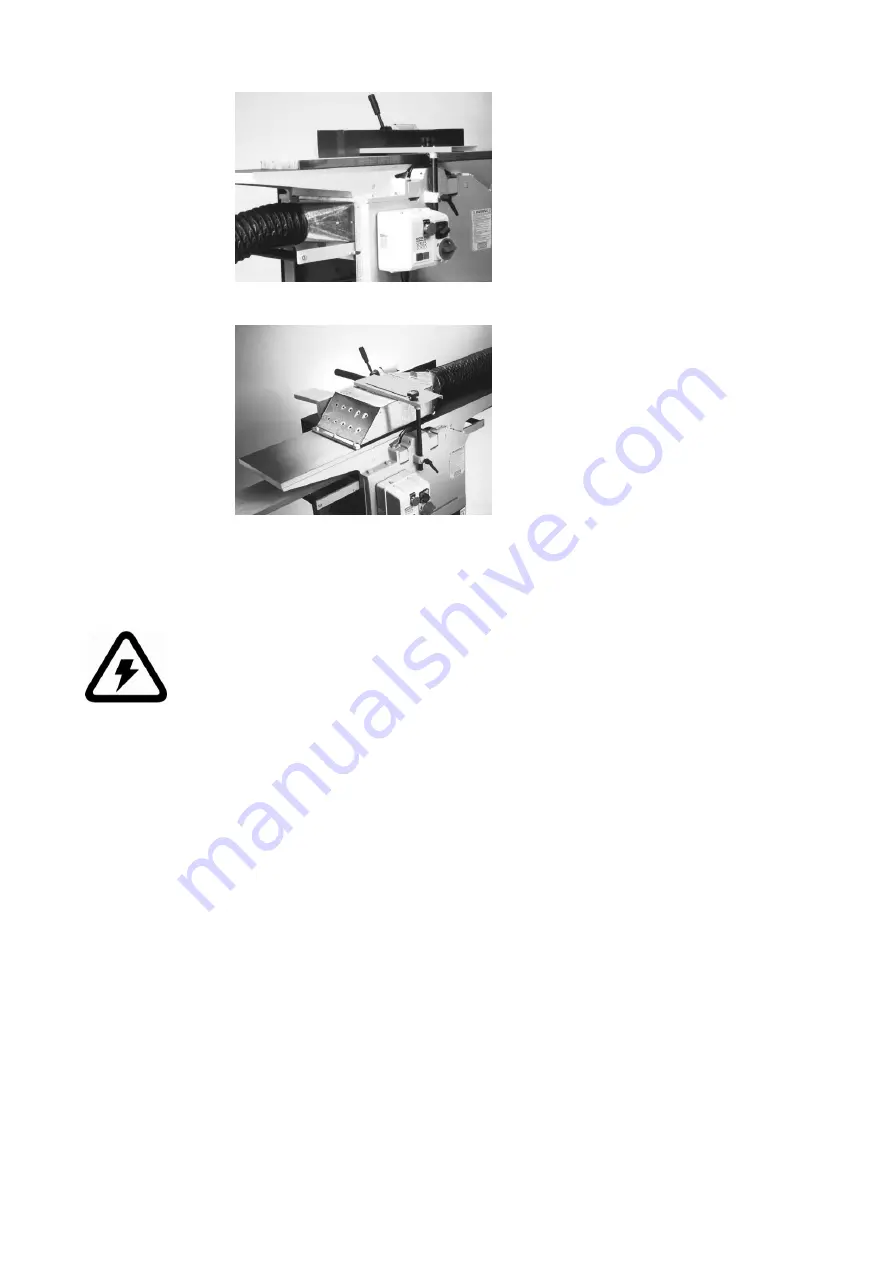
12
For Surfacing
The hood is designed to sit on the
thicknessing bed, and should be
inserted hollow side up, with the
exhaust outlet below the fixed outfeed
table. The lug on the underside of the
hood, attached to the exhaust outlet,
should locate against the end of the
thicknessing bed, with care being taken
that the anti-kickback fingers are not
fouled when the bed is wound up.
For Thicknessing
Position the fence to the rear of the
surfacing table. Place the hood
centrally over the cutterblock, hollow
side down, with the exhaust outlet
pointing toward the in-feed table rise
and fall handle. Bring the bridge guard
down over the hood and lock it in
position between the two welded
straps.
The diameter of the connection point is 125mm and reducers are not recommended
.
4.0 Electrical Installation
Electrical wiring should only be carried out by a fully qualified electrician
taking in account the following safety instructions.
Please follow these directions when connecting to the mains:
The motor and control gear have been wired in at the factory and tested before despatch. Do
not open the switch box on the machine without the written consent of the manufacturer.
Violating this stipulation could invalidate the machine’s warranty. All that is required is to
connect the power supply to the starter from your isolator.
First check that the supply details on the motor nameplate correspond with the site supply.
If the motor is operated on a voltage outside (plus or minus 6%) of the spot voltage, then
premature failure will occur.
Refer to the machine specification sheet at the front of the operator’s handbook to establish
the correct size of cable required. Undersize cable will lead to voltage drop at the motor
terminals.
Do not attempt to wire single-phase machines into a 13-amp plug socket.
Ensure that there is no voltage at the supply lead before connecting.
It is important to check rotation of the cutterblock, which should be clockwise when viewed
from the starter side of the machine. If necessary you can change the rotation by swapping
any two brown wires on the supply side.
Summary of Contents for PT255
Page 36: ...36 14 0 PT255 Planer Thicknesser Parts Diagram ...
Page 39: ...39 ...
Page 40: ...40 ...


