background image


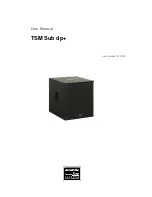
      TSM Sub dp+ 

                                                                                                             SEEBURG acoustic line


Part 1 – Connections and indicator functions 


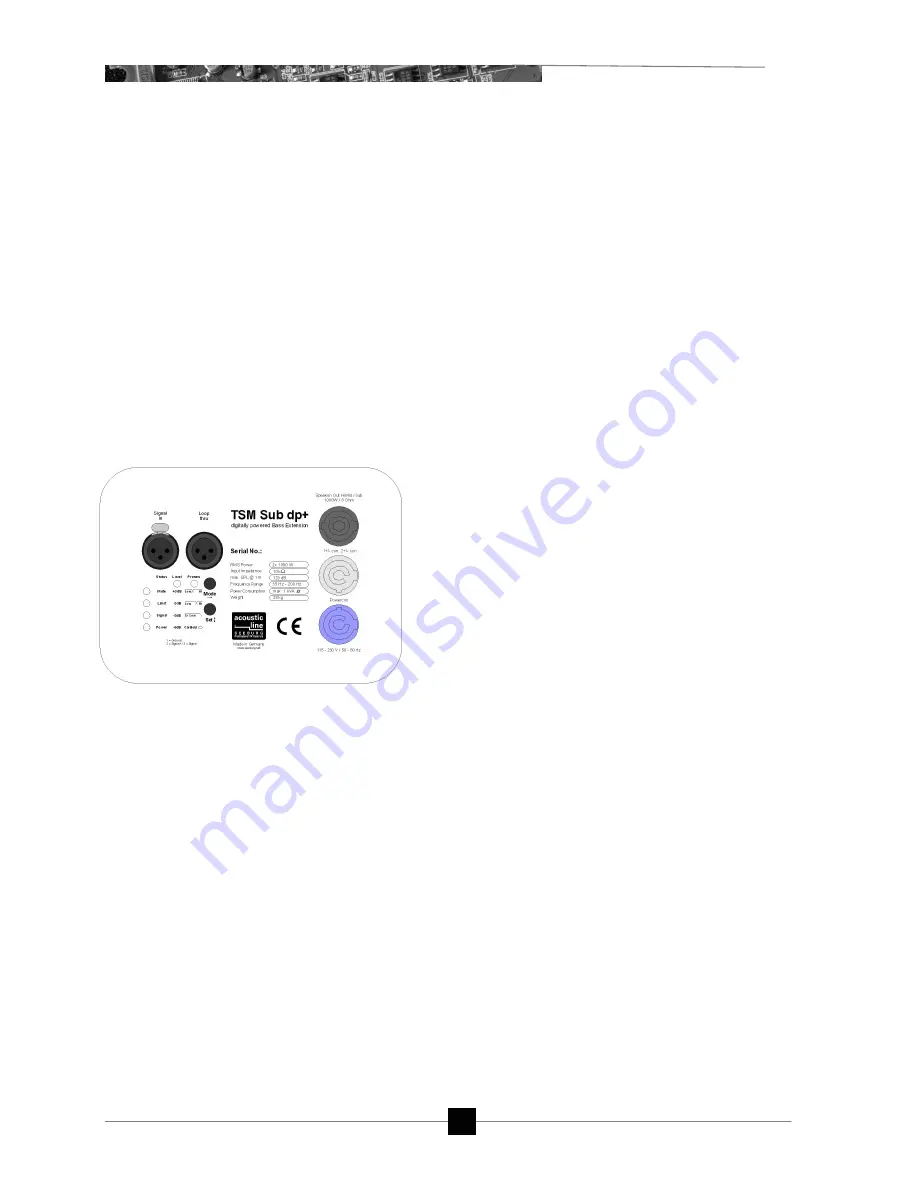
Connectors 


XLR  In: 

The  TSM  Sub  dp+  is  controlled  via  a 

conventional  symmetrical  microphone  cable.  For  signal 

loop-through  use  the  male  Loop  Thru  XLR  In.  For  full 

conduction  the  connected  signal  source  should  deliver  at 

least 6 dBU undistorted.  


Speakon: 

Output 

for 

connecting 

passive 

loudspeaker cabinet. Depending on the selected preset, it is 

possible to drive a mid/high range speaker or an additional 

subwoofer  (preferably  TSM  Sub).  In  this  case  the  slide 

switch  on  the  TSM  Sub  must  be  set  to  the  BiAmp  position   

2+/2-.  


PowerCon  (grey)

  230  VAC  Loop  Thru  input.  This  is 

required if power is to be supplied to several active speaker 

boxes  and  only  a  230  Volt  AC  lead  is  being  used.  Please 

observe  the  maximum  permitted  connected  load.  In 

practice,  power  can  be  supplied  to  up  to  two  additional 

systems.  


PowerCon  (blue): 

Power  supply  195-250  VAC.  This 

plug has the same function as an on-off switch. Ensure that 

a  230  VAC  mains  voltage  is  available.  After  switching  on 

(clockwise  rotation  until  it  snaps  into  place),  the  system 

starts up and is ready for use within 3 seconds.  


Avoid continuous switching on and off, above all when 

the system is under sustained load. 


Summary of Contents for TSM Sub dp+

Page 1: ...User Manual TSM Sub dp Last update 01 2009 ...

Page 2: ...ic line 2 Contents Foreword 3 Safety instructions 4 Part 1 Connections and indicator functions Connectors 5 Control elements 6 Status indicators 6 Part 2 Operation System start up 7 Adjusting sound levels 7 Accessing presets 8 ...

Page 3: ...configured presets and volume settings can be selected High grade electronic components from the industrial sector and a first class circuit design ensure excellent audio quality with low distortion and effectively minimise static noise Highly efficient and intelligent limiter systems ensure optimum protection against overload without restricting the possibilities offered by this high performance ...

Page 4: ...Never open the equipment as there are no user serviceable parts inside Do not expose TSM Sub dp to rain and if possible do not operate the speaker outside of a temperature range of 5 C to 40 C Bear in mind that strong thermal fluctuations result in the formation of condensate therefore do not operate the speaker until the speaker box has assumed the ambient temperature Do not switch the equipment ...

Page 5: ...In this case the slide switch on the TSM Sub must be set to the BiAmp position 2 2 PowerCon grey 230 VAC Loop Thru input This is required if power is to be supplied to several active speaker boxes and only a 230 Volt AC lead is being used Please observe the maximum permitted connected load In practice power can be supplied to up to two additional systems PowerCon blue Power supply 195 250 VAC This...

Page 6: ...ators Mute LED red light when the system is muted press Set button in Status mode or under technically crucial conditions Limit LED yellow light when the limiter is restricting the level of at least one amplifier channel Signal LED green light if a signal exceeds 20 dBU This also applies when the mute function has been activated Power LED lights up when the system is switched on ...

Page 7: ...pressed once the mute function is deactivated the Mute LED goes off and the system transmits a signal Adjusting sound levels By pressing the Mode button once you will gain access to the Level mode permitting adjustment of the volume in 3dB stages Four different values 3dB 0 dB standard 3dB and 6 dB are available Adjustment is effect via the SET button The green LED located above it indicates which...

Page 8: ...bination of at least 2 subwoofers can be substantially increased When the cardioid mode is activated the TSM Sub dp should be placed in a position that allows the sound to be directed to the rear whilst a second subwoofer active or passive directs the sound to the front Special circuitry produces directional kidney shaped cardioid sound characteristics The best effect is achieved if the TSM Sub dp...

Page 9: ......

Page 10: ......

Reviews: