SEELEY INTERNATIONAL
- INSTALLATION MANUAL
|
33
CHANGING COOLER CHILLCEL PADS
(CW-H15S, H15S Plus ONLY)
1.
Remove the cooler cores as per the “Changing Cooler
Cores” section. The additional chillcel is located on the
supply outlet side of the cooler cores.
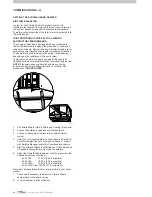
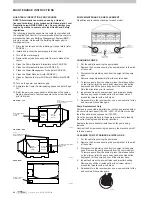
2. Remove the chillcel retention rail at the top of the chillcel.
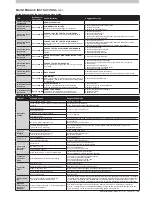
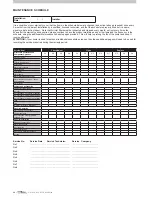
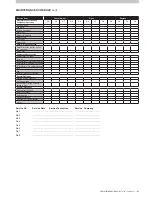
MAINTENANCE INSTRUCTIONS
cont.
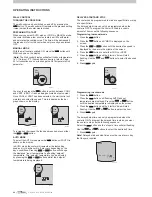
3. Raise the water spreaders and tilt the chillcel forwards
from the top. Continue to tilt the chillcel until it clears the
spreader. The pad on the far right may require to be slid
centre-bound before removing to better clear the water
hosing. It is recommended to remove the pad on the far left
first.
CHILLCEL RETENTION RAIL.
LIFT TO REMOVE (STEP 2).
WATER SPREADERS
ILL2463-A
4. To re-assemble, first position the top of the far right pad
underneath the spreader and push the base of the pad into
place before sliding the pad into its final position.
5. Note the chillcel pad has a small header block; this is the
top of the chillcel pad and must be positioned under the
water spreader for the pad to function correctly.
6. Reposition the extruded T-section at the rear of the pad,
wedging it between the spreader rail and the drip tray.
7. Refit the centre and far left pad.
8. Refit the chillcel retention rail.
9. Re-assemble the cooler cores.
ILL2463-A
ILL2464-A
RAISE SPREADER AND TILT THE CHILLCEL
FORWARDS FROM THE TOP TO REMOVE
(STEP 3).
ILL2464-A


