14
|
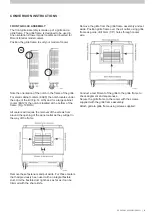
SETTING WATER LEVEL
Direct connection to Water Supply
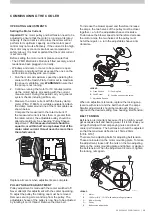
Connect a hose to the inlet fitting. Turn on the water
supply.
Allow the tank to fill with water. The float valve will
eventually stop the water from entering the cooler. Wait
for this to happen and check the water level.
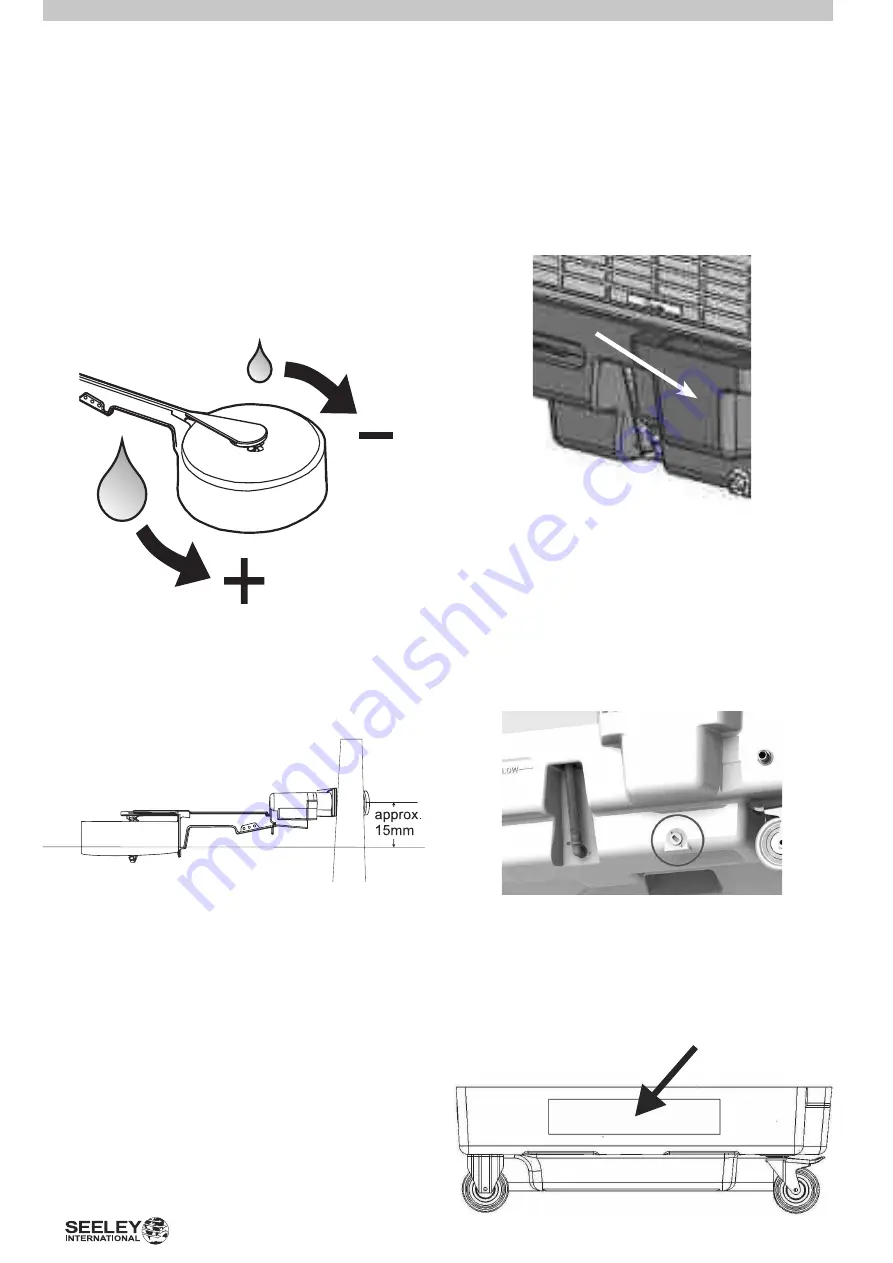
If the water level is too high rotate the float clockwise. If
too low, rotate the float anti-clockwise.
ILL715-B
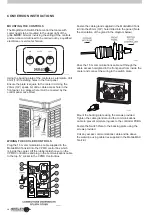
It is advisable to check the water level again after the
Float Valve seal has “bedded in.” After the unit has been
sitting for a time with pressure on the Float Valve, drain
and refill the Tank. A small amount of movement in the
Float Arm can make a difference in the amount of water
in the Tank.
TESTING THE COOLER
Once you are satisfied that the cooler is installed and
commissioned correctly, it is important to run the cooler
and ensure that everything is working as it should.
Make sure there are no water leaks.
ILL715-B
ILL2603-B
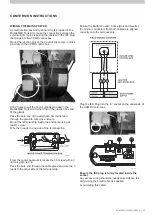
COMMISSIONING THE COOLER
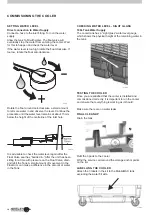
Rotate the float around anti-clockwise a small amount
to let more water in and observe the level. Continue the
procedure until the water level remains at about 15mm
below the height of the centreline of the inlet hole.
Refit the 3 pads to the cooler.
Wind the service cord around the storage anchor points
on the lid.
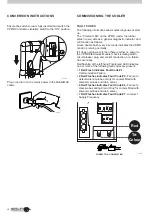
LABELLING THE COOLER
Attach the 3 labels in the kit to the MobileMAX tank
excluding the water fill side.
CHECKING WATER LEVEL - SIGHT GLASS
100L Tank Water Supply
The cooler tank has a “sight glass” water level gauge
which shows the physical height of the remaining water in
the tank.
ILL2746-A
ILL2767-A
FINAL CLEAN-UP
Drain the tank.
ILL2941-A
Summary of Contents for MobileMAX Series
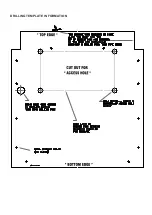
Page 15: ...DRILLING TEMPLATE INFORMATION ...

