
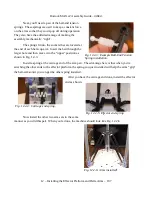


Rostock MAX v2 Assembly Guide – 4thEd.
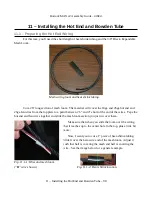
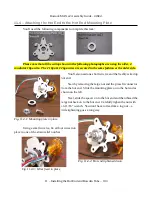
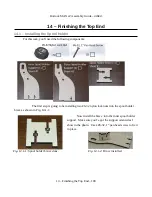
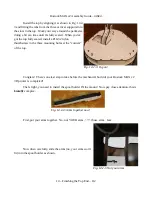
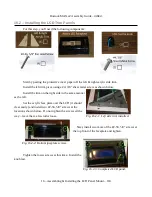
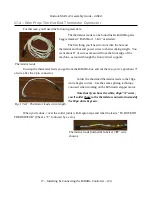
Install the top by aligning it as shown in Fig. 14.2-
3 and fitting the tabs from the three vertical supports into
the slots in the top. Work your way around the perimeter,
doing a bit at a time until it's fully seated. When you've
got the top fully seated, install a #10-32 nylon
thumbscrew in the three mounting holes at the “corners”
of the top.
Congrats! There's one last step to take before the mechanical build of your Rostock MAX v2
3D printer is completed!
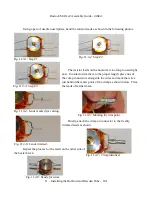
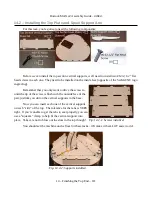
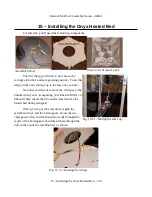
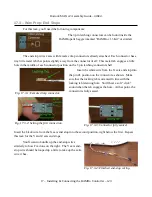
That's right, you need to install the spool holder IN the mount! Now pay close attention, this is
brutally
complex.
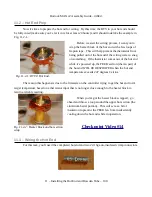
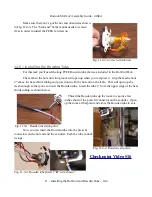
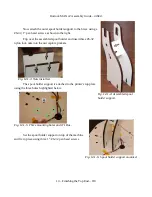
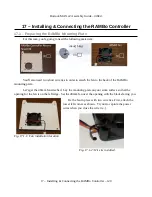
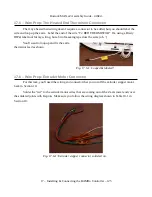
First, put your arms together. No, not YOUR arms, ^^^^ those arms. Jeez.
Now oh so carefully, slide the arms (no, your arms won't
fit) into the spool holder as shown.
14 – Finishing the Top End – 112
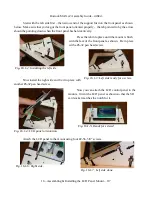
Fig. 14.2-5:Not your arms.
Fig. 14.2-3: Top on!
Fig. 14.2-4: Arms together now!


