


Rostock MAX v2 Assembly Guide
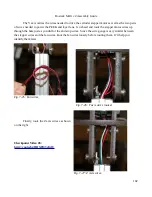
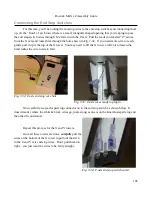
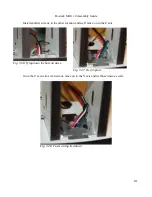
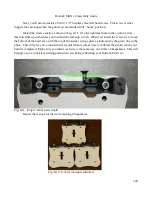
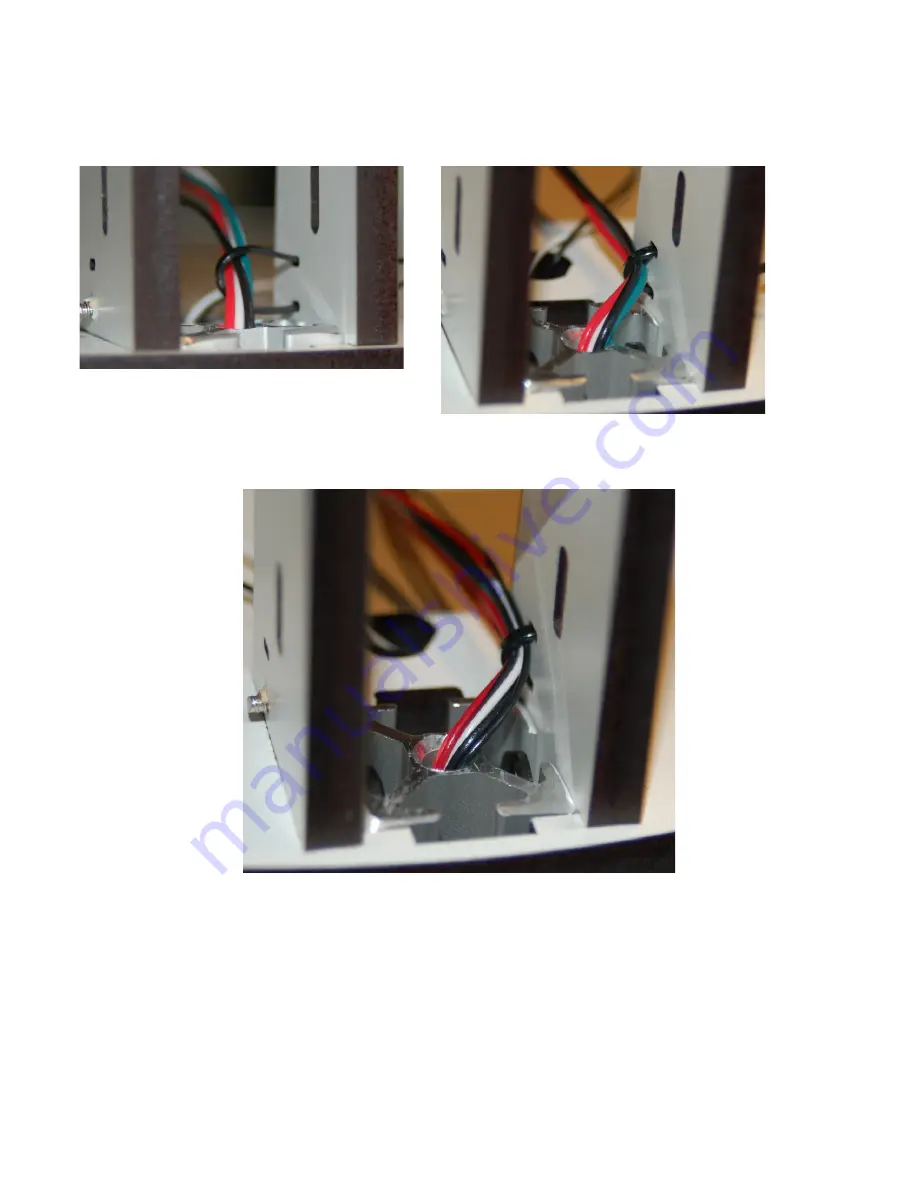
Install another wire tie in the other location and we'll move on to the Z axis.
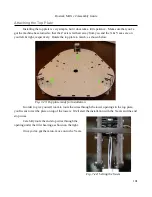
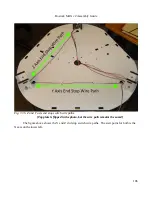
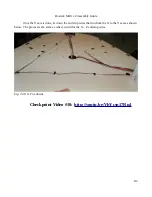
Once the Z axis wires are tied out, move on to the Y axis and tie those down as well.
111
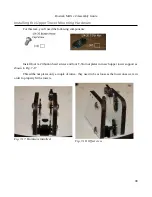
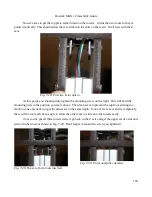
Fig. 7-46: Tying down the hot end wires.
Fig. 7-47: Tied in place.
Fig. 7-48: Y axis wiring tied down.
Summary of Contents for Rostock MAX v2
Page 25: ...Rostock MAX v2 Assembly Guide Melamine Parts Sheet 1 25 ...
Page 26: ...Rostock MAX v2 Assembly Guide Melamine Parts Sheet 2 Melamine Parts Sheet 3 26 ...
Page 27: ...Rostock MAX v2 Assembly Guide Melamine Parts Sheet 4 27 ...
Page 171: ...Rostock MAX v2 Assembly Guide 171 Fig 14 8 Spool holder support installed ...


