
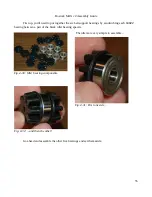


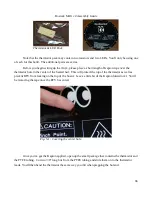
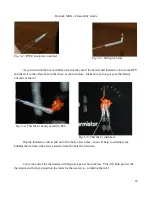
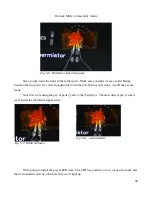


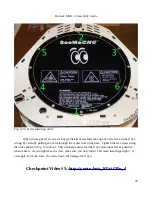

Rostock MAX v2 Assembly Guide
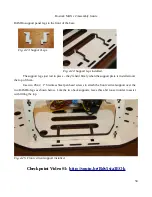
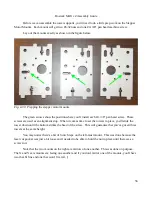
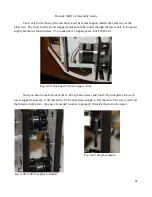
In order to install the top
plate on the base you've assembled,
you'll need to carefully begin to align
the tabs in the three vertical supports
and the three tower supports with the
notches in the top plate. As you
work one section down on to the
tabs, install a #6-32 1” screw at a
near hole to keep that section from
popping out while you're working
your way around the top. It takes a
little patience to get done, but it's
vastly
easier than installing the
original Rostock MAX top plate.
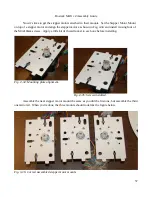
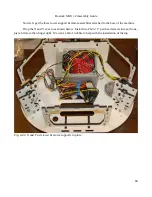
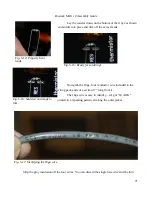
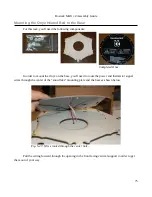
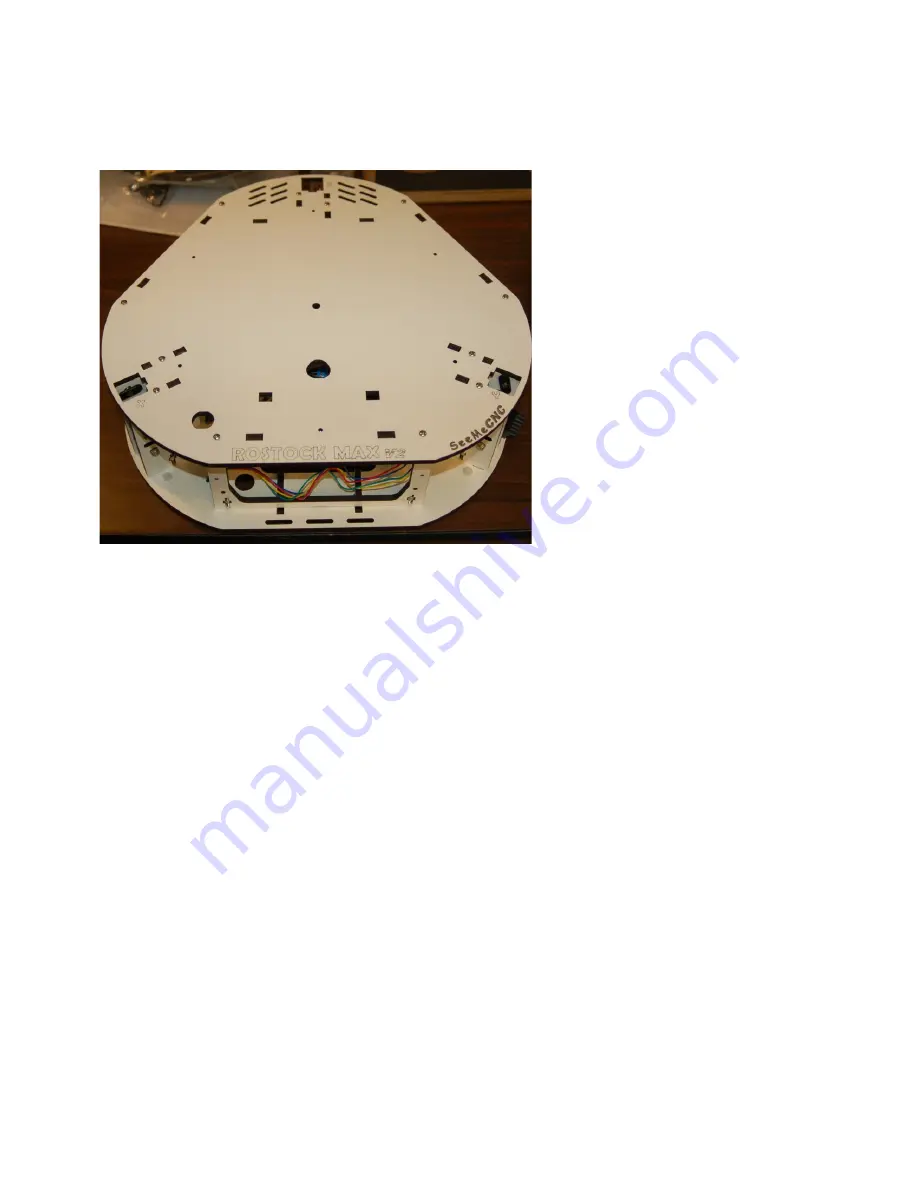
Once you've gotten the top fully seated, fully tighten all of the #6-32 1” screws. Tighten the
three vertical supports both top and bottom and then tighten down the three tower supports. Also
tighten the screws holding the two idler bearings in each tower base.
You don't want to over-tighten them however. If you do, you'll collapse the laser cut nut
pockets.
64
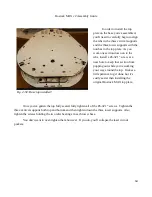
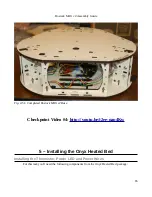
Fig. 4-50: Base top installed!
Summary of Contents for Rostock MAX v2
Page 25: ...Rostock MAX v2 Assembly Guide Melamine Parts Sheet 1 25 ...
Page 26: ...Rostock MAX v2 Assembly Guide Melamine Parts Sheet 2 Melamine Parts Sheet 3 26 ...
Page 27: ...Rostock MAX v2 Assembly Guide Melamine Parts Sheet 4 27 ...
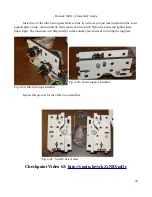
Page 171: ...Rostock MAX v2 Assembly Guide 171 Fig 14 8 Spool holder support installed ...


