Installation
15
14
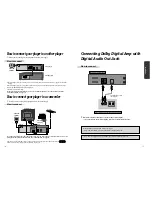
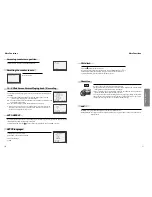
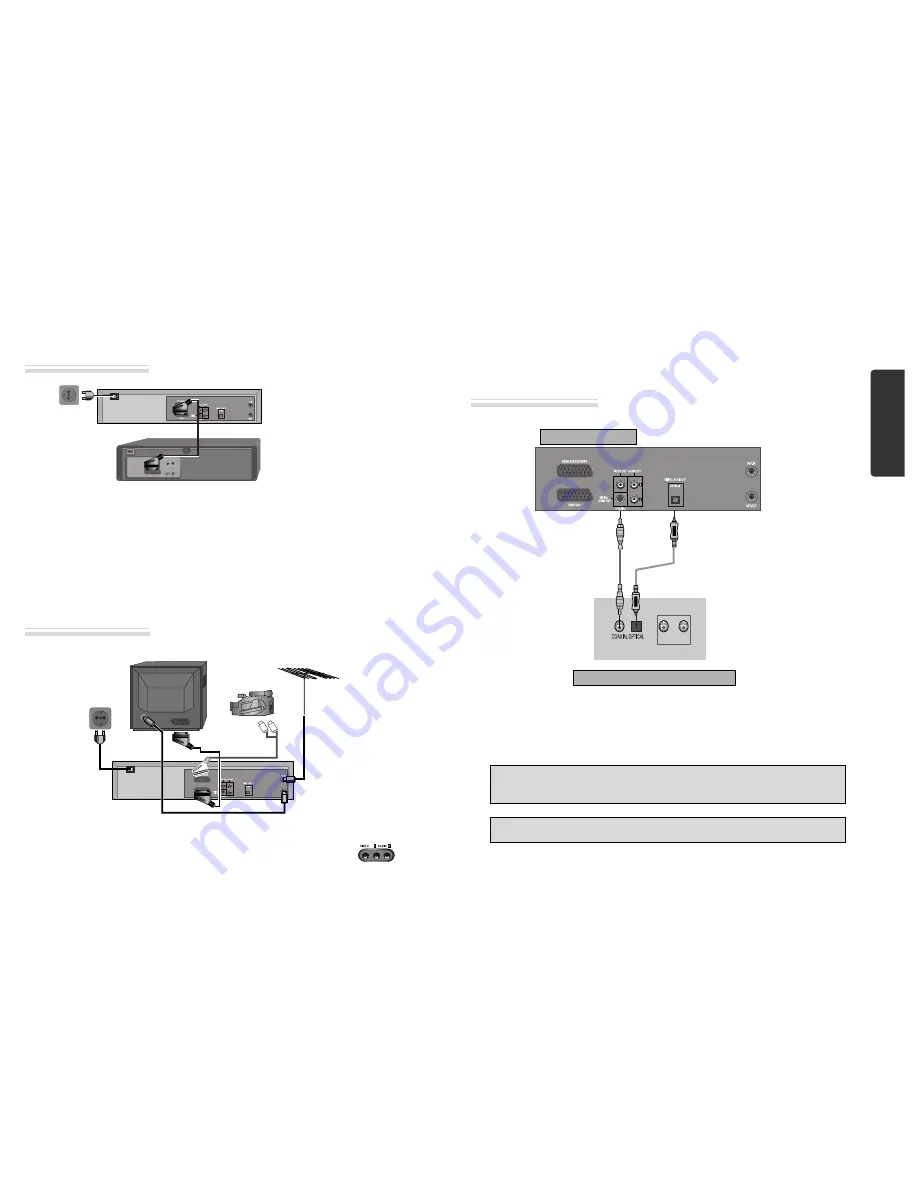
Connecting Dolby Digital Amp with
Digital Audio Out Jack
(L) AUDIO IN (R)
1
1
Select either COAXIAL or OPTICAL to connect to amp of Dolby Digital.
** If you want to know about “Dolby Digital”, please refer to [About DVD] in 54-56p.
Home Theater Receiver with Dolby Digital decoding capability
REAR PANEL OF DVD-VIDEO
CONNECTING CABLE
(Not supplied)
Manufactured under license from Dolby Laboratories.
"Dolby" and the double-D symbol are trademarks of Dolby Laboratories.
How to connect
“DTS” and “DTS Digital Out” are trademarks of Digital Theater Systems, Inc.
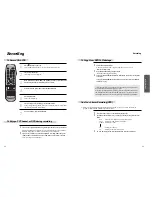
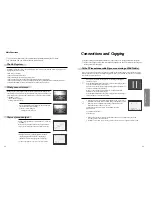
How to connect your player to another player
■
Before you start, unplug all the equipment from the mains supply.
First player
Second player
200-240V~,
50/60 Hz
1) Insert the tape you wish to record on into the first player and press [INPUT] until “AV1” appears on the front
display.
2) Insert the tape you wish to copy from into the second player. Press the [PLAY] button on the second player.
3) Press the [RECORD] button on the first player.
The player will start recording.
If your player has two scart sockets, you can use the other socket “AV2” to connect other equipment.
To use this function, see page 16.
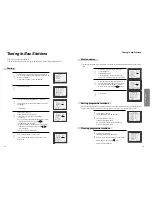
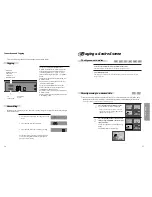
How to connect your player to a camcorder
■
Before you start, unplug all the equipment from the mains supply.
If you have connected your camcorder in this way, you can also connect a scart lead from “AV2” on the
back panel of the player to the television. To use this function, see page 16.
You can also connect the camcorder by using a phone cable if your player has front input sockets.
Check the front of your player for this connection, see page 16.
Camcorder
Aerial
200-240V~,
50/60 Hz
Television
Player
to
camcorder
Scart Plug
to TV
How to connect
How to connect


