28
video cassettes
P L A Y I N G
◆
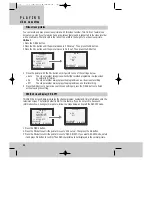
You can only see the tape-control menu when there is a cassette in the video recorder.
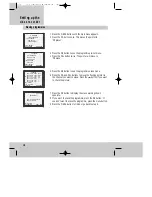
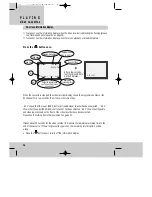
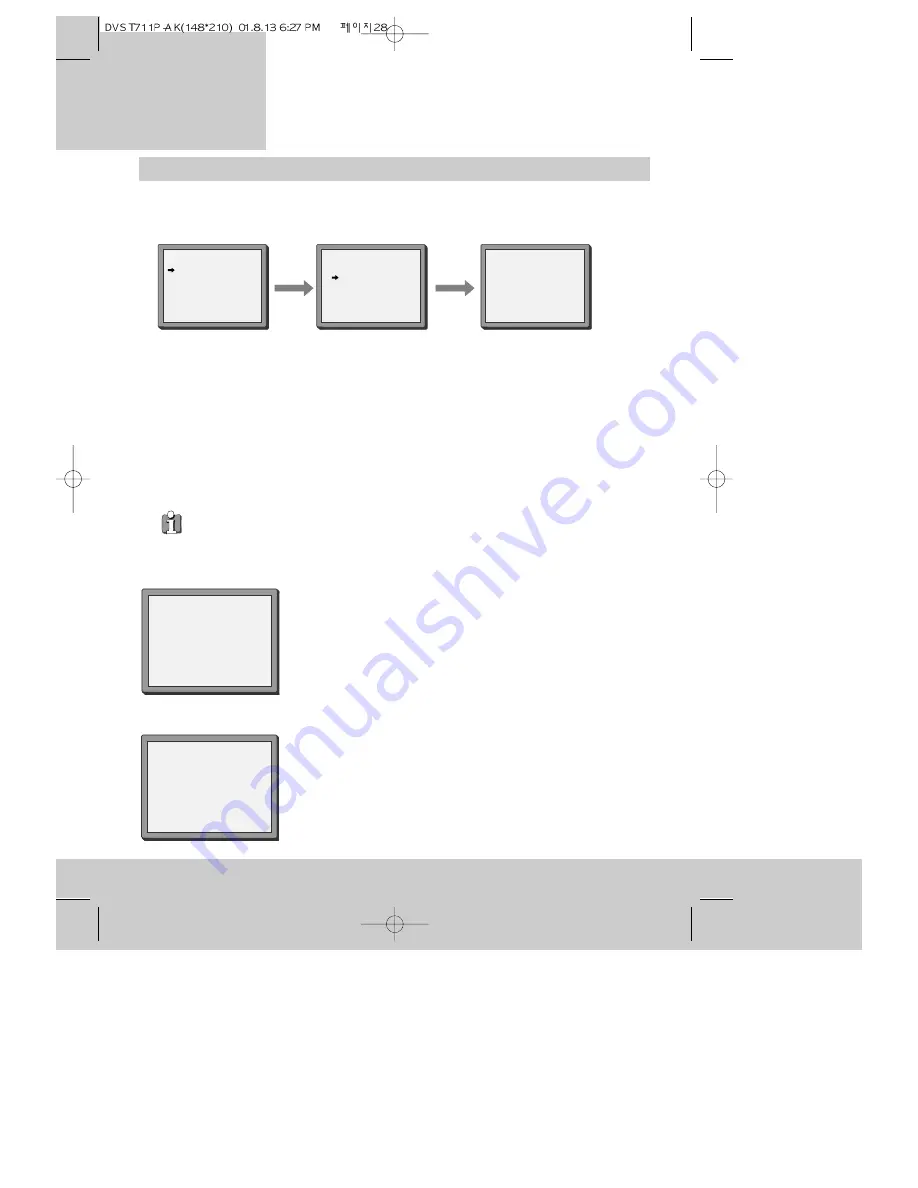
1 Press the MENU button.
2 Press the PR+ button once to put the pointer on ‘Tape control’.
3 Press the OK button to display the tape-control menu. The pointer will be on ‘Tape remain’.
4 Press the OK button to see a table of cassette types (E-180, E-240, E-300). The cassette type is
usually marked on the back of the cassette or the cassette case. For more information, please
see ‘About video cassettes - types of video cassette’ on page 21.
5 Move the pointer to the type of video cassette you are using by pressing the PR+ and PR- buttons.
6 Press the OK button to confirm the type of cassette. The video recorder will display the
cassette type back to you for a few seconds.
◆
At step 6, if you decide not to change the cassette type, press the MENU button instead of OK.
◆
How to see the remaining time is described in ‘On-screen information display’ on page 26.
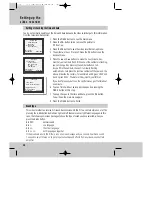
1 Follow steps 1 to 3 above to get the tape-control menu.
2 Press the PR- button once to move the pointer to ‘Go to zero’.
3 Press the OK button. The video recorder will display the picture
opposite, and rewind or fast forward the cassette until the
counter is at zero.
1 Follow steps 1 to 3 above to get the tape-control menu.
2 Press the PR+ button once to move the pointer to ‘Counter
reset’.
3 Press the OK button. The video recorder will display the picture
opposite and set the counter to zero.
COUNTER RESET
0:00:00
REW SP
GO TO ZERO
0:02:13
Tape control menu
Resetting the counter to zero
Finding counter zero position of a cassette
Remaining time and cassette length
E-240 01:27
TAPE REMAIN
E-180
E-240
E-300
PR+/-:SELECT
OK:CONFIRM MENU:END
TAPE CONTROL
TAPE REMAIN
GO TO ZERO
COUNTER RESET
PR+/-:SELECT
OK:CONFIRM MENU:END


