53
9. CONTROL PANEL (STEERING MOTOR UNIT)
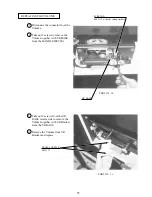
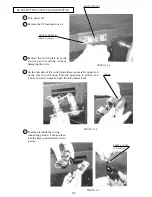
Prepare a Phillips screwdriver and a
wrench for M8 hexagonal nut.
Turn off power.
Referring to Chapter 6, uncouple the
PTV and the main cabinet from each
other. However, leave the wires
connected.
Remove the 6 Trusshead screws and
detach the Mech Front Lid from the
main cabinet.
MECH FRONT LID
TRUSS SCREW (6)
M4 X 8
PHOTO 9. 1 a
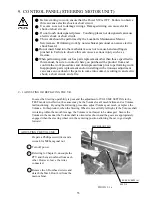
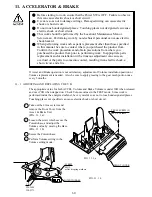
Before starting to work, ensure that the Power SW is OFF. Failure to observe
this can cause electric shock or short circuit.
Use care so as not to damage wirings. Damaged wiring can cause electric
shock or short circuit.
Do not touch undesignated places. Touching places not designated can cause
electric shock or short circuit.
This work should be performed by the Location's Maintenance Man or
Serviceman. Performing work by non-technical personnel can cause electric
shock hazard.
Do not insert hand into the mechanism so as not to cause hand and fingers
pinched in. Failure to observe this can cause a serious injury such as a
fracture.
When performing work such as parts replacement other than those specified in
this manual, be sure to contact where you purchased the product from and
confirm the work procedures and obtain precautions prior to performing work.
Inappropriate parts replacement and/or installing with erroneous adjustment
can cause an overload or the parts to come into contact, resulting in an electric
shock, a short circuit, and a fire.
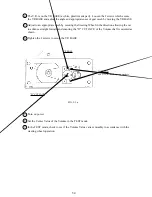
9 - 1 ADJUSTING OR REPLACING THE V.R.
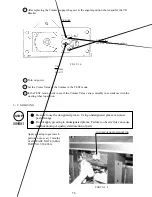
In cases the Steering operability is poor and the adjustment of VOLUME SETTING in the
TEST mode is ineffective, the causes may be the Volume Gear's mesh failure and or Volume
malfunctioning. By using the following procedure, adjust Volume gear mesh, or replace the
Volume. In this product, when the Steering Wheel is moved fully left/right, if the Volume shaft
is rotating within the movable range, the Volume is not feared to be damaged. Secure the
Volume in the manner the Volume shaft is oriented as shown and the gears are appropriately
engaged when the steering wheel is in the centering position allowing the car to go straight
forward.
ADJUSTING THE VOLUME
1
2
3
Summary of Contents for 999-1108
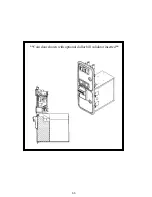
Page 73: ...66 Coin door shown with optional dollar bill validator inserted...
Page 99: ...92 7 ASSY HANDLE MECHA NCR 2100 D 1 2...
Page 102: ...95 9 ASSY ACCEL BRAKE SPG 2200 D 1 2...
Page 104: ...97 10 ASSY 4SPEED SHIFTER NCR 2150 D 1 2...
Page 110: ...103 13 ASSY SHIELD CASE NCR NCR 4050 D 1 2...
Page 117: ...VISIT OUR WEBSITE...
Page 118: ......

