2-87
2
Basic oper
a
tion
This section describes the waste ink bottle replacement procedure.
Replace the waste ink bottle in the following two cases.
When no waste ink bottle is installed
When the waste ink bottle becomes full
The treatment procedure for each case is shown below.
Note
Do not replace the waste ink bottle during printing.
–
Waste ink bottle installation procedure
1
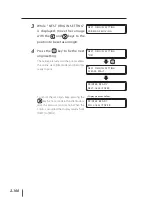
Confirm that the printer recognizes
n o w a s t e i n k b o t t l e w i t h t h e
guidance message.
B O T T L E O U T
I N S T A L L B O T T L E
2
Install a new waste ink bottle.
Refer to
[Procedure when the waste ink bottle becomes full]
.
Note
Before using the printer, check visually whether the waste ink bottle is full. When
the waste ink bottle is full, treat it following [Procedure when the waste ink bottle
becomes full].
–
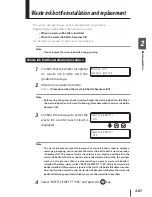
3
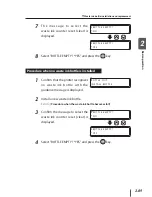
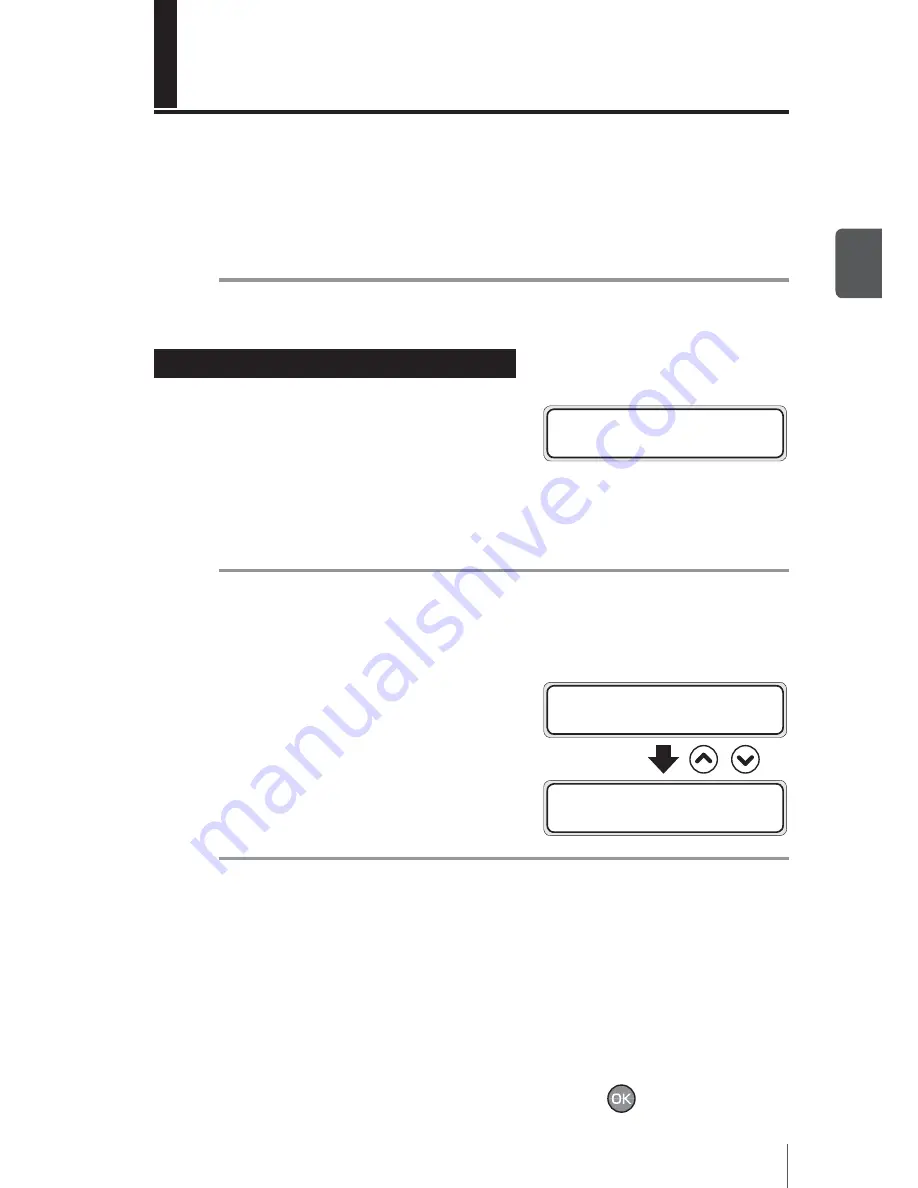
Confirm the message to select the
waste ink counter reset (clear) is
displayed.
# B O T T L E E M P T Y ?
* N O
,
# B O T T L E E M P T Y ?
* Y E S
Note
The waste ink counter counts the amount of waste ink and is used to display a
message prompting you to replace the waste ink bottle with a new one when
it becomes full. The count of waste ink volume is assumptive, and therefore the
waste ink bottle full state cannot be accurately detected. Basically, the counter
works on the premise that it is cleared when an empty waste ink bottle is
installed. Therefore, always select "#BOTTLE EMPTY? *YES" with a new waste ink
bottle installed. If this premise is ignored, the waste ink bottle full detect counter
does not function correctly and waste ink will become full before the waste ink
bottle full alarm is generated, which may cause the waste ink to overflow.
–
4
Select "BOTTLE EMPTY? *YES" and press the
key.
–
–
Waste ink bottle installation and replacement

