43
Removing Partition Plate
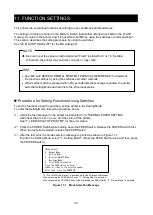
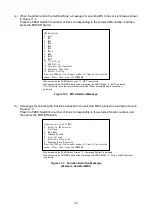
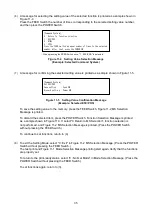
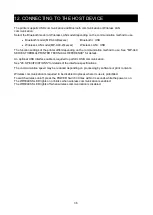
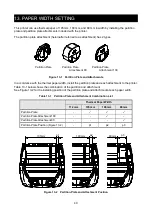
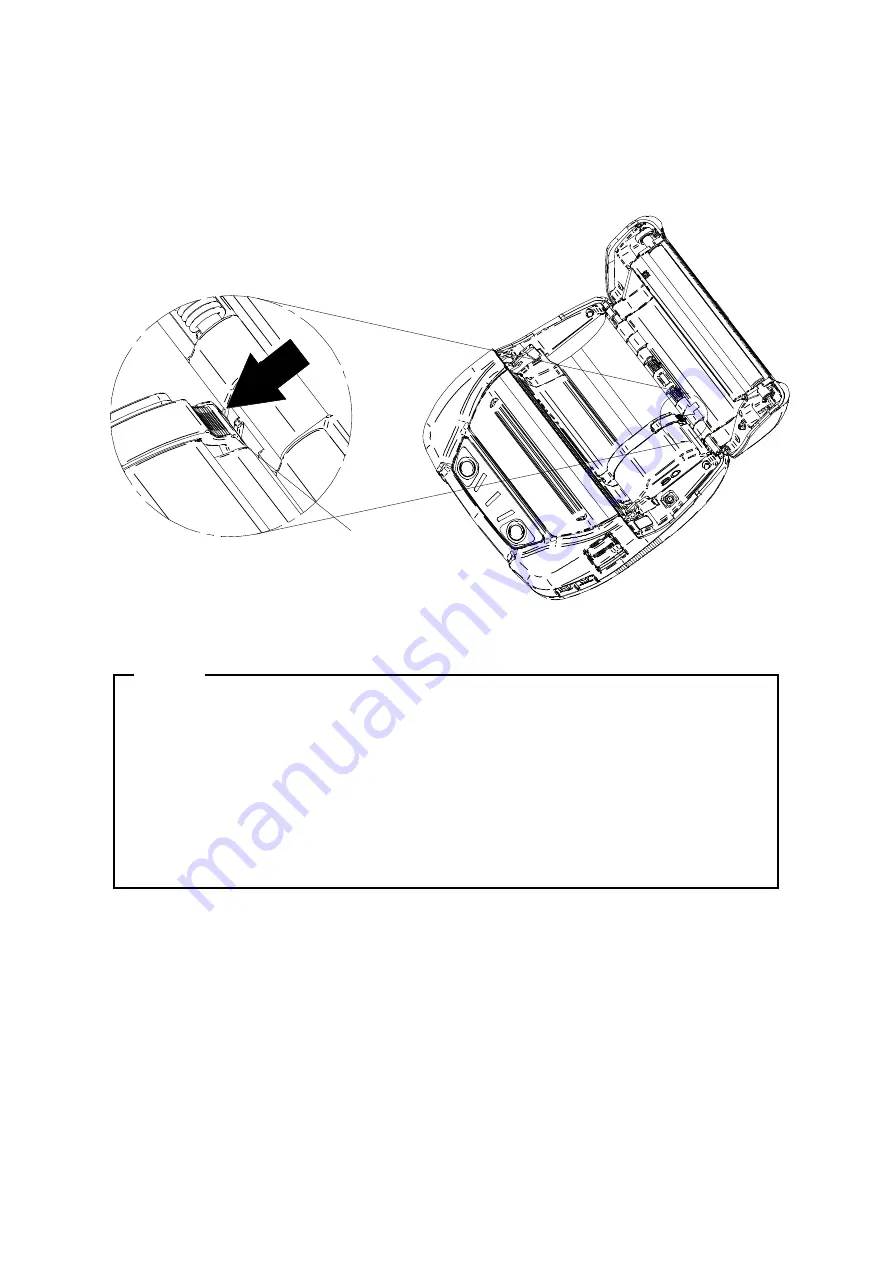
Follow the below procedure to remove the partition plate from the printer.
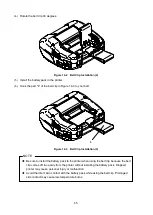
(1)
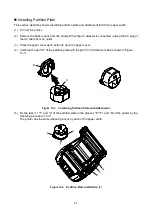
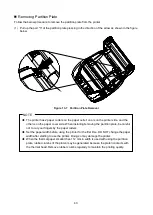
Pull up the part "h" of the partition plate pressing in the direction of the arrow as shown in the figure
below.
Figure 13-7 Partition Plate Removal
NOTE
◆
The printer has 2 paper cutters on the paper outlet: one is on the printer side, and the
other is on the paper cover side. When installing/removing the partition plate, be careful
not to cut your fingers by the paper cutters.
◆
Set the paper width before using the printer for the first time. DO NOT change the paper
width after starting to use the printer. Doing so may damage the printer.
◆
When the thermal paper smaller than 112 mm in width is used with using the partition
plate, rubber crumbs of the platen may be generated because the platen contacts with
the thermal head. Remove rubber crumbs regularly to maintain the printing quality.
h

