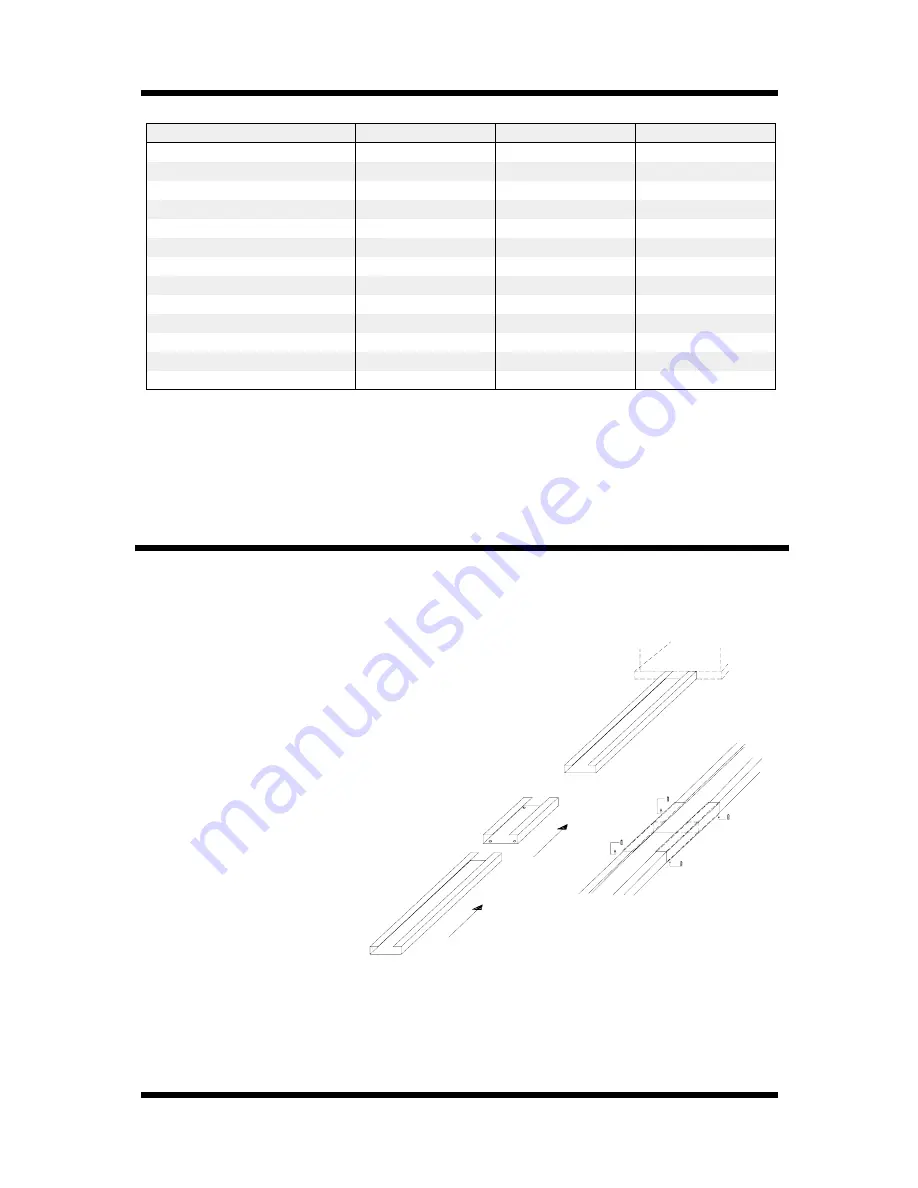
Extension (optional)
An extension piece can be ordered to extend the
length of the C-profile rail up to 4,15 m (163").
Mounting the extension piece:
If your garage door opener has already been
preassembled, start by loosening the fixing screws
holding the front C-profile coupling piece in place.
slide the coupling piece back far enough so that it
protrudes by about 10 mm (see page 2, step 3).
Now take the tension off the chain by lifting the
front section of the C-profile rail (see page 2).
Open the chain on the chain tensioner. Insert
the extension chain and the C-profile rail ex-
tension piece.
Now continue as described on page 2.
Each extension kit includes:
- C-profile rail
- C-profile coupling piece
- 1 chain
- 1 chain link (master link)
- 4 threaded studs
Technical Data UK
Installation Instruction UK
-
Page 6
17 kg
17 kg
17 kg
Weight, excl. packaging
19 kg
19 kg
19 kg
Weight, incl. packaging
35 mm
35 mm
35 mm
Space required above door
approx. 2 min.
approx. 2 min.
approx. 2 min.
Lighting duration
24 V, E14, max. 15 Watt
24 V, E14, max. 15 Watt
24 V, E14, max. 15 Watt
Lighting
230V - 22/28V AC
230V - 22/28V AC
230V - 24V AC
Main transformer
190-260 volts AC
190-260 volts AC
190-260 volts AC
Power supply
5-95 kg adjustable
5-75 kg adjustable
5-55 kg adjustable
OPEN/CLOSE force
3205 mm
3205 mm
3205 mm
Overall length
8 cm per sec.
9 cm per sec.
-
Operating speed slow
11 cm per sec.
13 cm per sec.
13 cm per sec.
Operating speed fast
self-locking, 95 kg
self-locking, 75 kg
self-locking, 55 kg
Gears
24 V- low noise
24 V- low noise
24 V- low noise
DC motor
UK 100
UK 80
UK 60
Data
Standard specification:
UK garage door opener, complete with mounting
components, remote control system, transmitter, receiver, pushbutton unit
and packaging.
We reserve the right to make technical changes without notice.
Summary of Contents for UK 100
Page 9: ...Problems No problem...


