RGDGP5MP1RSE 030024 180418
The sensor module can be replaced only twice and the
replacement must be done by qualified personnel only.
a
WARNING
- Tampering of the device exposes to electrical hazard
or malfunction.
- The appliance must be wired to the electric mains
through a switch capable of disconnecting all poles in
compliant with the current safety standards and with a
contact separation of at least 3 mm in all poles.
- Installation and electrical wirings of this appliance
must be made by qualified technicians and in
compliance with the current standards.
- Before wiring the appliance be sure to turn the mains
power off.
* NOTE:
- System
configuration
which
contemplates
the
detector and a remote sensor is not covered by the
conformity to IMQ marking.
DISPOSAL INDICATIONS
This device must not be disposed as a urban
litter.
Dispose of the device according to national
standards.
WARRANTY
In the view of a constant development of their products, the
manufacturer reserves the right for changing technical data
and features without prior notice.
The consumer is guaranteed against any lack of conformity
according to the European Directive 1999/44/EC as well as
to the manufacturer’s document about the warranty policy.
The full text of warranty is available on request from the
seller.
SENSOR REPLACEMENT
Every five years (max twice) the internal sensor module
must be replaced with a new precalibrated sensor module.
The replacement must be done by qualified personnel
according to the following instructions:
1.
Use the relevant sensor module part:
BEAGLE
plus
L:
AC MG01
BEAGLE
plus
M:
AC MM01
2.
Remove the power supply from the detector.
3.
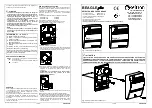
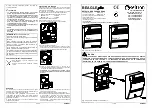
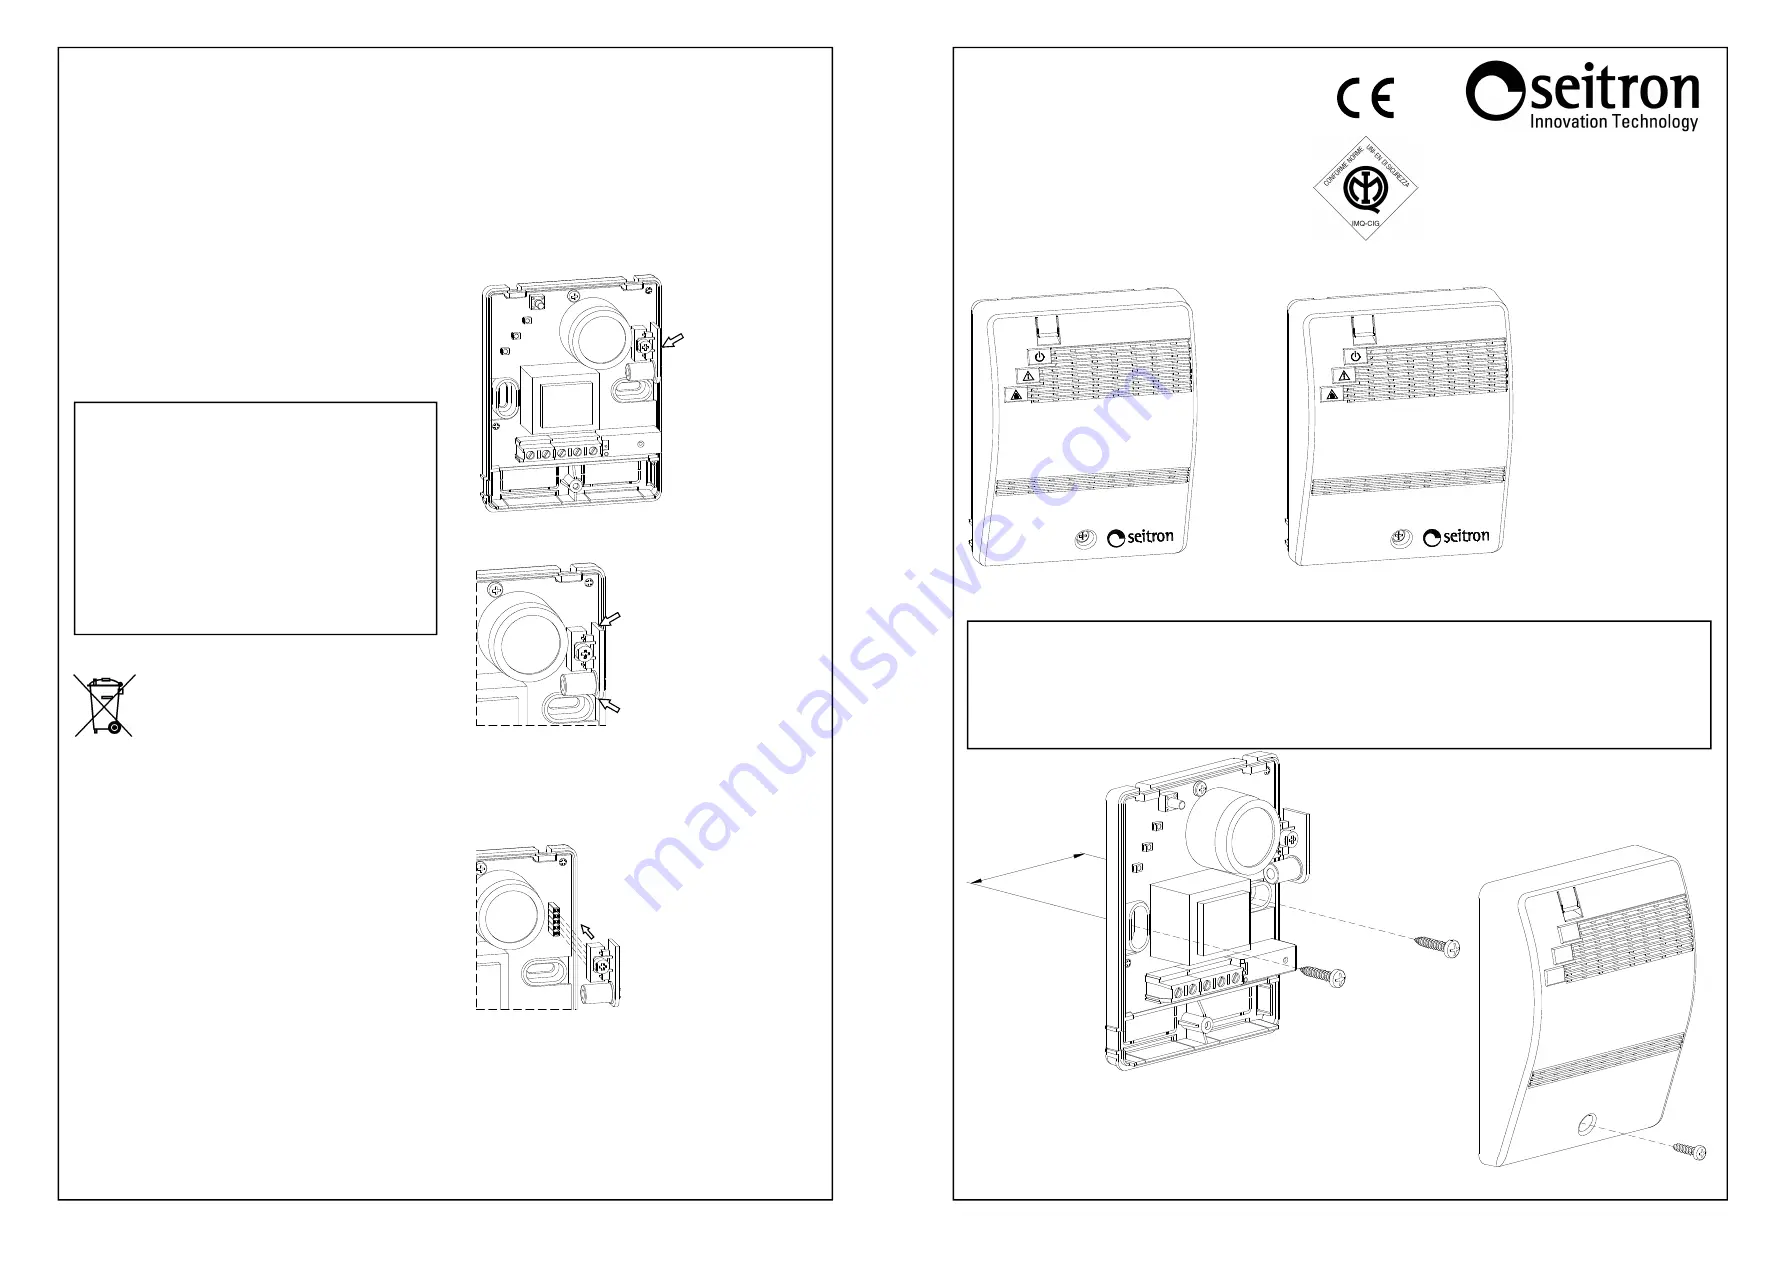
Remove the detector’s panel as shown in Fig. 2.
4.
Spot the sensor module to be replaced:
5.
Remove the old sensor module, holding firmly the edges
of the board and pulling it out:
6.
Insert the new sensor in the relevant connector. Attention
must be payed in that the module’s pins match the
relevant detector’s female connector.
WARNING: the sensor module must be mounted so
that its components face the inside of the detector’s
board.
7.
Place back the front panel on the detector and tighten
the relevant screw.
8.
Power up the detector and check for its correct
operation.
9.
Fill in the detector’s warning label or fill in the new label
supplied with the spare sensor module and stick it on the
detector.
Note: that the warning label’s date must be 5 years
ahead the set up of the new sensor module.
WARNING!
In case of an alarm:
1) Extinguish all fire sources.
2) Close main gas valve (either methane or LPG).
3) Do not turn on or off any electrical light; do not
turn on or off any electrical device.
4) Open doors and windows to increase ventilation.
If the alarm stops it is necessary to search the
possible cause and consequently provide.
In case the alarm persists and the cause of the leak
cannot be found, vacate the premises and, from
external, immediately notify the gas emergency
service.
- ENGLISH -
8/20
RGDGP5MP1RSE 030024 180418
60m
m
BEAGLE
plus
GAS LEAK DETECTOR
LPG version:
BEAGLE
plus
L
Methane version:
BEAGLE
plus
M
Replaceable semiconductor sensor
230V~ power supply
Buzzer and relay in case of alarm
Alarm test key
Flush mount over 2 modules junction boxes (square or round shaped)
Fig. 2
: Installation example of BEAGLE
plus
-.
a
WARNING
THE INSTALLATION OF THE DETECTOR DOESN'T EXEMPT FROM THE OBSERVANCE OF ALL
RULES ABOUT THE CHARACTERISTICS, INSTALLATIONS AND THE USE OF THE GAS DEVICES, THE
VENTILATION OF THE ROOMS AND THE EMISSIONS OF THE PRODUCTS OF THE COMBUSTION
PRESCRIBED FROM UNI STANDARDS AND THE PROVISIONS OF THE LAW.
- ENGLISH -
Fig. 1:
BEAGLE
plus
- external aspect.
Beagle
T
LPG GAS DE
TECTOR
RIVELATORE GA
S GPL
plus
L
Beagle
T
METHANE G
AS DETECTO
R
RIVELATORE GA
S METANO
plus
M
Via del Commercio, 9/11
36065 Mussolente (VI)
Tel.: +39.0424.567842
Fax.: +39.0424.567849
http://www.seitron.it
e-mail: info@seitron.it
5/20


