U.4.22
SEL-421/SEL-421-1 Relay
User’s Guide
Date Code 20020501
Basic Relay Operations
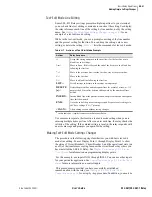
Making Simple Settings Changes
familiar with relay access levels and passwords. See
Passwords: Terminal on page 4.10
to change the default access level
passwords.
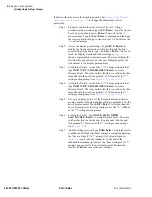
Step 1. Prepare to control the relay at Access Level 2. Using a
communications terminal, type
ACC<Enter>
. Type the Access
Level 1 password and press
<Enter>
. You will see the =>
action prompt. Type the
2AC<Enter>
command, and then type
the correct password to go to Access Level 2. You will see the
=>> action prompt.
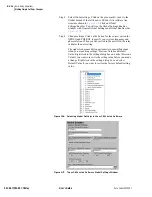
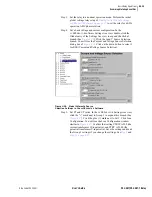
Step 2. Access the display point settings. Type
SET F<Enter>
to
modify the front-panel settings. Advance through the front-
panel settings (repeatedly type
>
and then
<Enter>
) until you
reach the Display Points and Aliases category.
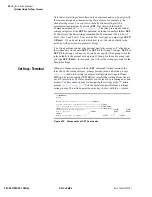
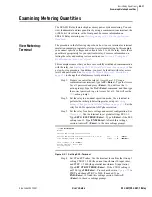
shows a representative terminal screen. The relay displays the
first line that you can edit. For the case of display points, the
line number is the display point number.
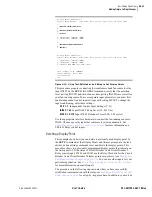
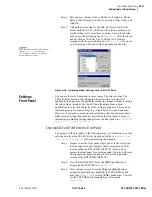
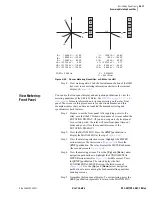
Step 3. Set Display Point 1. At the Line 1 “?” settings action prompt,
type
IN101,“CB1”,CLOSED,OPEN<Enter>
to create
Display Point 1. The relay verifies that this is a valid entry, then
responds with the next line prompt “2:” followed by the “?”
settings action prompt (see
Step 4. Set Display Point 2. At the Line 2 “?” settings action prompt,
type
IN102,“CB2”,CLOSED,OPEN<Enter>
to create
Display Point 2. The relay verifies that this is a valid entry, then
responds with the next line prompt “3:” followed by the “?”
settings action prompt (see
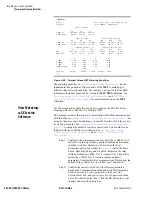
Step 5. List active display points. At the Display Points and Aliases
prompt, use the text-edit mode line editing commands to list the
active display points. Type
LIST<Enter>
. After showing the
active display points, the relay returns you to line “3:” followed
by the “?” settings action prompt.
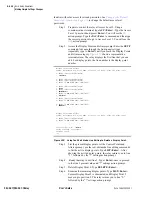
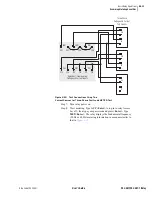
Step 6. Set Display Point 3. Type
IN105,“5 MVA XFMR
Fans”,ON,OFF<Enter>
to create Display Point 3. The relay
verifies that this is a valid entry, then responds with the next
line prompt “4:” followed by the “?” settings action prompt
(See
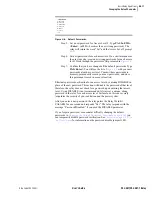
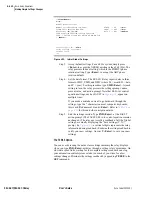
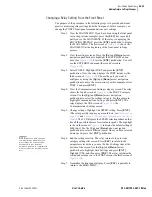
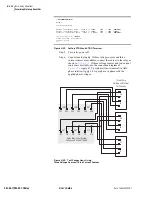
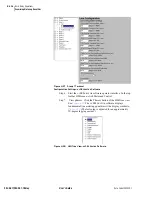
Step 7. End the settings session. Type
END<Enter>
. The relay scrolls
a readback of all the Front-Panel settings, eventually displaying
the “Save settings (Y,N) ?” prompt. (A vertical ellipsis in
represents the readback.) At the end of the
readback information, just before the “Save settings (Y,N) ?”
prompt, you can verify the new display point information.
Answer
Y<Enter>
to save the new settings.
Summary of Contents for SEL-421
Page 8: ...This page intentionally left blank ...
Page 30: ...This page intentionally left blank ...
Page 110: ...This page intentionally left blank ...
Page 204: ...This page intentionally left blank ...
Page 284: ...This page intentionally left blank ...

