U.4.58
SEL-421/SEL-421-1 Relay
User’s Guide
Date Code 20020501
Basic Relay Operations
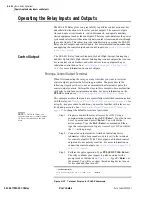
Operating the Relay Inputs and Outputs
This example assumes that you have successfully established communication
with the relay; see
Making an EIA-232 Serial Port Connection on page 4.6
for
a step-by-step procedure. In addition, you must be familiar with relay access
levels and passwords. See
Changing the Default Passwords: Terminal on
to change the default access level passwords. You should also be
familiar with the
AC
SEL
ERATOR
software. See
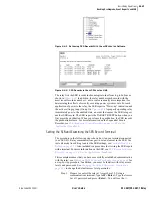
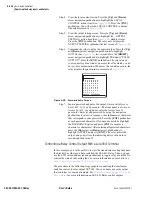
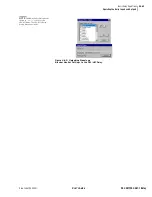
Step 1. Configure the communications port. Start the
AC
SEL
ERATOR
software. On the top toolbar, open the Communication menu,
and then click Port Parameters. You will see the Port
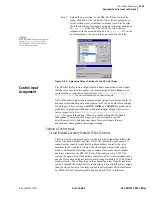
Parameters dialog box similar to
Speed, Data Bits, Parity, and Stop Bits that match the relay
settings. Defaults are 9600, 8, N, 1, respectively. Click OK to
update the
AC
SEL
ERATOR
software communications
parameters. Confirm that the Communications Status bar at the
bottom of the
AC
SEL
ERATOR
window says “Connected.”
Step 2. Confirm the correct
AC
SEL
ERATOR
software passwords.
Reopen the Communication menu and click Port Parameters.
Enter your Access Level 1 password in the Level One
Password text box, and your Access Level 2 password in the
Level Two Password text box. Click the OK button to accept
changes and close the dialog box.
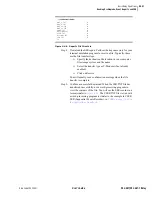
Step 3. Read the present configuration in the SEL-421 Relay. On the
Settings menu, click Read. The relay sends all configuration
and settings data to the
AC
SEL
ERATOR
software.
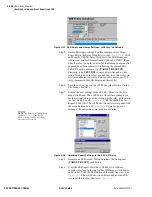
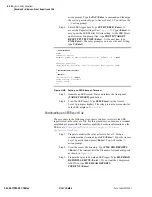
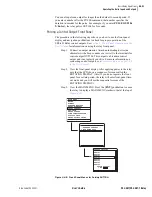
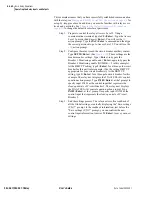
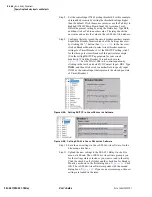
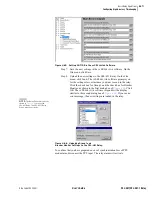
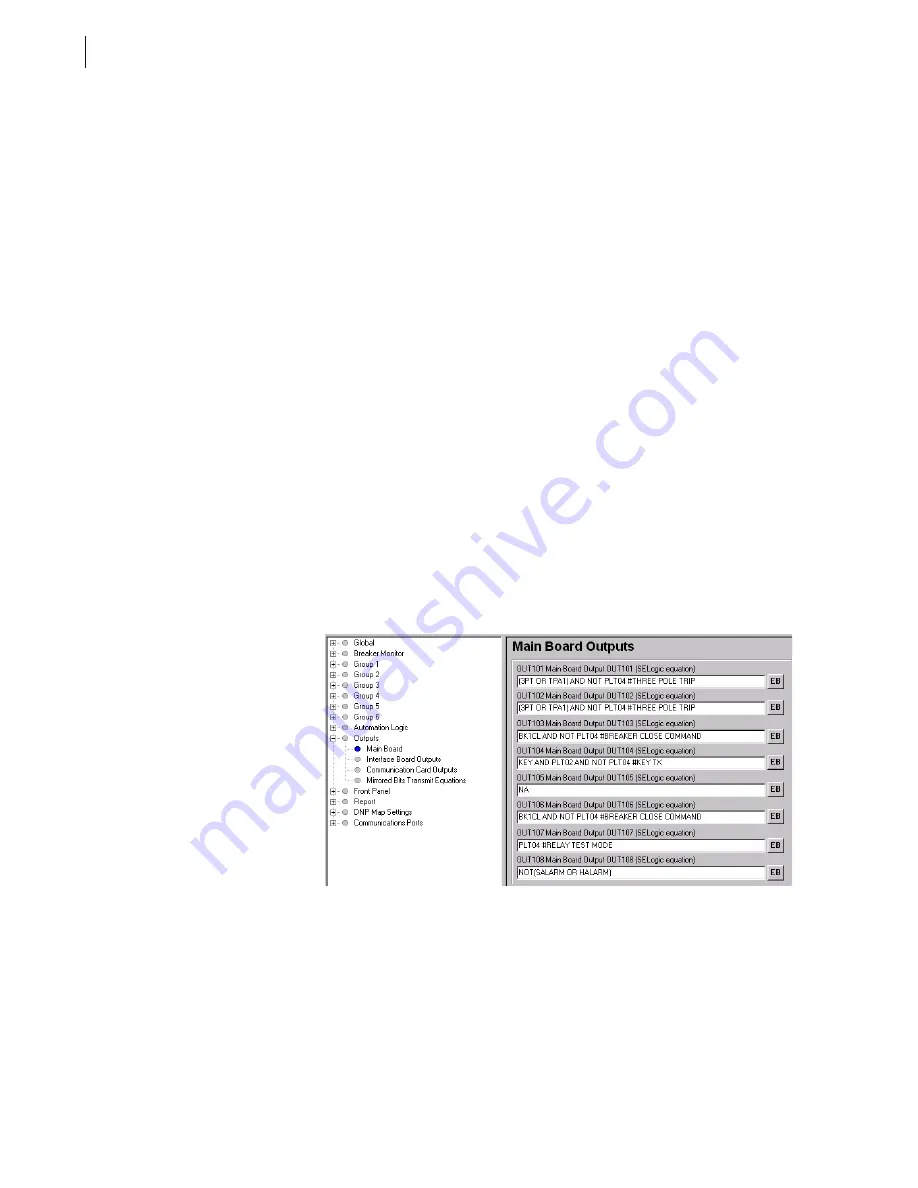
Step 4. Access the Main Board output settings. Expand the Outputs
branch of the Settings tree view. Click on Main Board (See
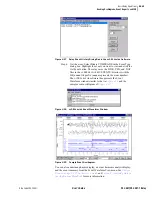
Figure 4.53
Assigning an Additional Close Output:
AC
SEL
ERATOR
Software.
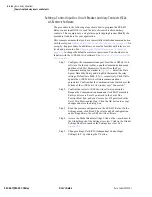
Step 5. Assign a control output for the close bus. In the Main Board
Outputs dialog box click in the OUT106 text box and type
BK1CL AND NOT PLT04#BREAKER CLOSE
COMMAND
. (The # indicates that a comment follows.) Click
or tab to another text box. The
AC
SEL
ERATOR
software checks
that your entry is valid.
Step 6. Save the new settings in the
AC
SEL
ERATOR
software. On the
File menu, click Save.
Summary of Contents for SEL-421
Page 8: ...This page intentionally left blank ...
Page 30: ...This page intentionally left blank ...
Page 110: ...This page intentionally left blank ...
Page 204: ...This page intentionally left blank ...
Page 284: ...This page intentionally left blank ...


