U.6.17
Date Code 20020501
User’s Guide
SEL-421/SEL-421-1 Relay
Testing and Troubleshooting
Test Methods
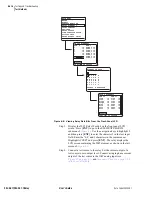
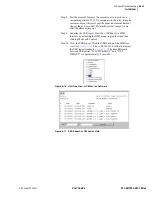
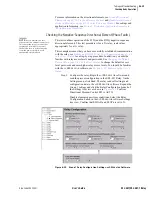
Step 5. View the target status change. Increase the current source to
produce a current magnitude greater than 10.00 A secondary in
the relay. Observe the 50P1 target on the front-panel display.
You will see the 50P1 element status change to 1 when the
input current exceeds the 50P1P setting threshold.
Step 6. Normalize the display. To return to the MAIN MENU, press
{ESC}
.
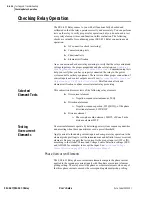
View Relay Elements With a Front-Panel LED
The procedure in the following steps shows you how to use a front-panel LED
to view a change-in-state for the 50P1 Phase Instantaneous Overcurrent
element. Use the factory defaults for the pickup level (see
). For more information on the 50P elements, see
Overcurrent Elements on page R.1.62 in the Reference Manual
In this example, use the
AC
SEL
ERATOR
software to configure the relay. You
must have a computer that is communicating with the SEL-421 Relay and
running the
AC
SEL
ERATOR
software. See
Making Settings Changes: Initial
Global Settings on page U.4.19 in the User’s Guide
.
In addition, you need a
variable current source suitable for relay testing.
Step 1. Prepare to control the relay with the
AC
SEL
ERATOR
software.
Establish communication, check passwords, and read relay
settings; see
Making Settings Changes: Initial Global Settings
on page U.4.19 in the User’s Guide
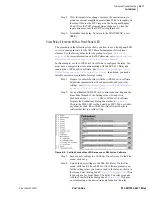
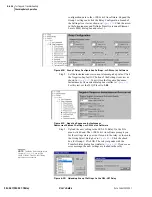
Step 2. Set a pushbutton LED SEL
OGIC
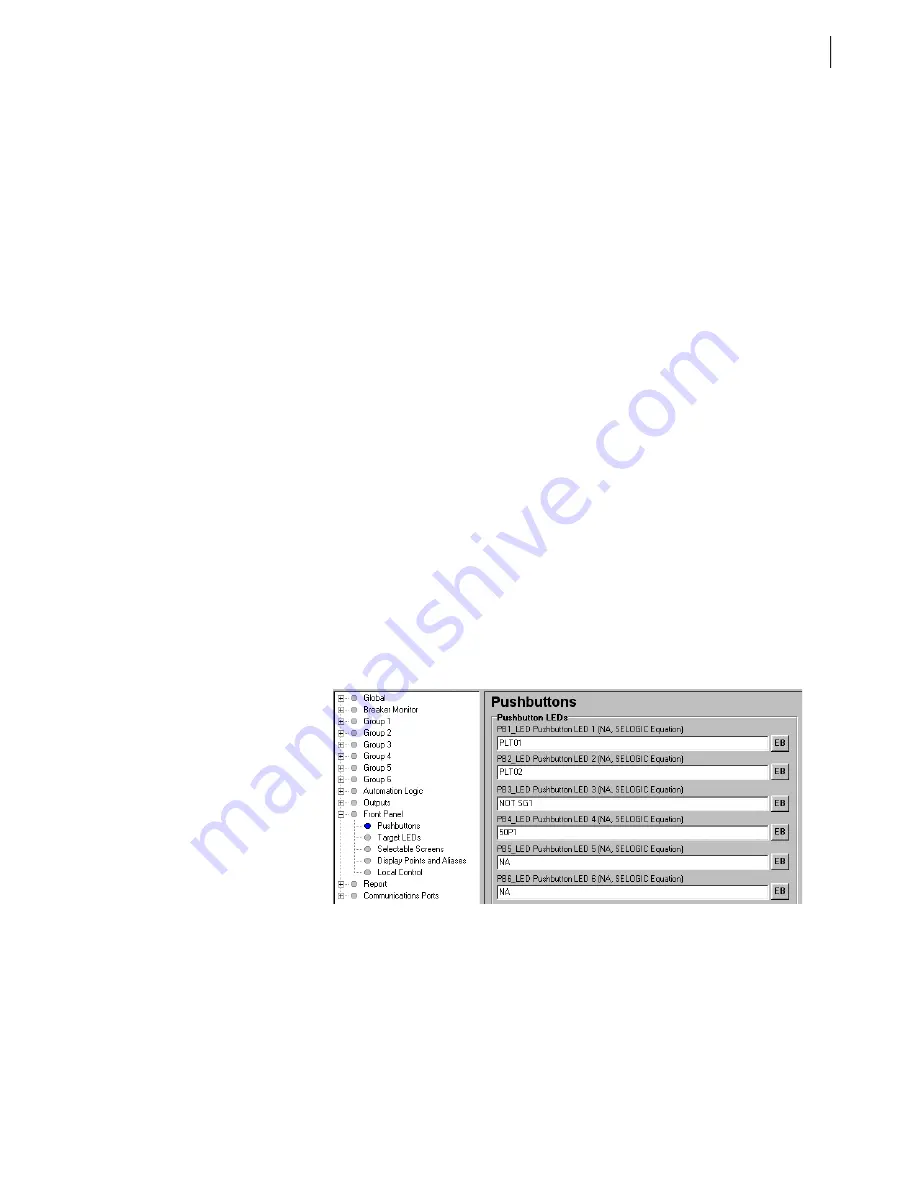
control equation. Expand the
Front Panel branch of the Settings tree view and click
Pushbuttons (see
AC
SEL
ERATOR
software
displays the Pushbuttons dialog box similar to
Click in the PB4_LED text box and type 50P1. Tab or click to
any other text box. The
AC
SEL
ERATOR
software checks to
confirm that this is a valid setting.
Figure 6.9
Setting Pushbutton LED Response:
AC
SEL
ERATOR
Software.
Step 3. Save the new settings in
AC
SEL
ERATOR
software. On the File
menu, click Save.
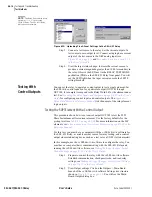
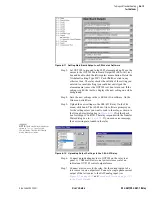
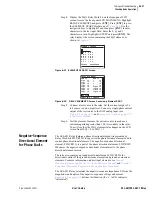
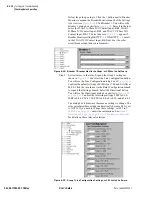
Step 4. Upload the new settings to the SEL-421 Relay. On the File
menu, click Send. The
AC
SEL
ERATOR
software prompts you
for the settings class you want to send to the relay, as shown in
the Group Select dialog box of
. Click
the check box for Front Panel. Click OK. The relay responds
with the Transfer Status dialog box of
. If you see
no error message, the new settings are loaded in the relay.
Summary of Contents for SEL-421
Page 8: ...This page intentionally left blank ...
Page 30: ...This page intentionally left blank ...
Page 110: ...This page intentionally left blank ...
Page 204: ...This page intentionally left blank ...
Page 284: ...This page intentionally left blank ...

