U.2.28
SEL-421/SEL-421-1 Relay
User’s Guide
Date Code 20020501
Installation
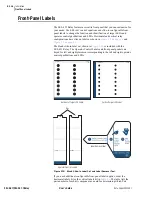
Front-Panel Labels
Creating
Laser-Printed Labels
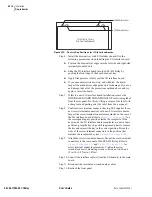
The purpose of this procedure is to create laser-printed configurable
front-panel labels on blank Customer Label Templates (supplied). These steps
are for both the horizontal and the vertical versions of the relay.
The source for label template files and test sheet files is the
SEL-421/SEL-421-1 Relay Product Literature CD. In addition, you can find
these files on the SEL website; visit www.selinc.com.
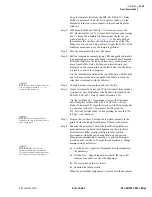
Step 1. Open Microsoft
®
Windows
®
Explorer and find the Microsoft
Word label template files (421_Horizontal.dot and
421_Vertical.dot) in the Customer Label Template folder on the
SEL-421/SEL-421-1 Relay Product Literature CD. In the Word
program, use the Tools > Options > File Locations menu to
locate the “User templates” folder on your computer; note the
directory path to this folder. Open another Windows Explorer
window and navigate to the Templates folder noted earlier.
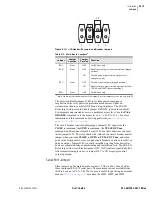
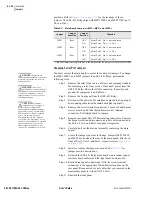
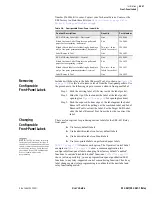
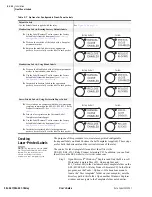
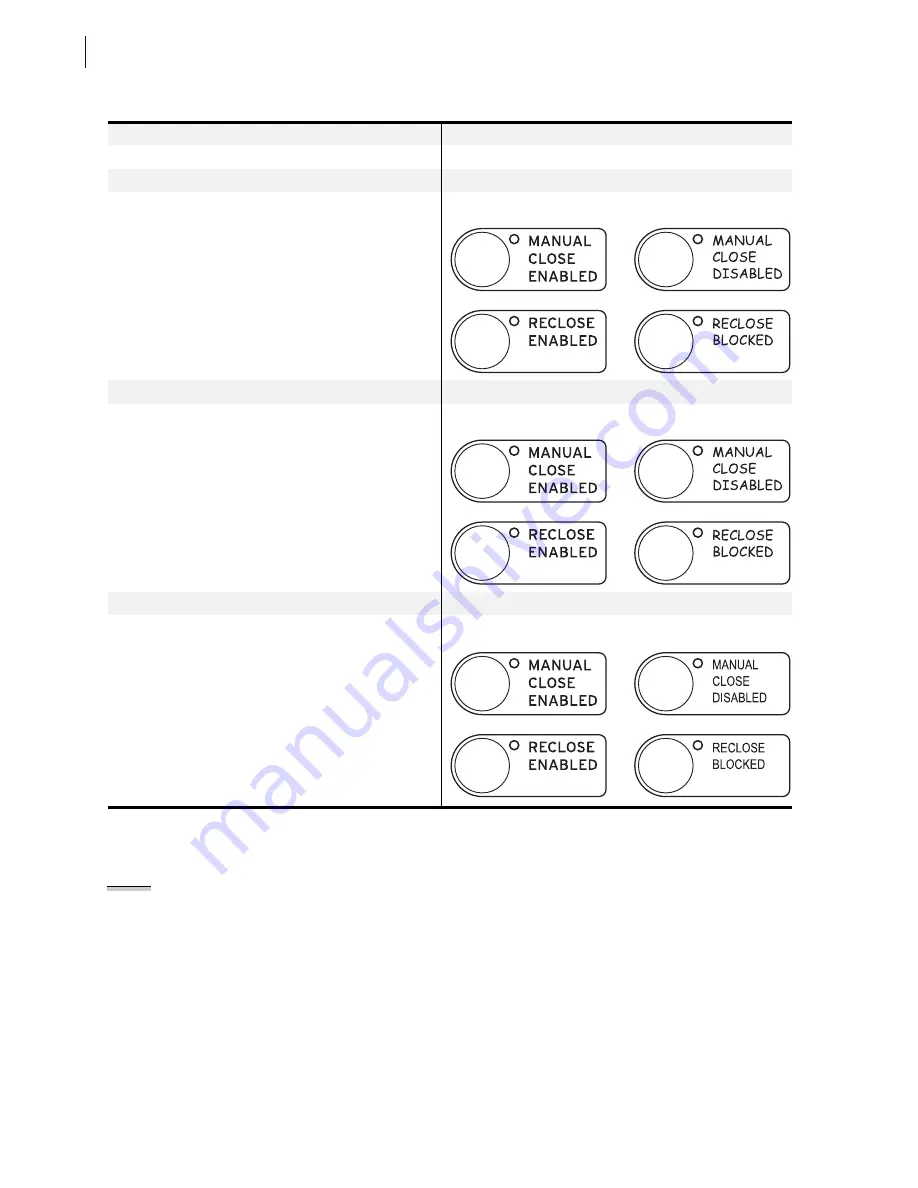
Table 2.7
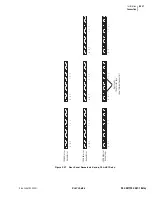
Options for Configurable Front-Panel Labels
Default Labels
Use the default labels supplied with the relay.
See
.
Handwritten Labels: Reusing Factory Default Labels
➤
Use the Label Removal Tool to remove the factory
default labels from the front panel (see
Configurable Front-Panel Labels
➤
Write on the backside of the labels with a fine point
permanent marker.
➤
Reinsert the modified labels in the appropriate
pockets; be sure to fully seat the label in each pocket.
Handwritten Labels: Using Blank Labels
➤
Write on the blank labels with a fine point permanent
marker to create handwritten labels.
➤
Use the Label Removal Tool to remove the factory
default labels from the front panel (see
Configurable Front-Panel Labels
➤
Insert the handwritten labels in the appropriate
pockets; be sure to fully seat the label in each pocket.
Laser-Printed Labels: Using Perforated Paper Labels
➤
Create labels on a computer with the word-processing
templates contained on the SEL-421/SEL-421-1 Relay
Product Literature CD. See
.
➤
Print to a laser printer on the Customer Label
Templates perforated paper.
➤
Use the Label Removal Tool to remove the factory
default labels from the front panel (see
Configurable Front-Panel Labels
➤
Insert the laser-printed labels in the appropriate
pockets; be sure to fully seat the label in each pocket.
Factory Default
Custom
Factory Default
Custom
Factory Default
Custom
NOTE:
The template is a Word 2000
file. The default template font is Arial
Narrow. You can use this font or
choose a different font that is
available on your computer system.
Summary of Contents for SEL-421
Page 8: ...This page intentionally left blank ...
Page 30: ...This page intentionally left blank ...
Page 110: ...This page intentionally left blank ...
Page 204: ...This page intentionally left blank ...
Page 284: ...This page intentionally left blank ...

