background image

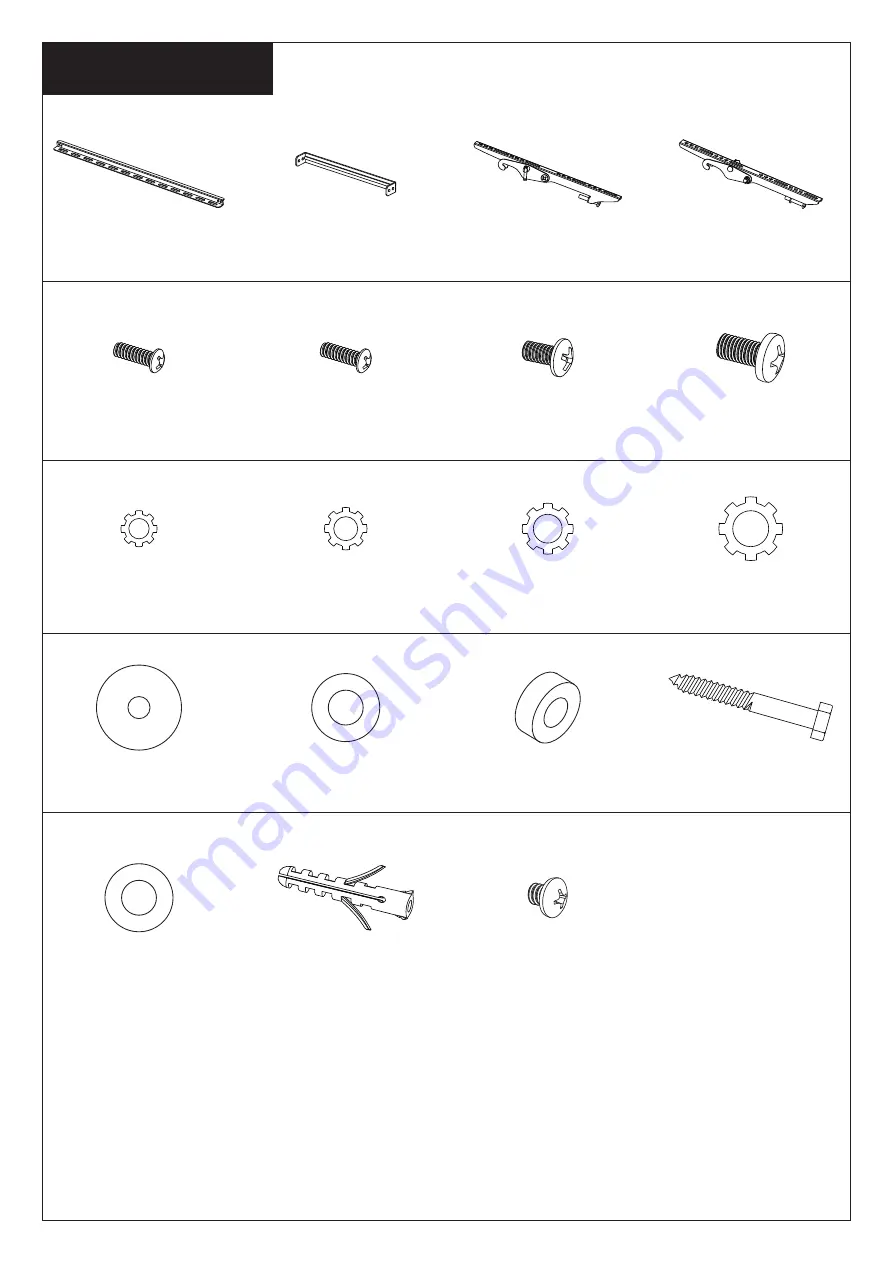
(4)M4x20 Bolt-d

(4)M5x20 Bolt-e

(4)M6x20 Bolt-f

(4)M8x20 Bolt-g

2

Supplied Par ts List

(4)M4/M5 Washer-l

(4)M6/M8 Washer-m

(4)M4 Lock Washer-h

(4)M5 Lock Washer-i

(4)M6 Lock Washer-j

(4)M8 Lock Washer-k

(2)Wall Plate-a1

(1)Right Monitor Bracket-c

(1)Left Monitor Bracket-b

(4)Lag Bolt-o

(4)Lag Bolt Washer-p

(4)Concrete Anchor-q

(4)5mm Plastic Space-n

(2)Wall Plate-a2

(4)M5x6 Bolt-r

Summary of Contents for PLB161

Page 1: ... of the installation If you are uncertain about the nature of your wall consult a qualified installation contractor Do not use this product for any purpose or in any configuration not explicitly specified in this instruction We hereby disclaim any and all liability for injury or damage arising from incorrect assembly incorrect mounting or incorrect use of this product CAUTION WARNING This TV mount...

Page 2: ...t 4 M4 M5 Washer l 4 M6 M8 Washer m 4 M4 Lock Washer h 4 M5 Lock Washer i 4 M6 Lock Washer j 4 M8 Lock Washer k 2 Wall Plate a1 1 Right Monitor Bracket c 1 Left Monitor Bracket b 4 Lag Bolt o 4 Lag Bolt Washer p 4 Concrete Anchor q 4 5mm Plastic Space n 2 Wall Plate a2 4 M5x6 Bolt r ...

Page 3: ...j k and Washer l m You can use the Plastic Space n if the bolt is too long Please make sure the Monitor Brackets b c are vertically centered and level with each other Mounting the Monitor Brackets to the TV Step 2 3 M4 Diameter Bolt M6 Diameter Bolt Diagram 2 d h l b f j m c M5 Diameter Bolt e i l b M8 Diameter Bolt g k m c n n n n Assemble the Wall Plate by 4pcs M5x6 bolt r as below diagram Assem...

Page 4: ...level and there is at least 6 150mm distance between two holes Pre Drill these holes with a 3 8 10mm masonry bit to at least 2 4 60mm in depth Insert a Concrete Anchor q into each of these holes Make sure the anchor is seated completely flush with the concrete surface even if there is a layer of drywall or other material in front Attach the Wall Plate to the wall using 4pcs Lag Bolts o 4pcs Lag Bo...

Reviews: