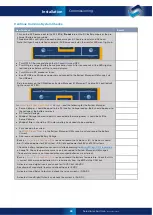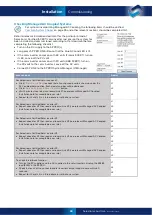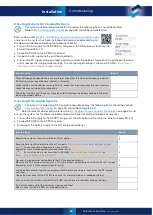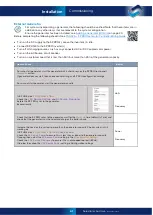
33
Selectronic Australia
Rev 41 - Dec 2022
Installation
Configure with SP LINK
Overview
in the Easy Start Guide to assist with the configuration of an
will ensure compatibility between all of the system components
and provide a configuration to suit.
More complex functionally may be added as required using Advanced Configuration.
The latest version of SP LINK software is available from
SP LINK must be installed on your Windows computer before going to the site.
This section of the SP PRO Manual is an introduction to SP LINK.
For detailed information on SP LINK, within SP LINK click >
Help
>
View SP LINK Manual
or just right click most tabs, buttons or headings within SP LINK to go directly to the relevant section
in the help manual.
Configuring the SP PRO for all System Configurations
By installing and running the latest version of SP LINK, all standard
system configurations can be quickly and easily created and
configured into the SP PRO.
, enter in the system details
and SP LINK will validate the combination of system components and
create a site file with a configuration for the SP PRO.
Next, add any custom functions to the configuration settings, save the
newly created site file to your computer, connect to the SP PRO and
click on >
Configuration Settings
>
Configure SP PRO
.
Configuring Powerchain
If you have a Powerchain installation (more than one SP PRO in your
system), go to >
Site Information
>
Powerchain Inverter Assigments
to
assign the Powerchain’s phase and position as physically installed and
wired.
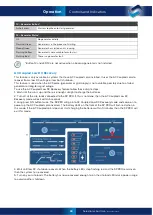
Double-click a particular serial number and the inverter associated with that serial number will flash
its battery LEDs red for 5 seconds.
Once each SP PRO is in its position, click
Save Assignments
to lock them in.
Once assigned, select >
Configuration Settings
and send the configuration to all the assigned SP PROs in the Powerchain by clicking
>
Configure SP PRO
button.
Configure with SP LINK

