41
Selectronic Australia
Rev 41 - Dec 2022
Installation
External Generator
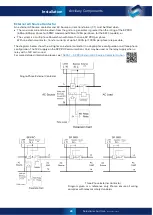
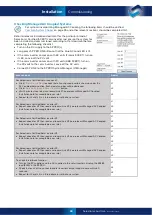
For systems incorporating a generator, the following should be verified. Note that these items are in
addition to any other items that are relevant to the system configuration.
Ensure the generator has been installed; see
Before completing the following checklist see
TN0025 – SP PRO Genarator Controller Wiring Guide
•
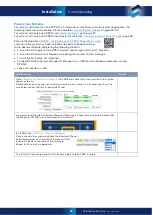
Turn on the DC supply to the SP PRO(s). Leave the inverter(s) in idle.
•
Connect SP LINK to the SP PRO inverter(s).
•
Turn off all charging sources such as any connected AC or DC Coupled solar power.
•
Turn on the AC Source circuit breaker
•
Turn on a customer Load that is less than 50% but more than 25% of the generator capacity.
Item to Check
Result
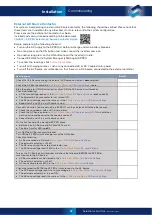
For auto start generator, start the generator with a short press on the SP PRO front panel >
Generator
button.
If generator does not start, then check control wiring and SP PRO configuration settings.
For manual-start generator, start the generator manually.
In SP LINK click >
Data View
>
Now
Check the >
AC Source Voltage
and
AC Source Frequency
before the SP PRO syncs to the generator.
Record results.
Volts
Frequency
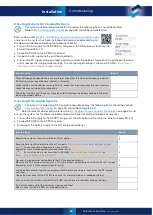
Check that the SP PRO syncs to the generator, wait for the
Warm Up
time (default is 1 min) and
check that the generator runs the Load and charges the battery bank.
Increase the Load on the system to more than the generator capacity. Check system is still
working ok.
In SP LINK click >
Data View
>
Now
>
AC Source Power
Check the
AC Source Power
to ensure this is less than or equal to the generator capacity.
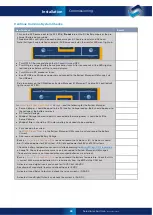
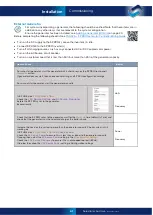
If wrong, then adjust the
AC Source Power
setting in the >
Configuration Settings.
Check the >
AC Source Frequency
to ensure it has not dropped too low (>49Hz).
If too low then drop the >
AC Source Power
setting in Configuration settings.
Power
Frequency
Commissioning


