9
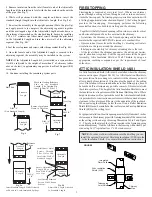
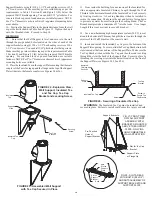
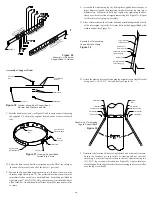
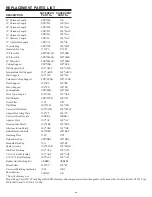
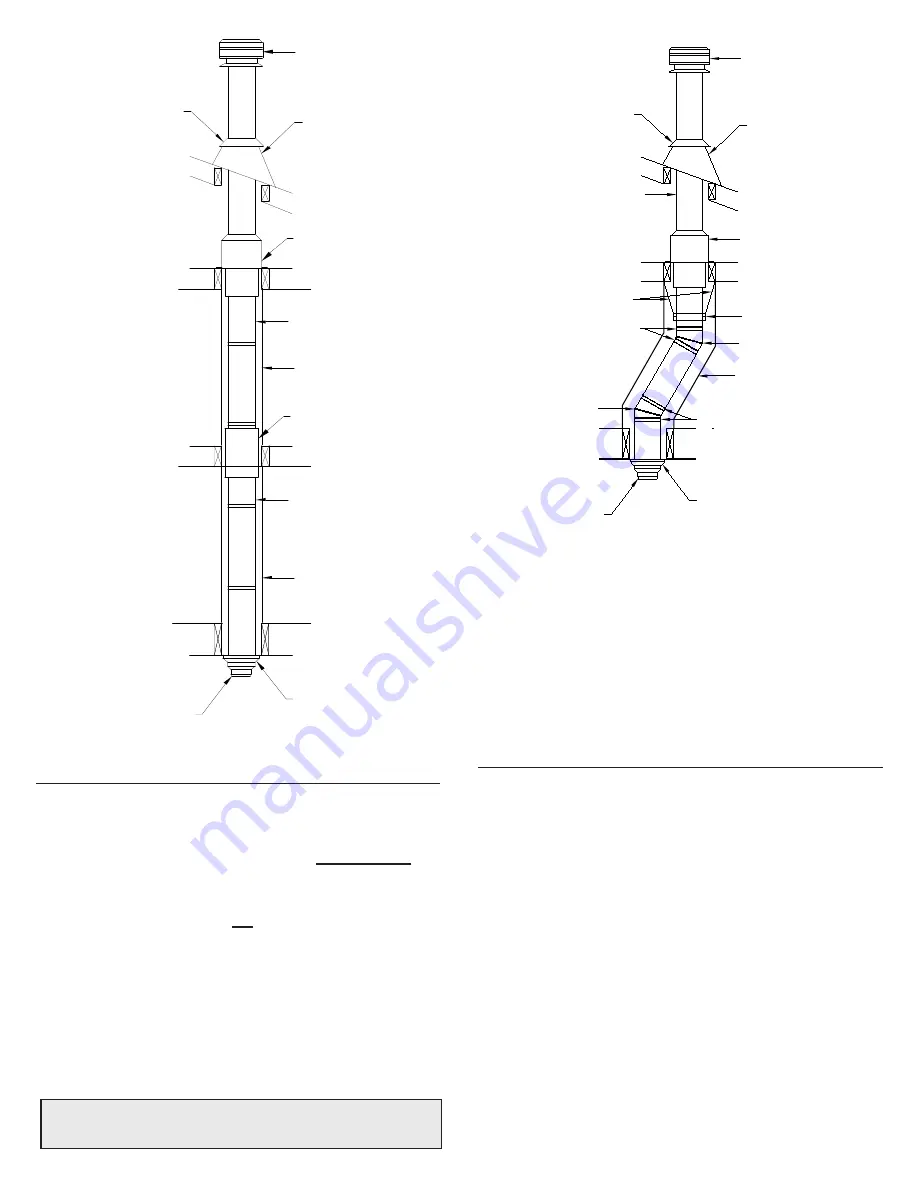
FIGURE 13
Rain Cap
Storm Collar
Ventilated Flashing
Framed Enclosure
Chimney Sections
Chimney Sections
Framed Enclosure
Ceiling Support
Stove Pipe Adaptor
Living Space
Living Space
Attic Space
Floor, Ceiling Joist
(Framed all 4 sides)
Floor, Ceiling Joist
(Framed all 4 sides)
Floor, Ceiling Joist
(Framed all 4 sides)
Roof Joist
(Framed all 4 sides)
Stove Pipe Adaptor
Elbow
Elbow Support Bands
Locking Bands
Elbow
Ceiling Joist
(Framed all 4 sides)
Floor, Ceiling Joist
(Framed all 4 sides)
One pair of (two) Elbows may be used in an interior installation to
provide an offset in order to avoid cutting of joists and to clear other
obstructions. Each Elbow Support will support 15 feet of chimney and
the maximum length of chimney allowed between Elbows is 6 feet.
Forty-five-degrees (45°) elbows may be used only in Canada.
See
Chart 1
- Offset Chimney Installation
on page 21 of these instructions
for details.
The female end of Elbows are
not
embossed, this ensures proper
alignment of the chimney system is maintained. Locking Bands must
be installed at all chimney joints forming an offset.
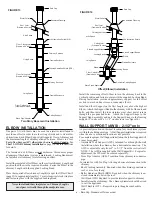
Install the insulated offset Elbow on the vertical chimney Length and
position the Elbow in the required direction. Fasten the Elbow to the
chimney Length with the supplied Locking Band.
Place the required offset chimney Length(s) as per the Offset Chart 2
(page 21) for appropriate length(s). Turn it clockwise to lock it in place
and fasten in place with the supplied Locking Band.
ELBOW INSTALLATION
Rain Cap
Storm Collar
Ventilated Flashing
Chimney Sections
Roof Joist
(Framed all 4 sides)
Elbow Support Straps
Framed Enclosure
Locking Bands
Decorator Ceiling Support
Living Space
Attic Space
Attic Insulation Shield
Offset (Elbow) Installation
FIGURE 14
Never install an Elbow in a joist area. Chimney Lengths
must pass vertically through framed joist areas.
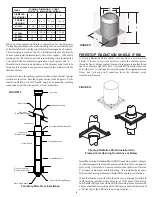
Two Story Basement Installation
Attic Insulation Shield (AIS)
Firestop Radiation Shield (FRS)
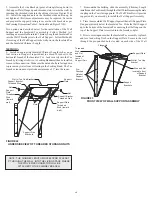
Install an Elbow Support on the first Length just above the highest
Elbow. Attach the Support Band to the chimney with 4 of the nuts and
bolts, and then install the four stainless steel sheet metal screws
through the pre-punched holes. Attach the Support Straps to the
Support Band assembly and nail the Support Straps to the framing
using 6d (2”) nails or #8 x 1-1/2" wood screws (see figure 14).
Install the remaining offset Elbow to turn the chimney back to the
vertical position and fasten in place with the supplied Locking Band.
During installation provide supplementary support for the offset
section to avoid undue stress on connected elbows.
WALL SUPPORT (AWS) - 2-1/2" only
As previously mentioned, the ideal location for your chimney system
is within the building envelope. A Wall Support installation is required
when the above mentioned location is not possible.
To complete a proper Wall Support installation, the following parts will
or may be required:
- Adjustable Wall Support (AWS): Intended for a through-the-wall
installation where the chimney has a horizontal connection. The
AWS is adjustable only from 2" to 2-1/2" from the vertical wall.
NOTE: The AWS is supplied in the Wall Support Kit. For greater
adjustment, the WS must be ordered separately.
- Stove Pipe Adaptor (ASE): Transition from chimney to connector
pipe.
- Insulated Tee with Tee Plug: Allowing a horizontal connection to the
chimney.
- Roof Flashing Assembly: Required when the chimney penetrates a
roof or a roof overhang.
- Rafter Radiation Shield (RRS): Required when the chimney is en-
closed immediately below the roof.
- Wall Band (WB): Required to provide lateral support to chimney.
- Suitable lengths of chimney: The chimney diameter should be sized
to suit the appliance.
- Wall Thimble (WT): - Required to pass though a combustible
wall.
- Rain Cap: Standard or Deluxe model.

