BDA SEL-Plus-R 06/2008
2
Supplementary Operating Instructions SEL Plus-R
Important information for initial setup / programming of the SEL Plus-R radio
controlled motors
Function:
The SEL Plus-R motor runs against the upper limit stop of the roller shutter, therefore an
end rail has to be installed. A limit stop has to be assembled at the bottom (window sill),
upon which the roller shutter can “stop”. In automatic mode, the SEL Plus-R motor
automatically searches for the end positions and programs them. The motor is in
automatic setting mode upon delivery and after being reset to the factory setting!!
Setting the end limit in the default setting by radio.
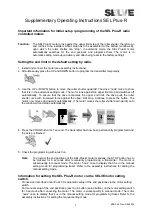
1. Install and connect the motor (see assembly instructions).
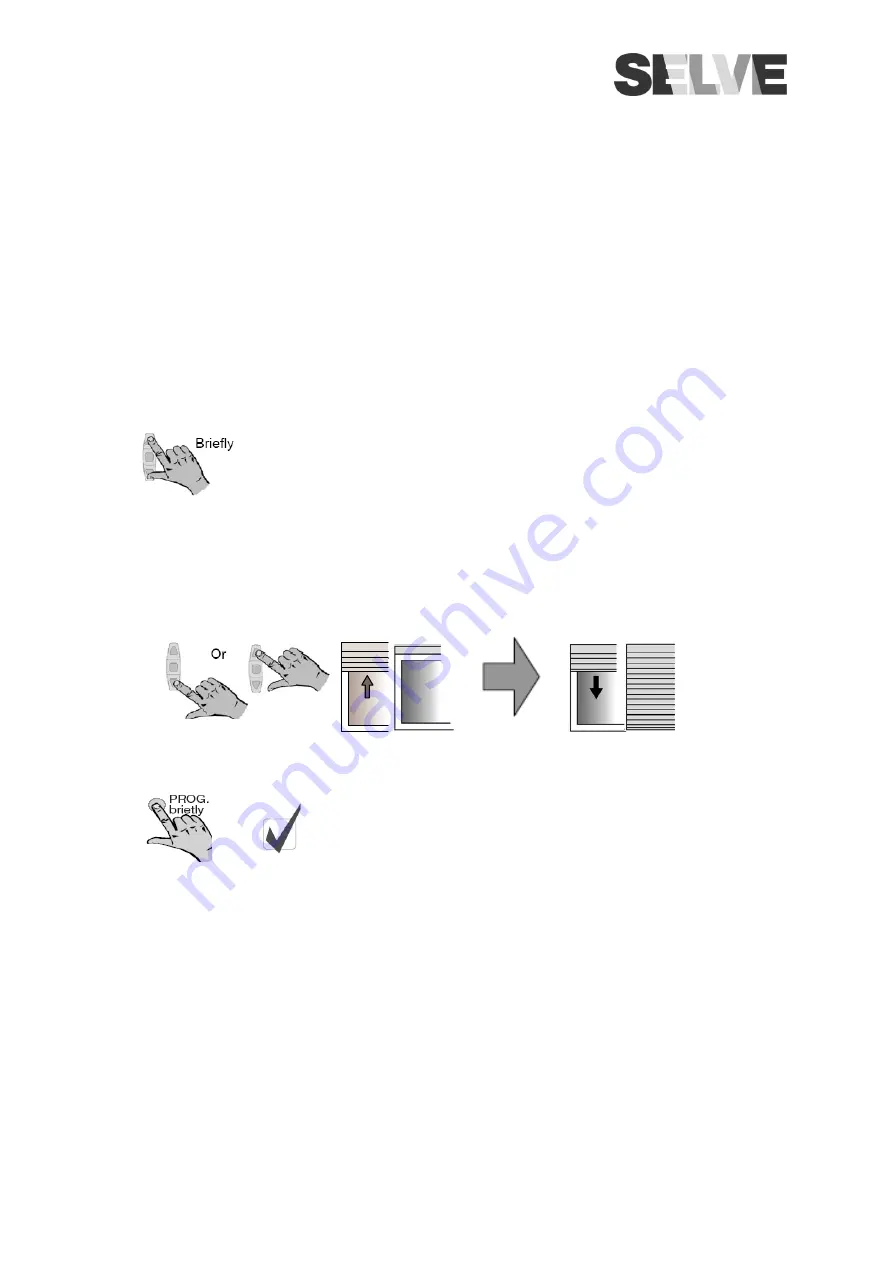
2. Simultaneously press the UP and DOWN button to program the transmitter temporarily.
3. Use the UP or DOWN button to move the roller shutter upwards! The drive “nods” twice to show
that it is in the automatic setting mode. The motor runs against the upper limit stop and switches off
automatically. To ensure that the drive recognises the upper end limit, the drive pulls the roller
shutter once with increased force against the upper limit stop. Continue to press the button. The
motor now moves downwards automatically. (The motor moves the roller shutter downwards) onto
the window sill and stops automatically.
4. Press the PROG button for 1 second. The transmitter has now been permanently programmed and
the setup is finished.
5. Check the programming with a test run.
Note
:
To program the end positions of the SEL-Plus-R motor manually, the STOP button has to
be pressed for 6 seconds after temporarily programming a transmitter. The motor is
subsequently in manual mode. The motor “nods” once to display that it is in the manual
setting mode for programming travel. Refer to the assembly instructions for setting the
manual setting mode.
Information for setting the SEL Plus-R motor via the SELVE motor setting
switch.
Proceed as described under Point 3 for automatic setup of the end positions via the motor setting
switch.
For manual setup of the end positions press the E button (setup button) on the motor setting switch
for 6 seconds after connecting the motor. The motor is subsequently in manual mode. The motor
“nods” once to display that it is in the manual setting mode for programming travel. Refer to the
assembly instructions for setting the manual setting mode.
Auto-
Stop
Auto
Auto-
Stop


