MRD 6000
– User Manual
Page 17 (112)
2.4 AC Dual Redundant Power Connection (optional)
The Dual Redundant option allows the MRD 6000 to be powered by two separate
supplies either operating 120V or 240V systems. The power supply will automatically
detect the system it is connected to. To hook up the power use the following steps:
1. Locate the AC power cord that was included with the MRD 6000.
2. Plug the female end of the power cord (end with no prongs) into the back of the
unit.
3. Locate a protected outlet (usually inside of the rack) to plug the male end of the
power cable into.
2.5 Maintenance
The MRD 6000 is a maintenance-free piece of equipment. There are no user serviceable
parts on the inside of the unit.
2.6 Network Setup via Front Panel
The MRD 6000 can be setup on a network connection to allow remote management and
SNMP configuration. For these features to work, the network settings for the MRD 6000
must first be configured properly for the network it is connected to.
2.6.1
Static IP Address/Subnet Mask/Gateway
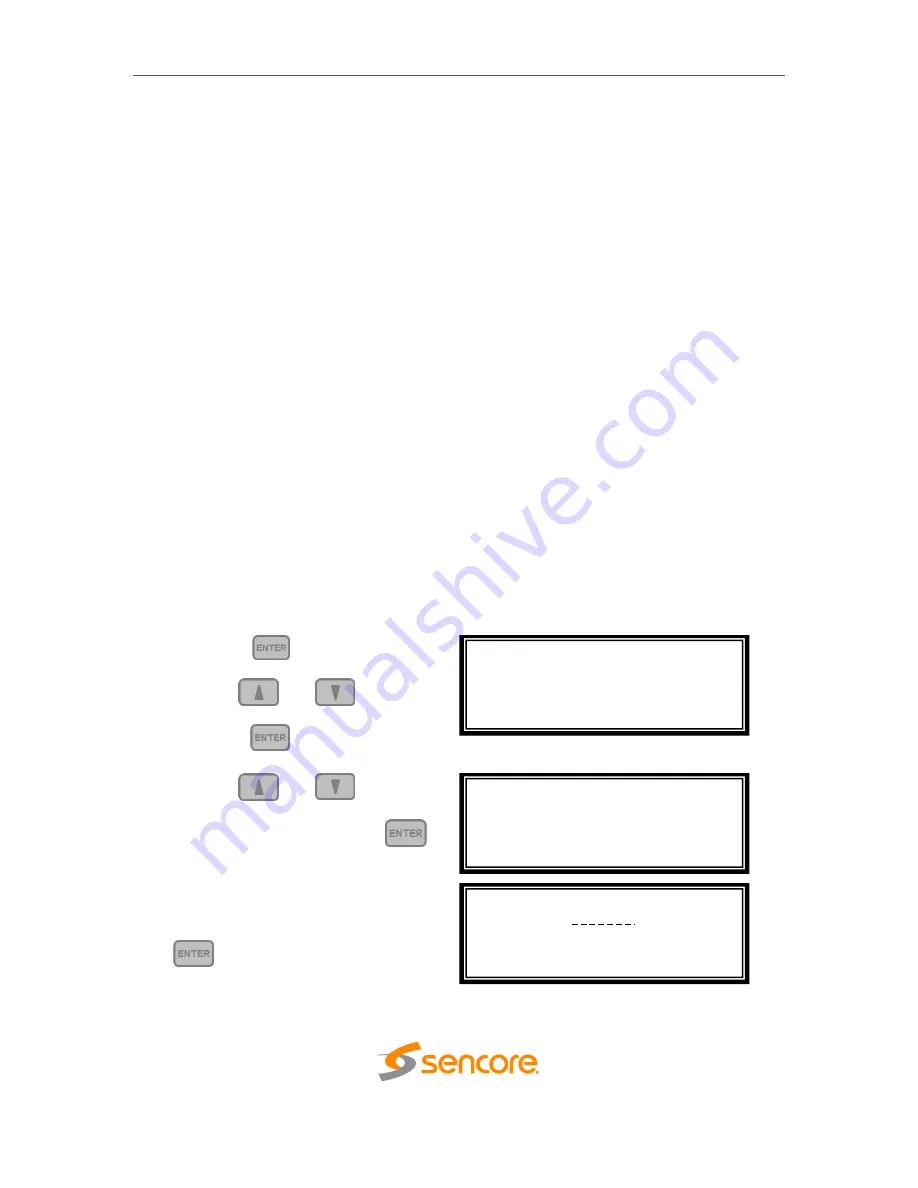
To setup the MRD 6000 with a static IP address, use the following steps:
1. Press the
button.
2. Use the
and
buttons to
move the cursor to “Admin”, then
press the
button.
3. Use the
and
buttons to
move the cursor to “Unit
Networking”, then press the
button.
Note: The first menu displayed is
status menu. In order to begin making
changes to networking settings press
the
button
and the ‘>’ cursor
will appear.
Main Menu ↔↕
Baseband Outputs
Transport Stream Outputs
>Admin
Active Errors
Admin ↔↕
>Unit Networking
System Time
About System
Syslog
Configure Network ↔↕
Host Name:
Primary DNS: 172.16.0.86
Second DNS: 172.16.0.153
IP Mode: DHCP


