background image


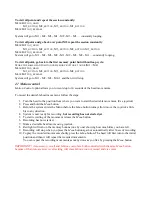
4. Combine the extentions with weights and repeat the steps 3 and 4 of the charter 

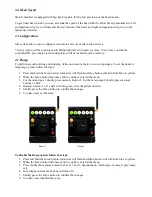
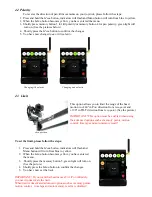
Balancing the Head

 untill 

you have reached the right balance. 

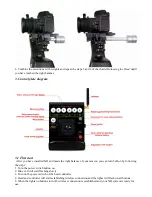
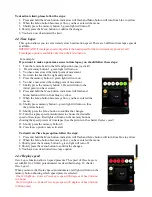
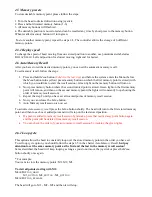
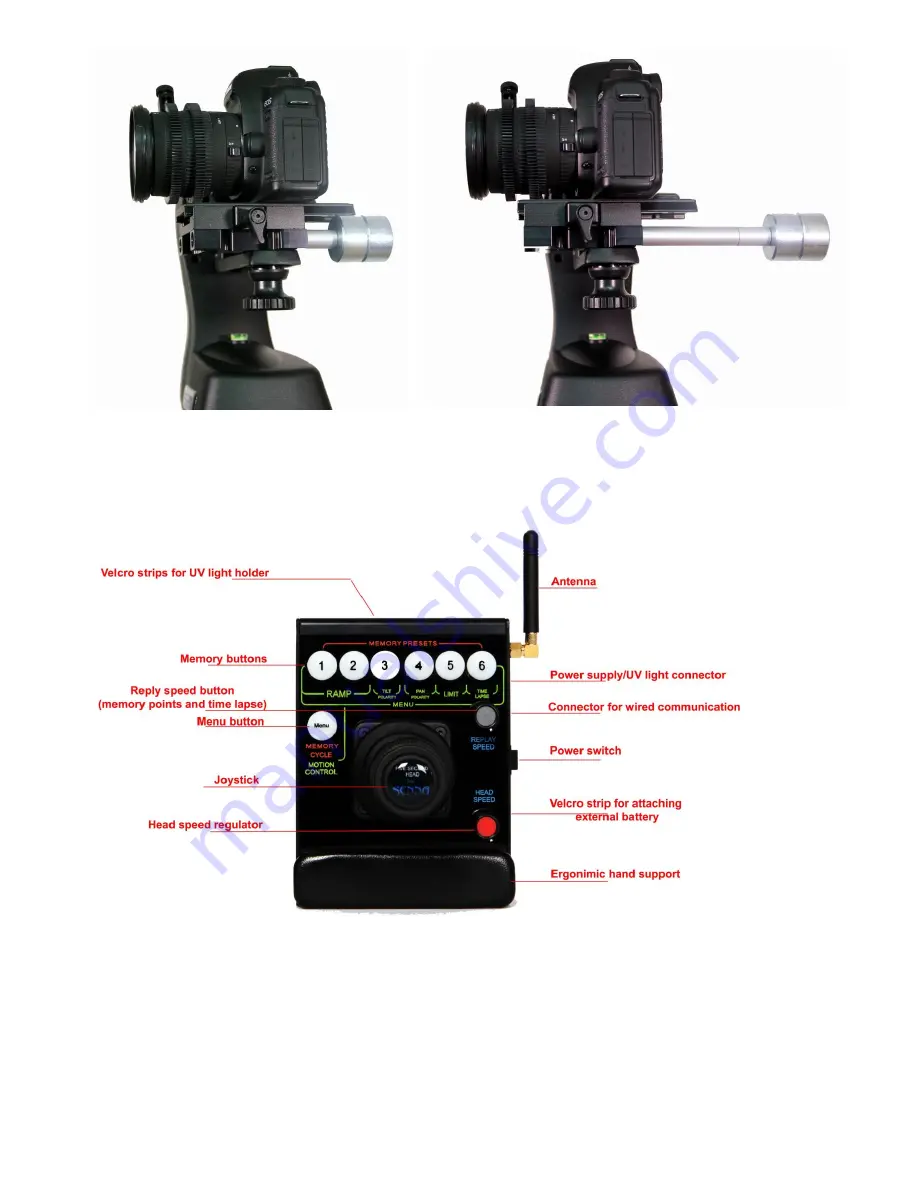
3. Control plate diagram 


3.1 First start  

  After you have installed 5sH and made the right balance of your camera, you can turn 5sH on by following 
the steps: 
1. Turn the power switch button on. 
2. Blue 

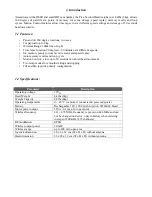
LED

 will start flashing slowly. 

3. Turn on the power switch of the head controller. 
4. Head and controller will start establishing wireless connection and the lights will flash on all buttons. 
5. When the lights on buttons turn off, wireless connection is established and your 5sH system is ready for 
use. 

Summary of Contents for Five Second Head

Page 1: ...Five Second Head by SENNA User manual Look for the video instructions on You Tube and Vimeo http www youtube com watch v ocMmi8PmO_s http vimeo com 65045628 http vimeo com 65038326...

Page 2: ...Motion Control store up to 30 seconds of wanted head movement Two ramp modes for smooth starting and stopping Tilt and Pan joystick polarity configuration 1 2 Specifications Parameter Description Ope...

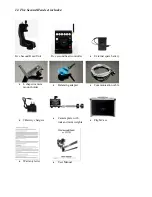
Page 3: ...ve Second Head Unit Five second head controller External spare battery L shaped camera mount holder Balancing adapter Communication cable 2 Battery chargers Camera plate with rods and mini weights Fli...

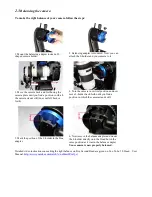
Page 4: ...2 Head Unit 2 1 Parts diagram 2 2 Mounting the 5s Head Five Second Head can be mounted on any tripod slider or a crane See the picture...

Page 5: ...s shown in the picture Five Second Head allows changes of pan tilt polarity for both head positions See the chapter Configuration NEVER USE THE HEAD WITHOUT MAKING THE RIGHT CAMERA BALANCE WITH THE BA...

Page 6: ...does not fall back or forth 4 Turn the camera in vertical position and now move L holder back forth until you find a position in which the camera stands still 5 Mark the position of the L holder in th...

Page 7: ...rods on your camera plate and attach the mini weights from the back in order to make counter weight to your camera lens and find the balance very easily See the pictures below 1 Set includes holder tw...

Page 8: ...de the right balance of your camera you can turn 5sH on by following the steps 1 Turn the power switch button on 2 Blue LED will start flashing slowly 3 Turn on the power switch of the head controller...

Page 9: ...ramp stage please follow the steps 1 Press and hold the Menu button indicators will flash and Menu button will turn from blue to yellow 2 When the Menu button becomes yellow you have entered the menu...

Page 10: ...PAN direction from zero point and 190 in TILT direction from zero point See the picture IMPORTANT This option must be enabled when using the advanced options such as memory points motion control time...

Page 11: ...rs will flash and Menu button will turn from blue to yellow 9 When the Menu button becomes yellow you have entered the menu 10 Shortly press memory button 6 green light will turn on See the picture be...

Page 12: ...st memory point will turn on and then on the second memory point the lights will constantly loop showing the order of memory recall session 3 Repeat the step 2 until you have set all wanted points of...

Page 13: ...ition from where you want to start the desirable movement Use joystick 2 Press and hold the Menu button 3 Before the system enters the Menu before the Menu button turns yellow move the joystick a litt...

Page 14: ...e head s battery will power the controller as well If you turn the controller ON controller s battery will power the head electronic and motors If you need extra power when working in wired mode you s...

Page 15: ...is under 10 0 batteries need to be charged If the voltage is 12 0 batteries are fully charged 7 2 When the batteries get empty If the head will be used for a longer time it is strongly recommended to...

Page 16: ...pictures Attaching the external battery The capacity of the spare battery is 4 working hours This spare battery should be charged for 3 hours max IMPORTANT When being charged spare battery must alway...

Reviews: